Modeling & Materials

Weekly Design Challenge Template

Sieun Moon


Module 1


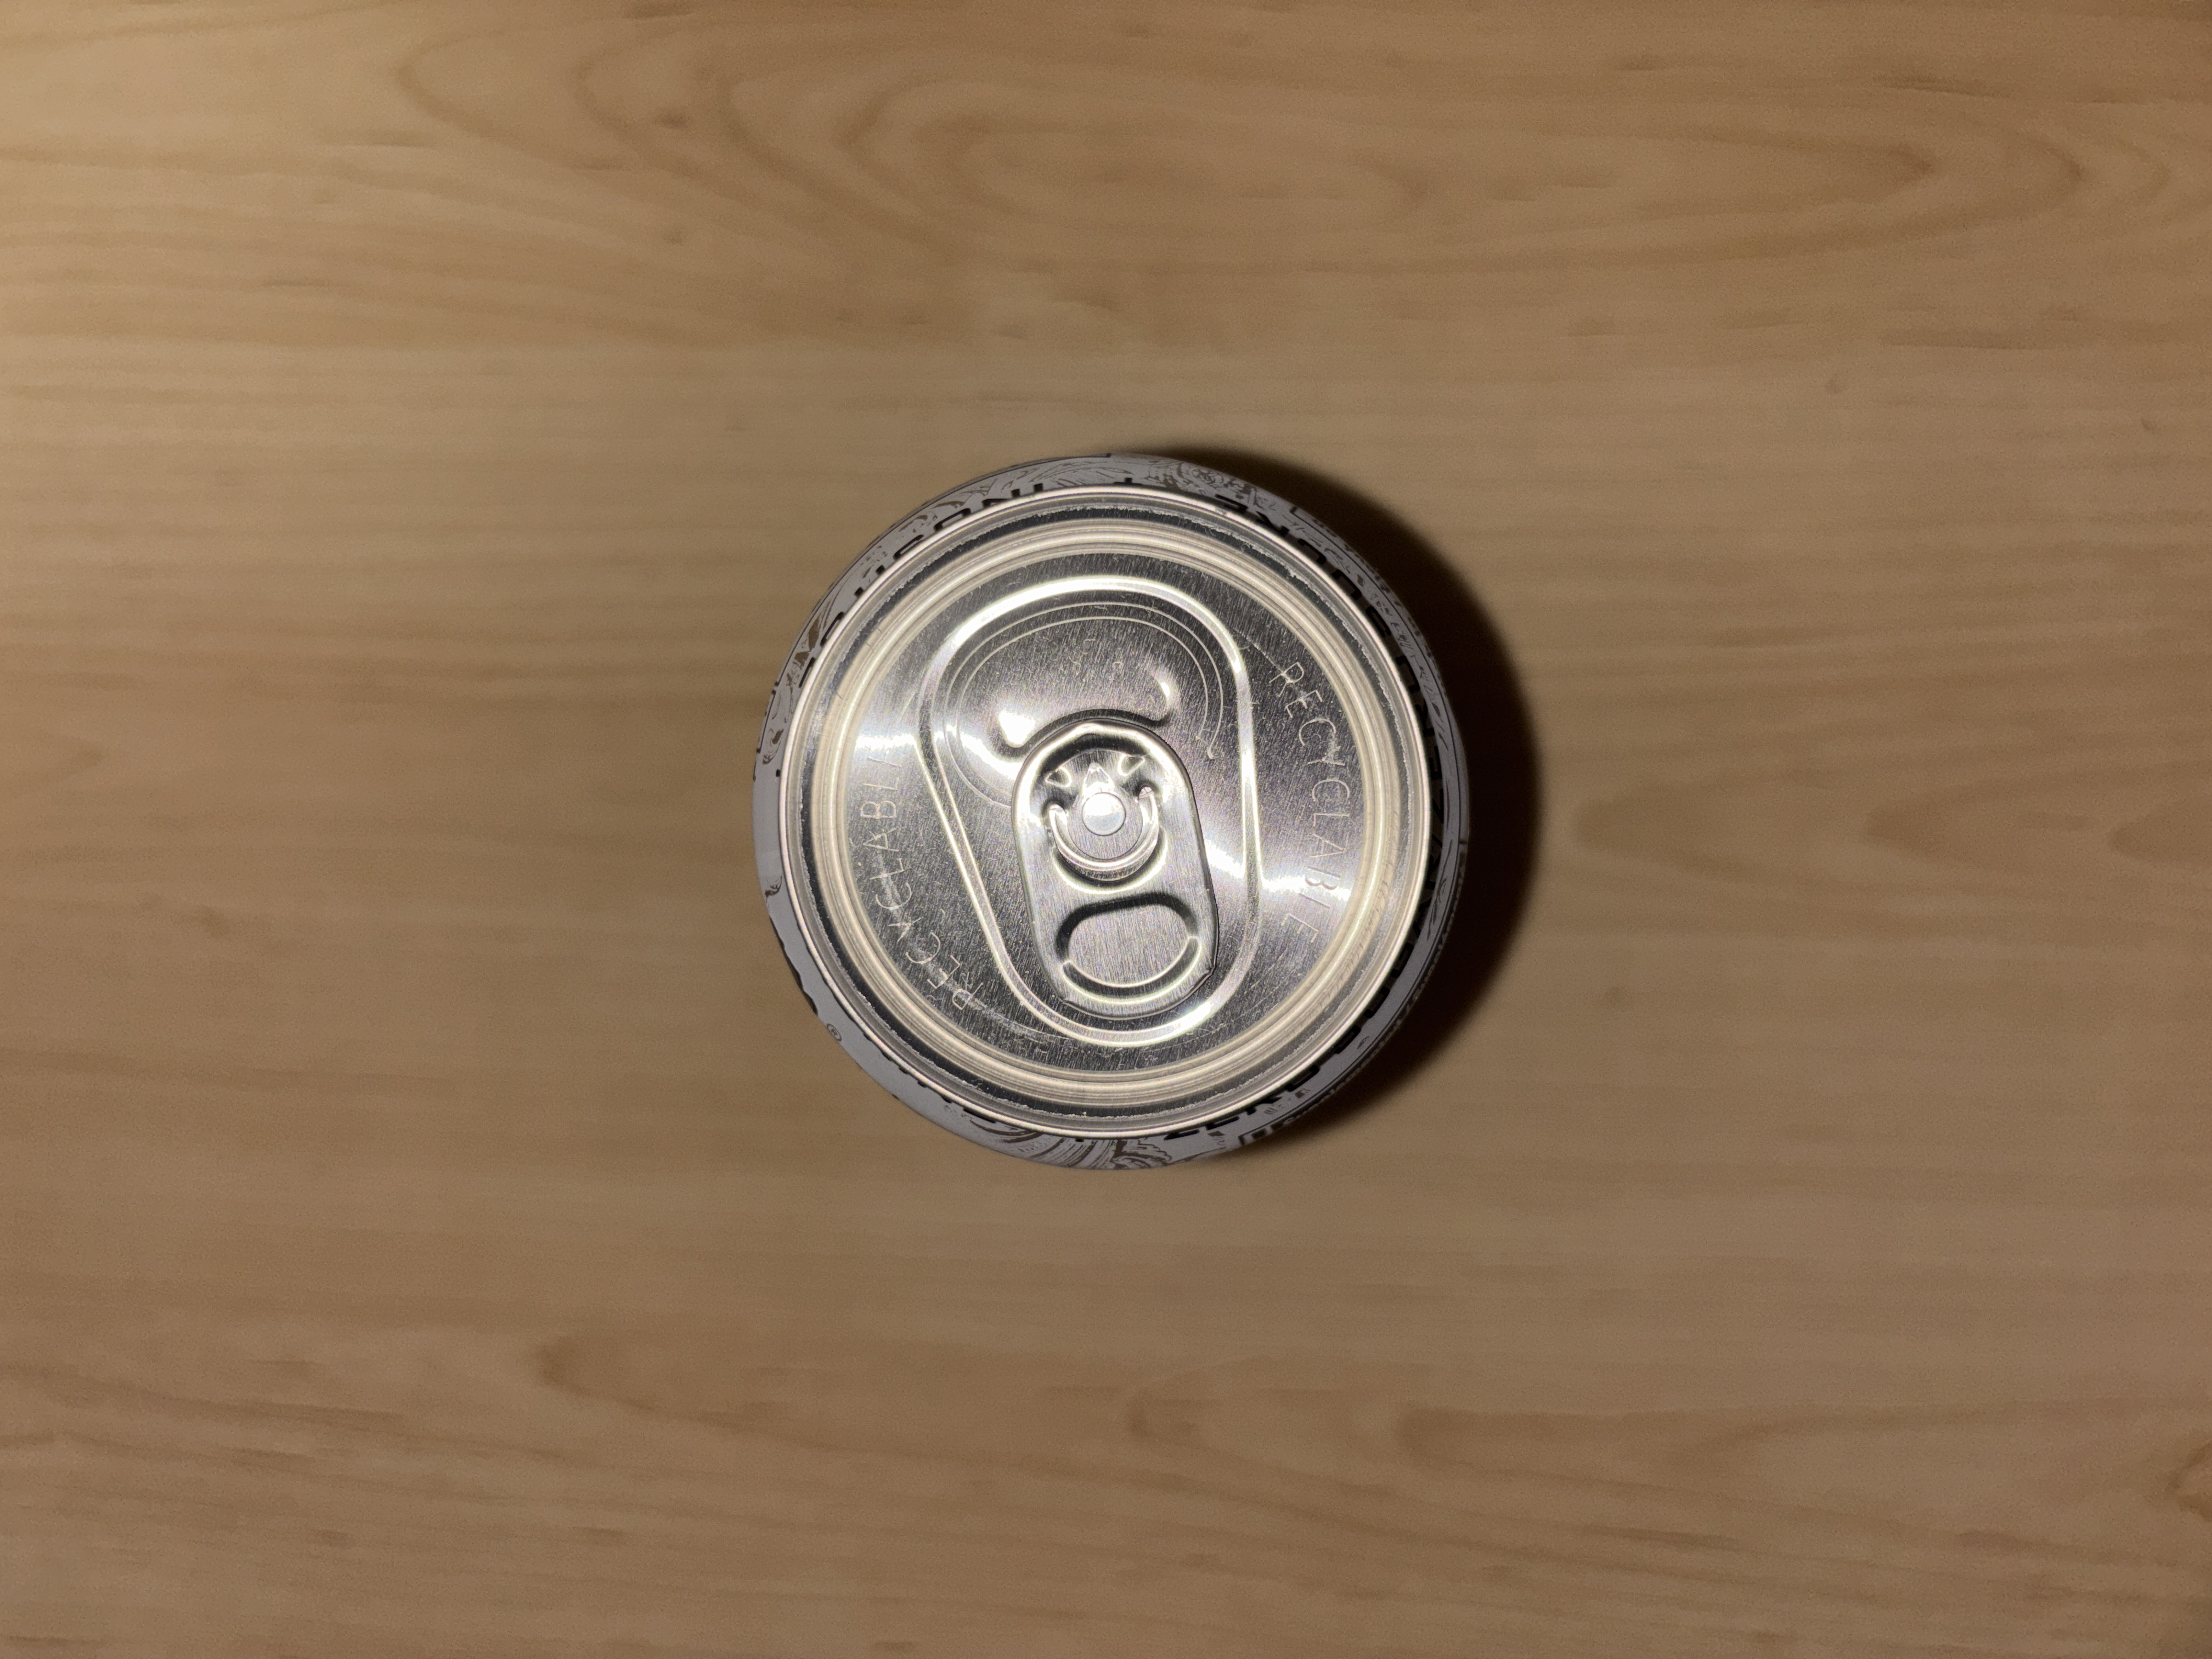
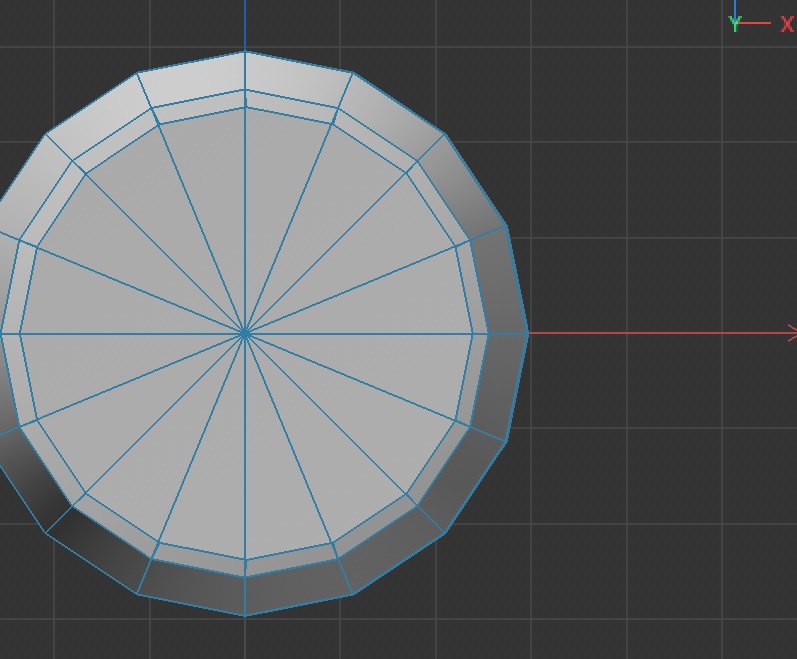
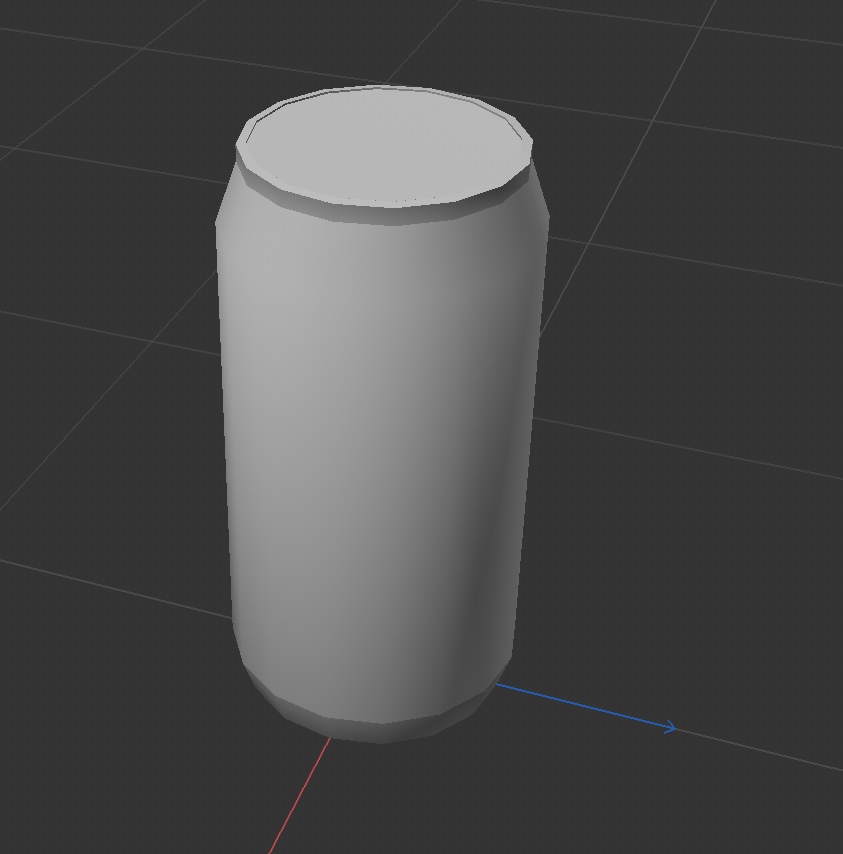
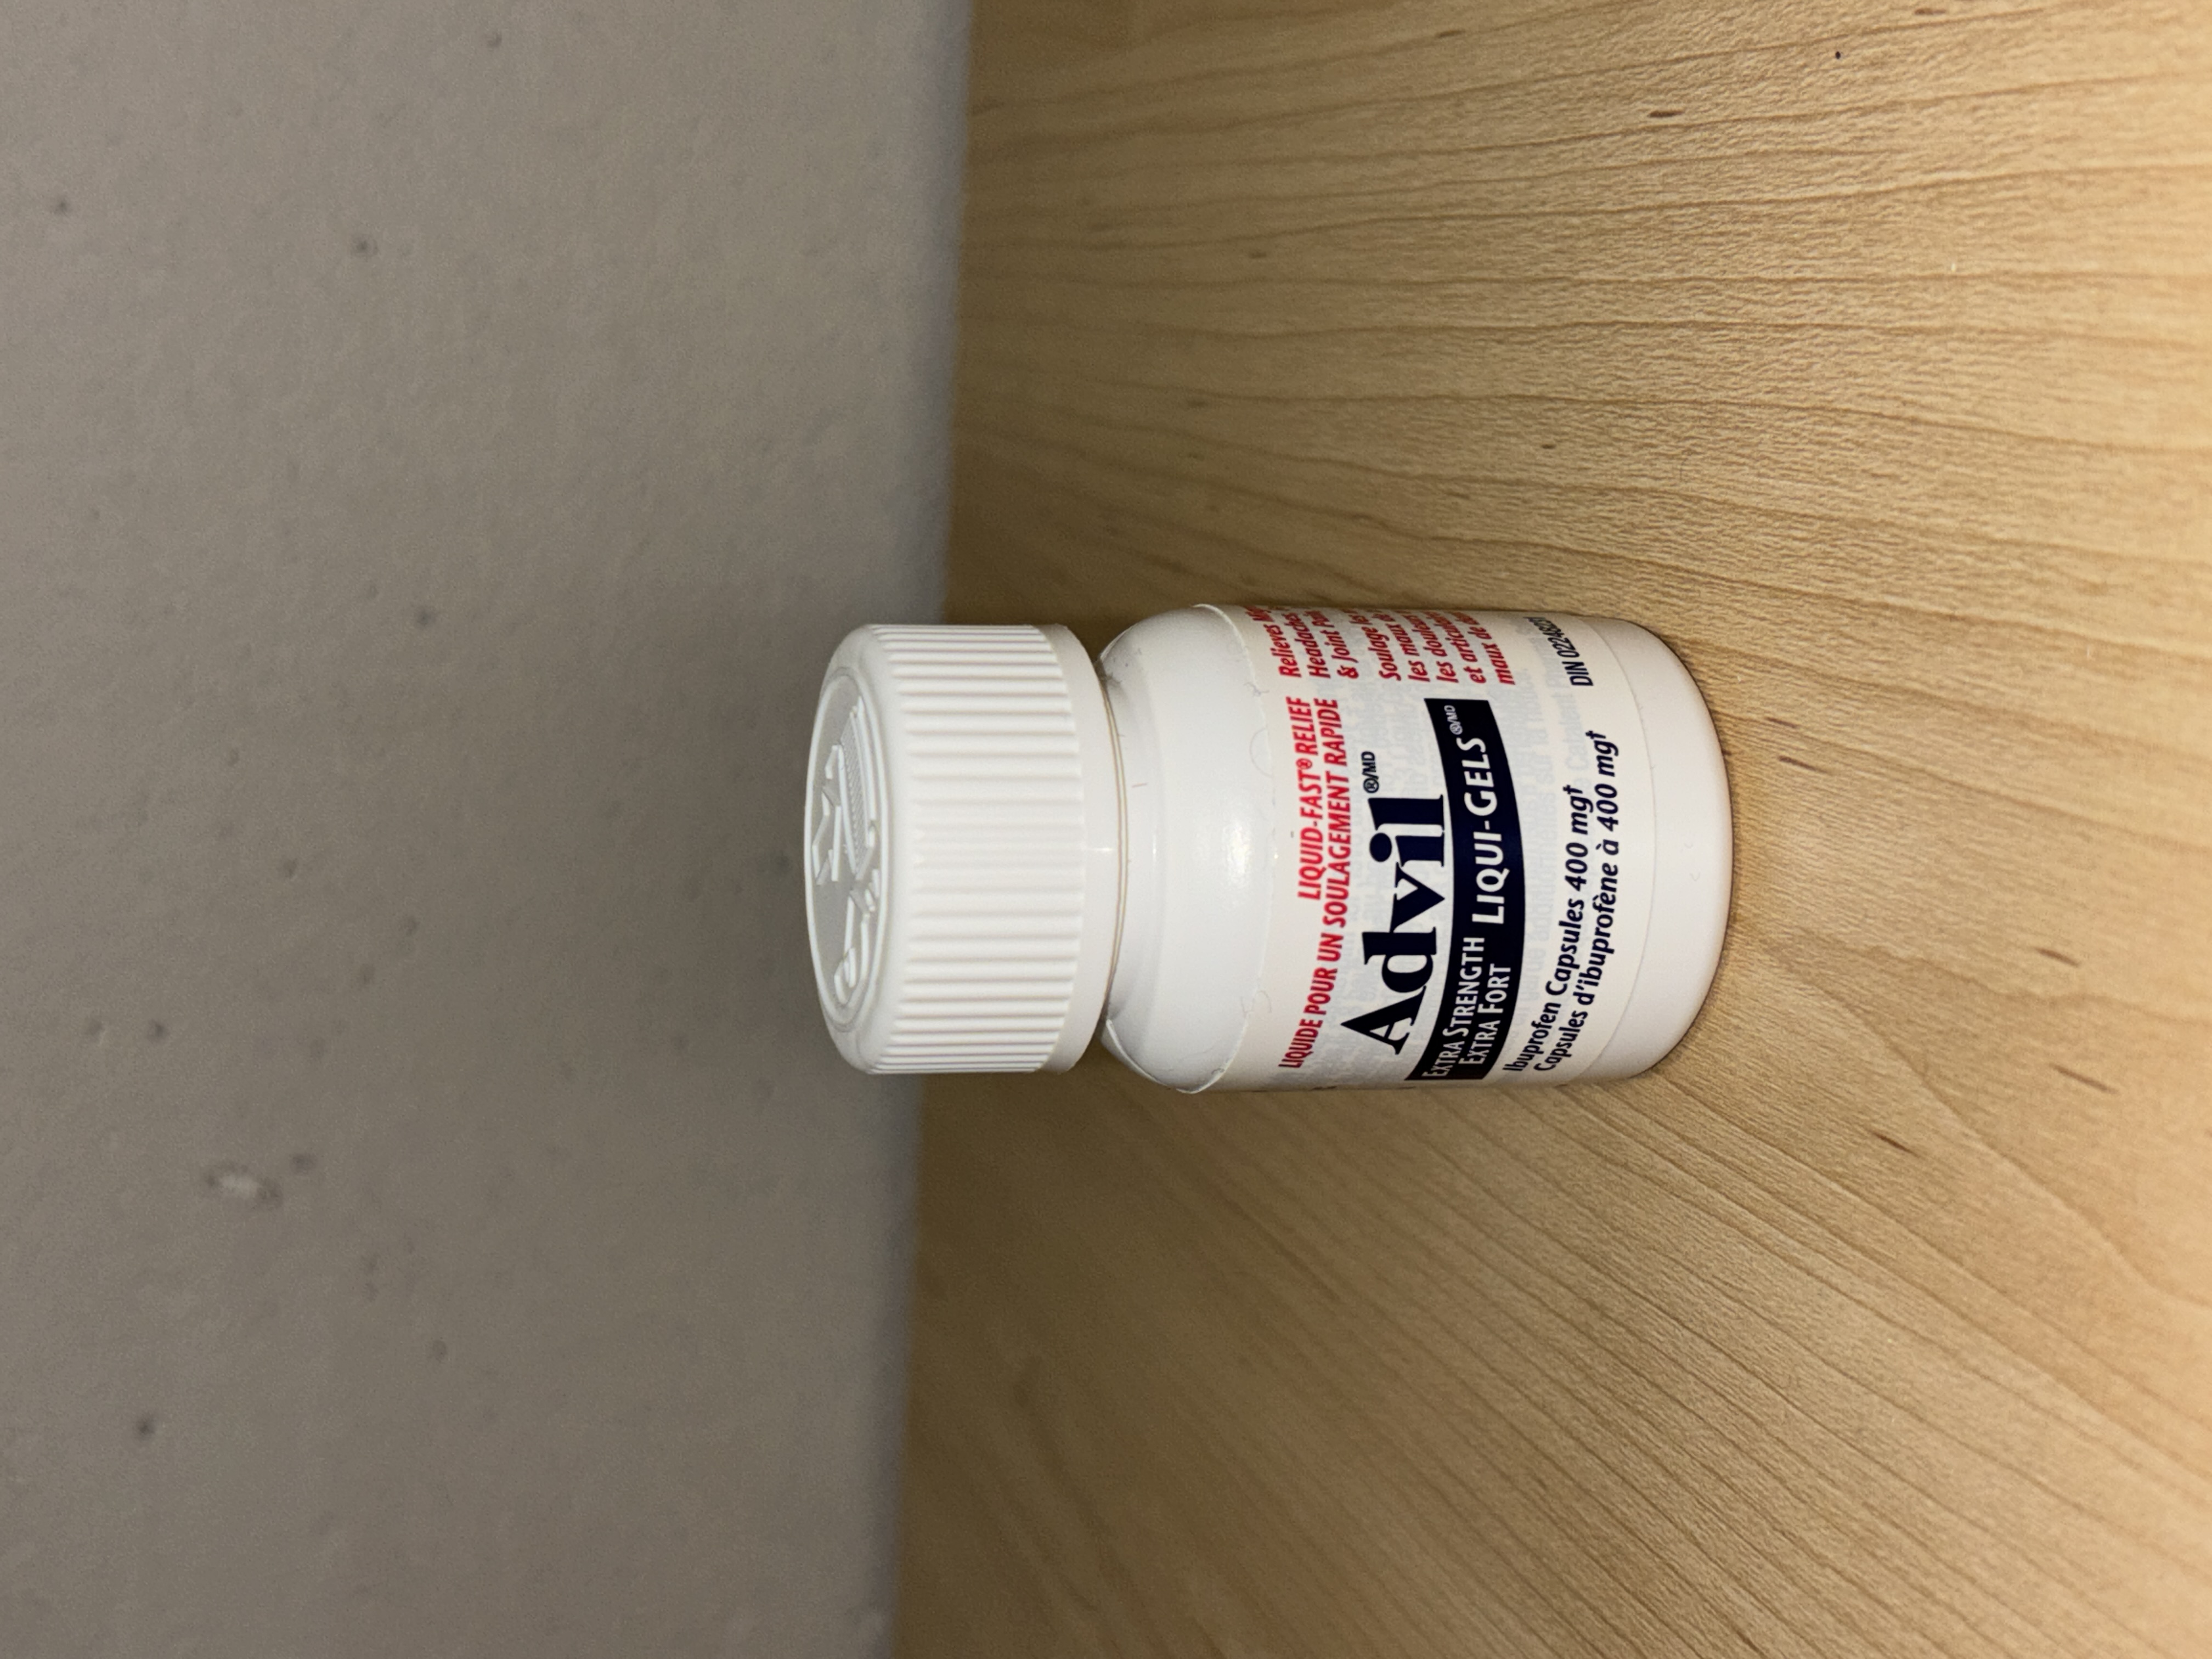
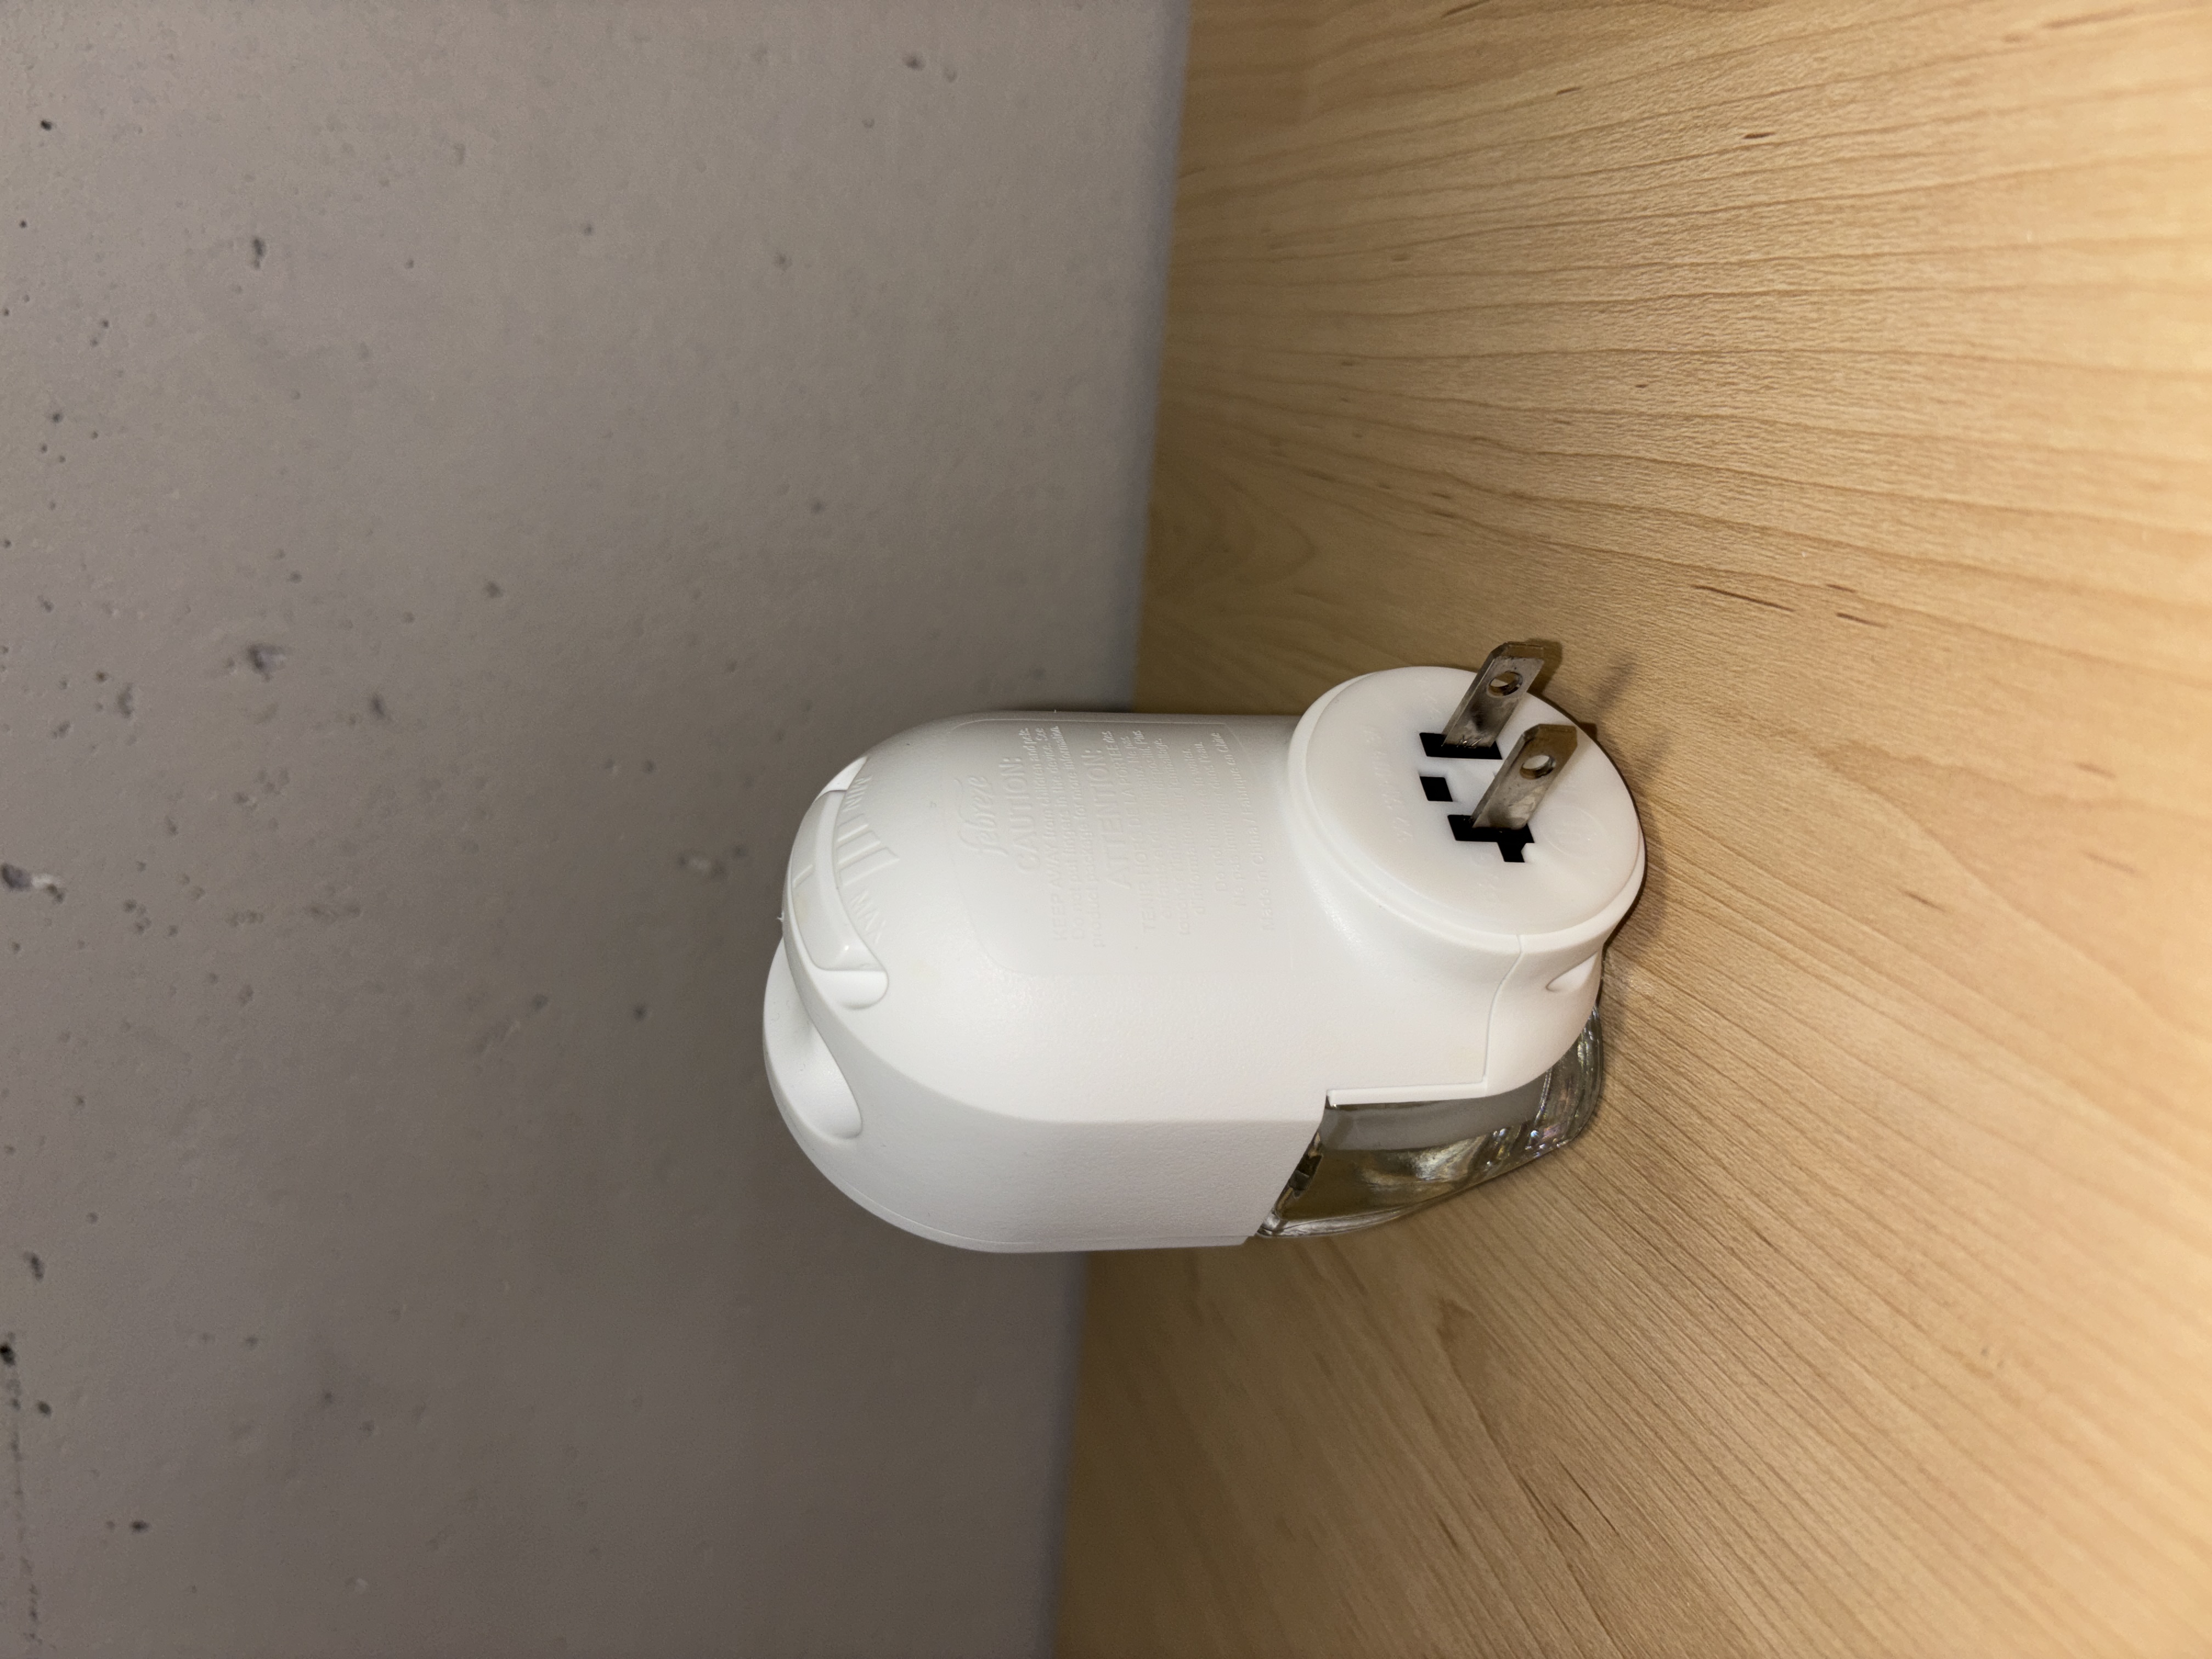
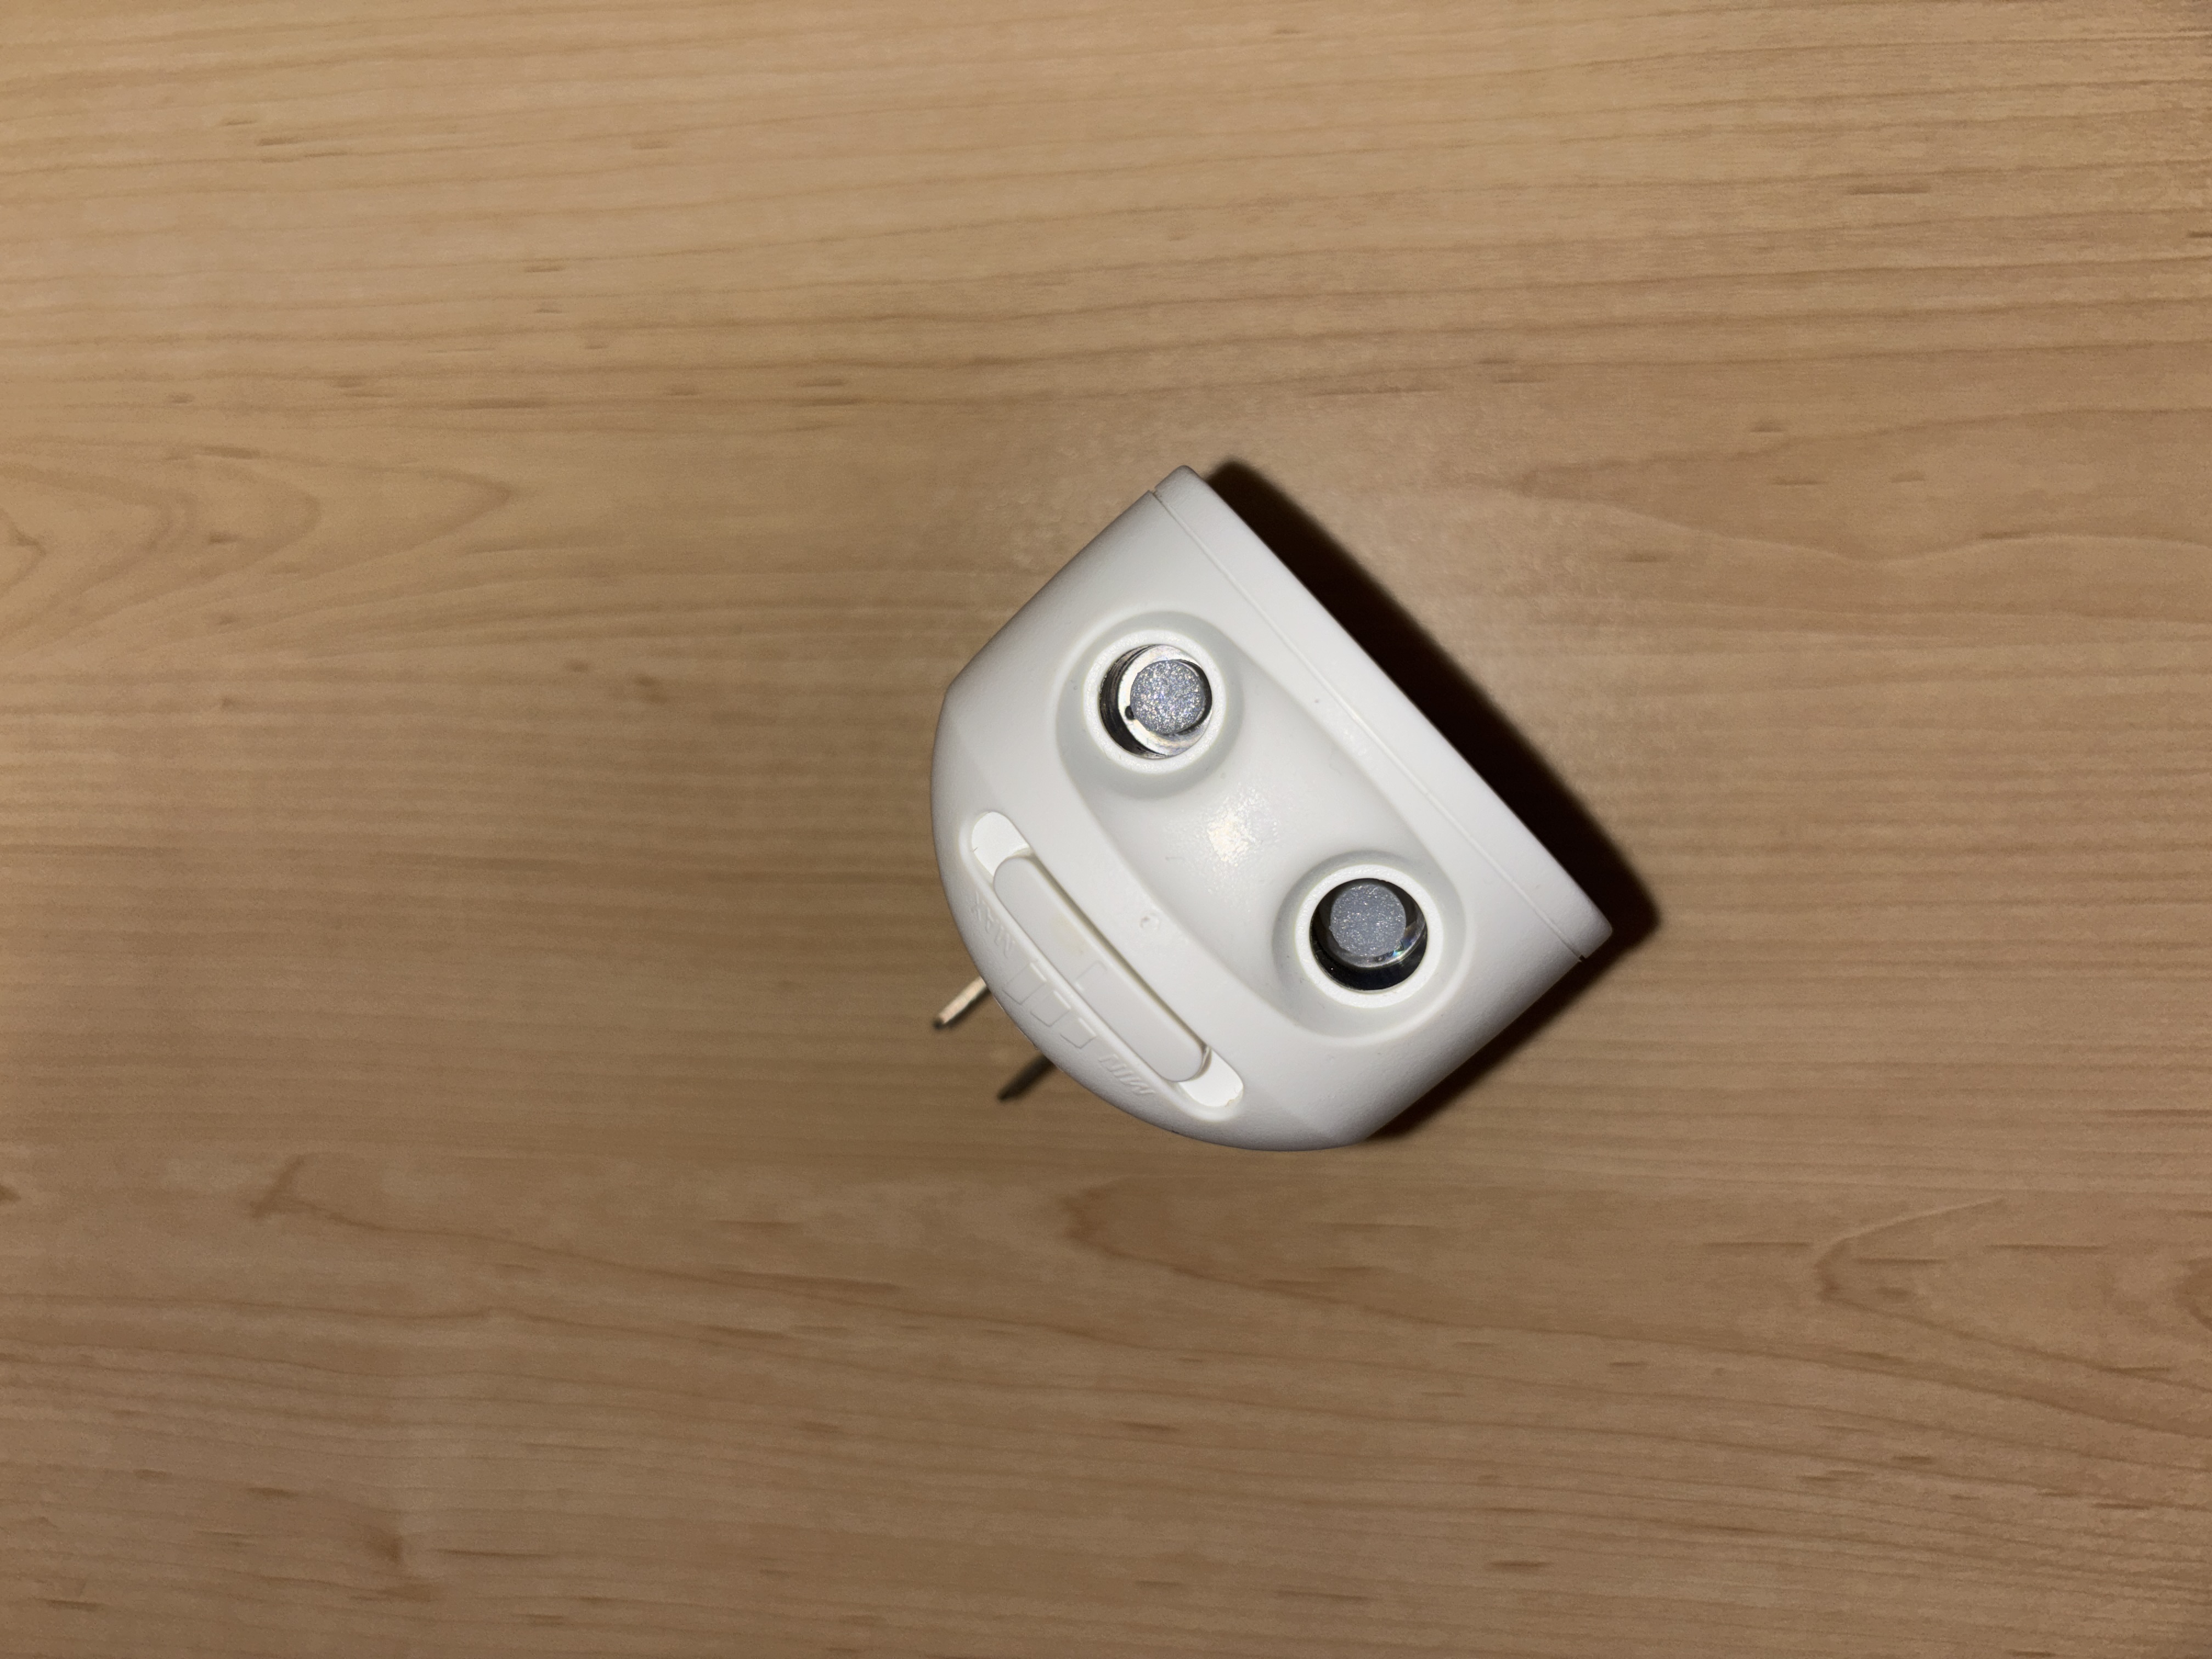
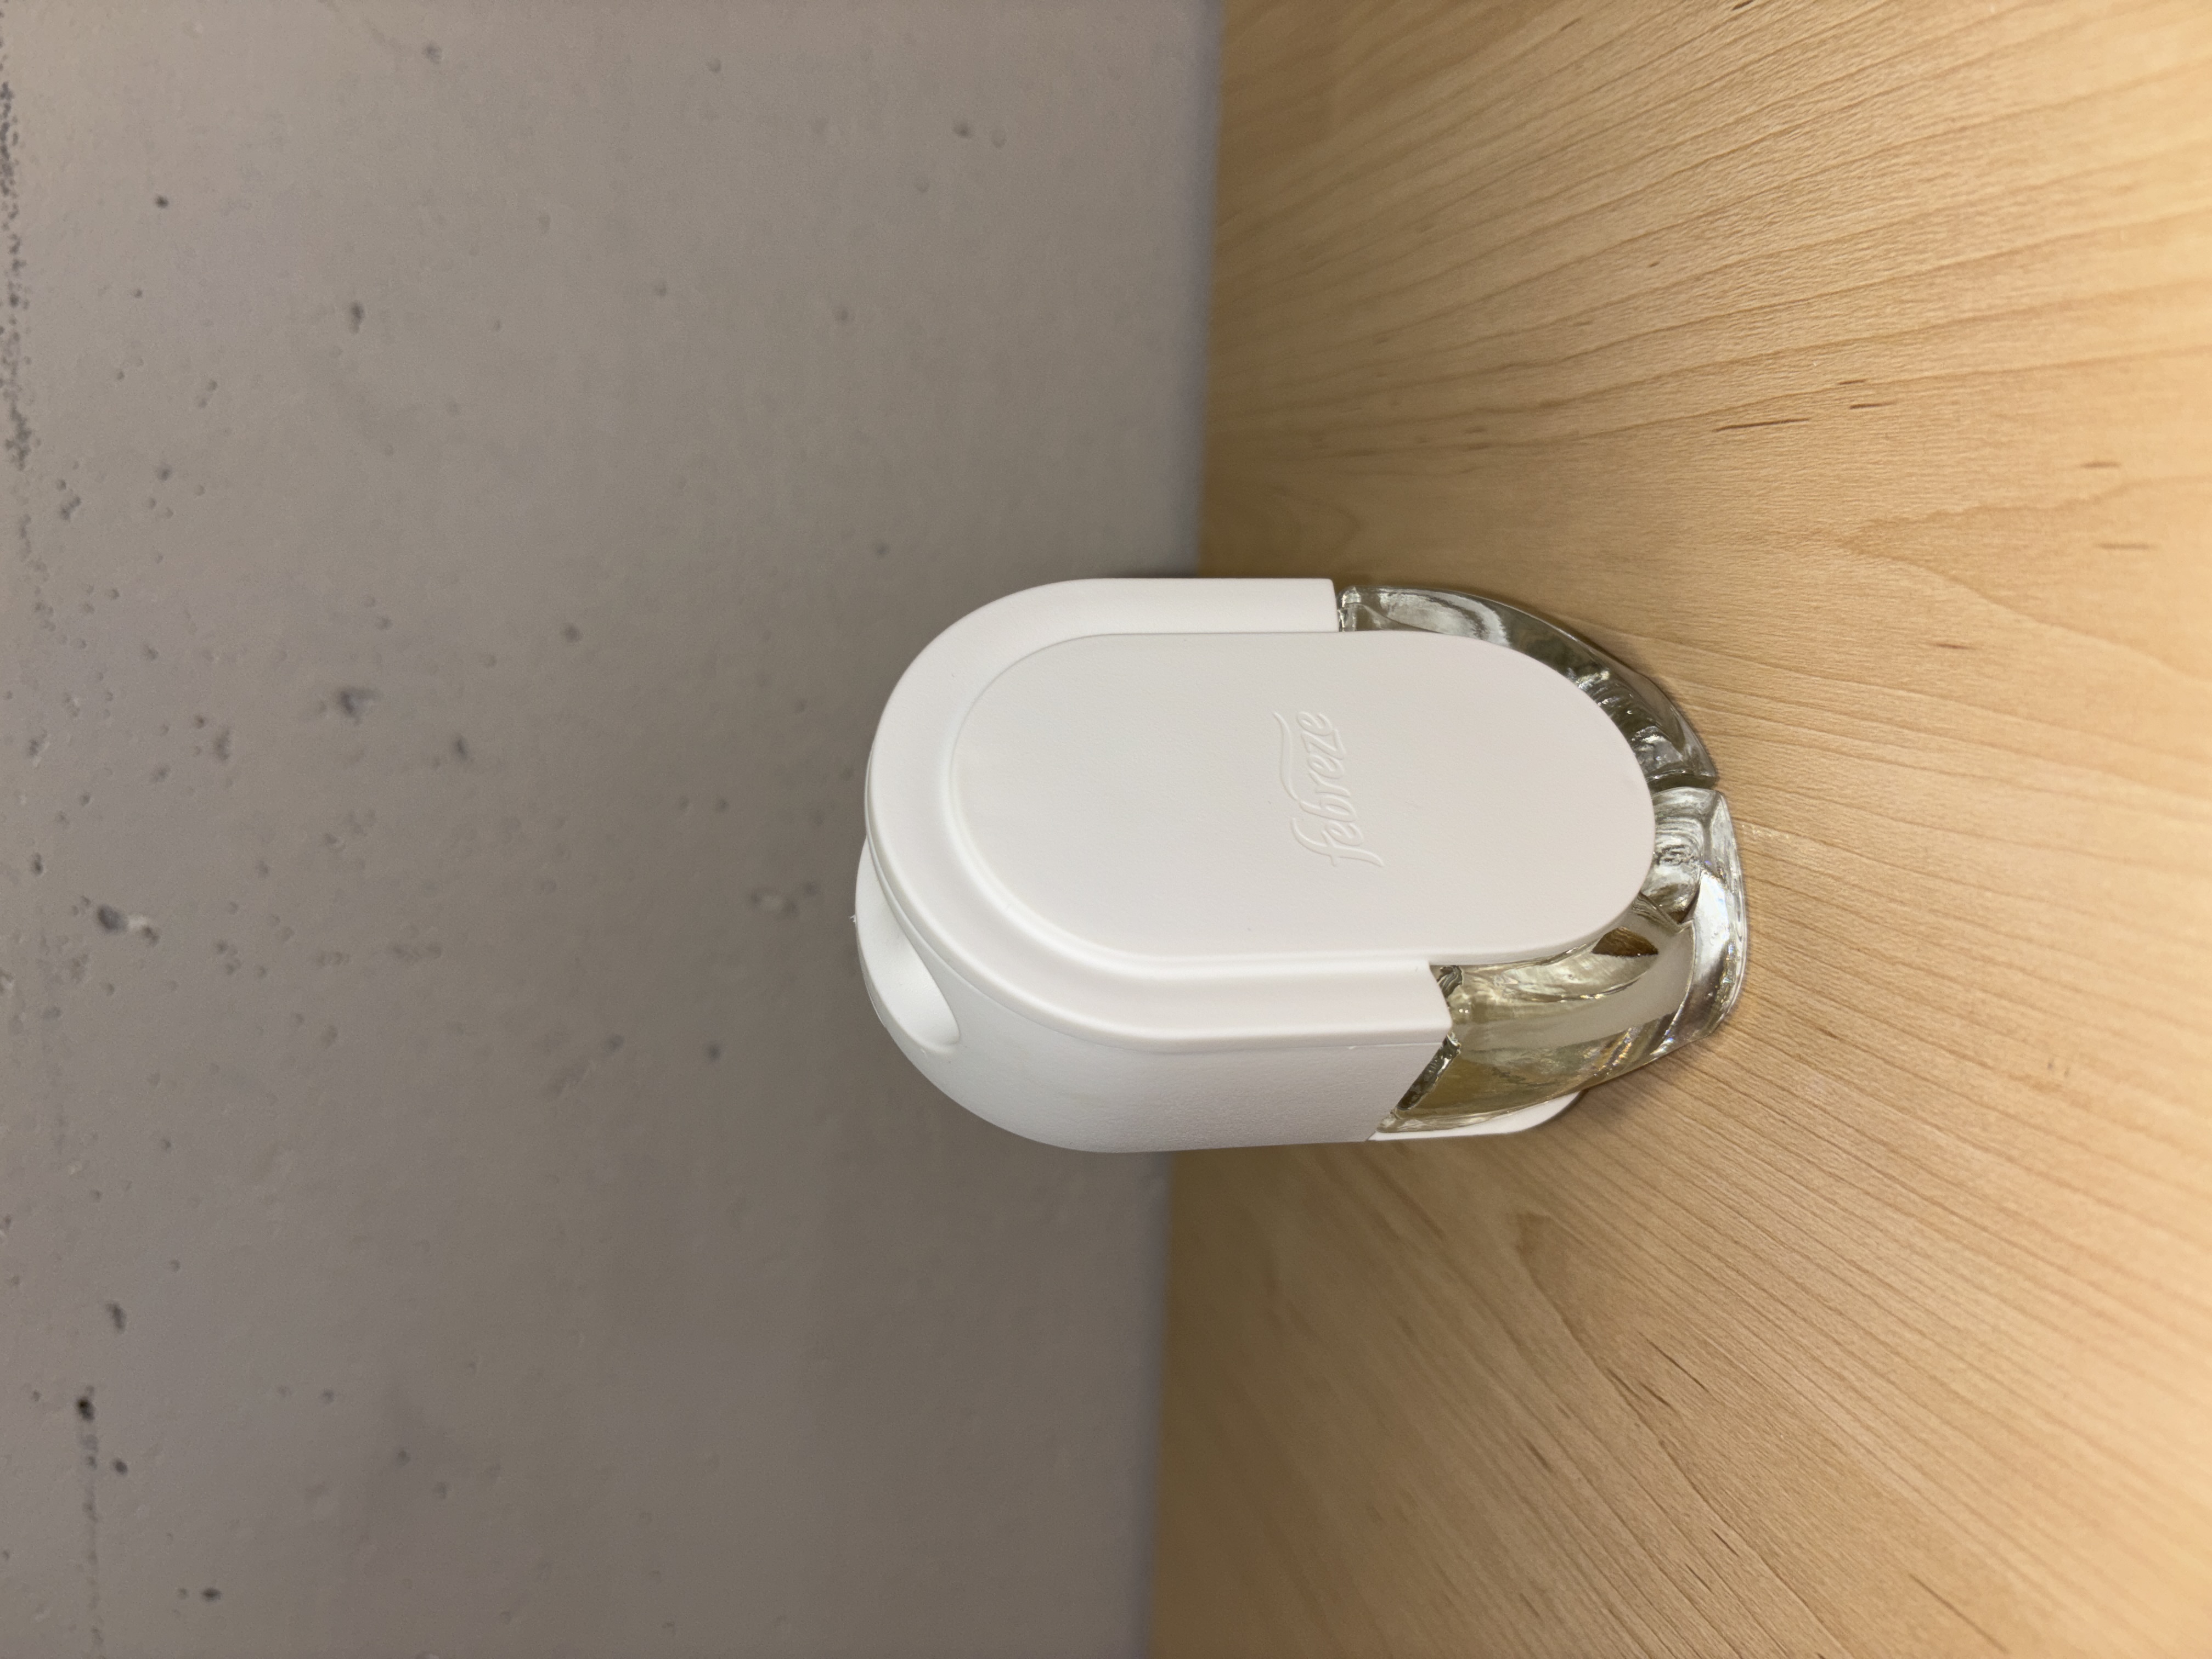
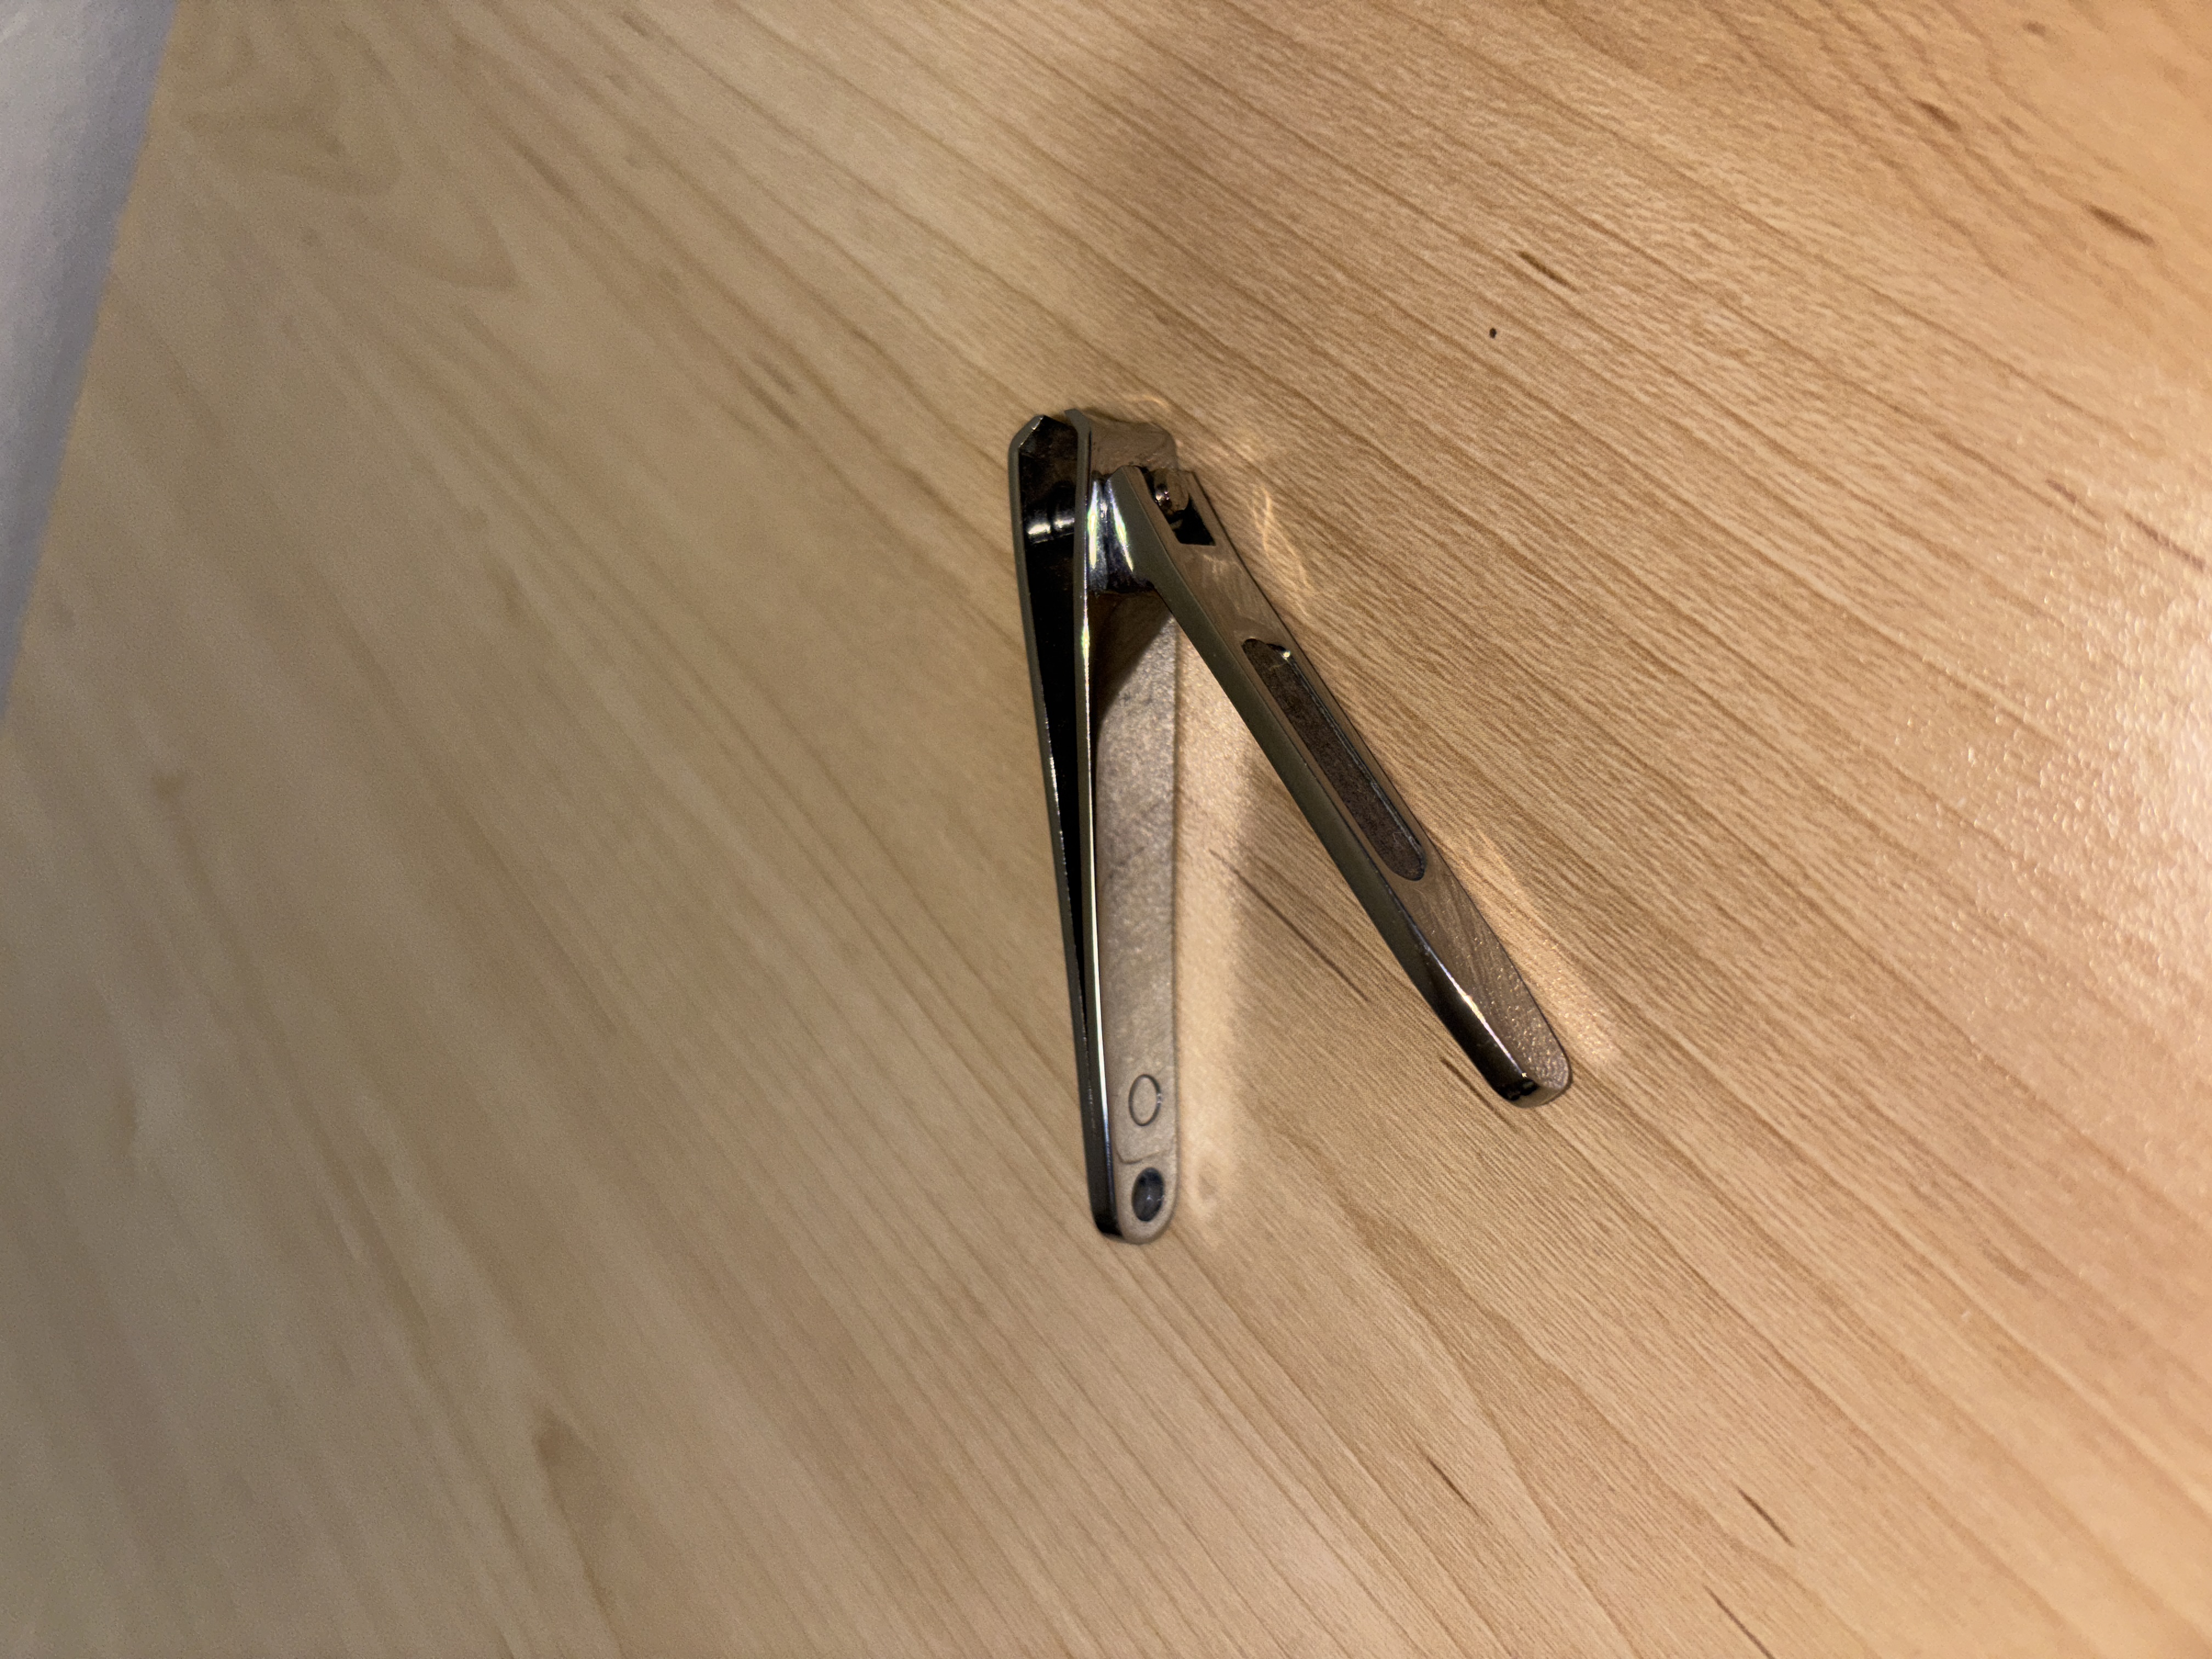
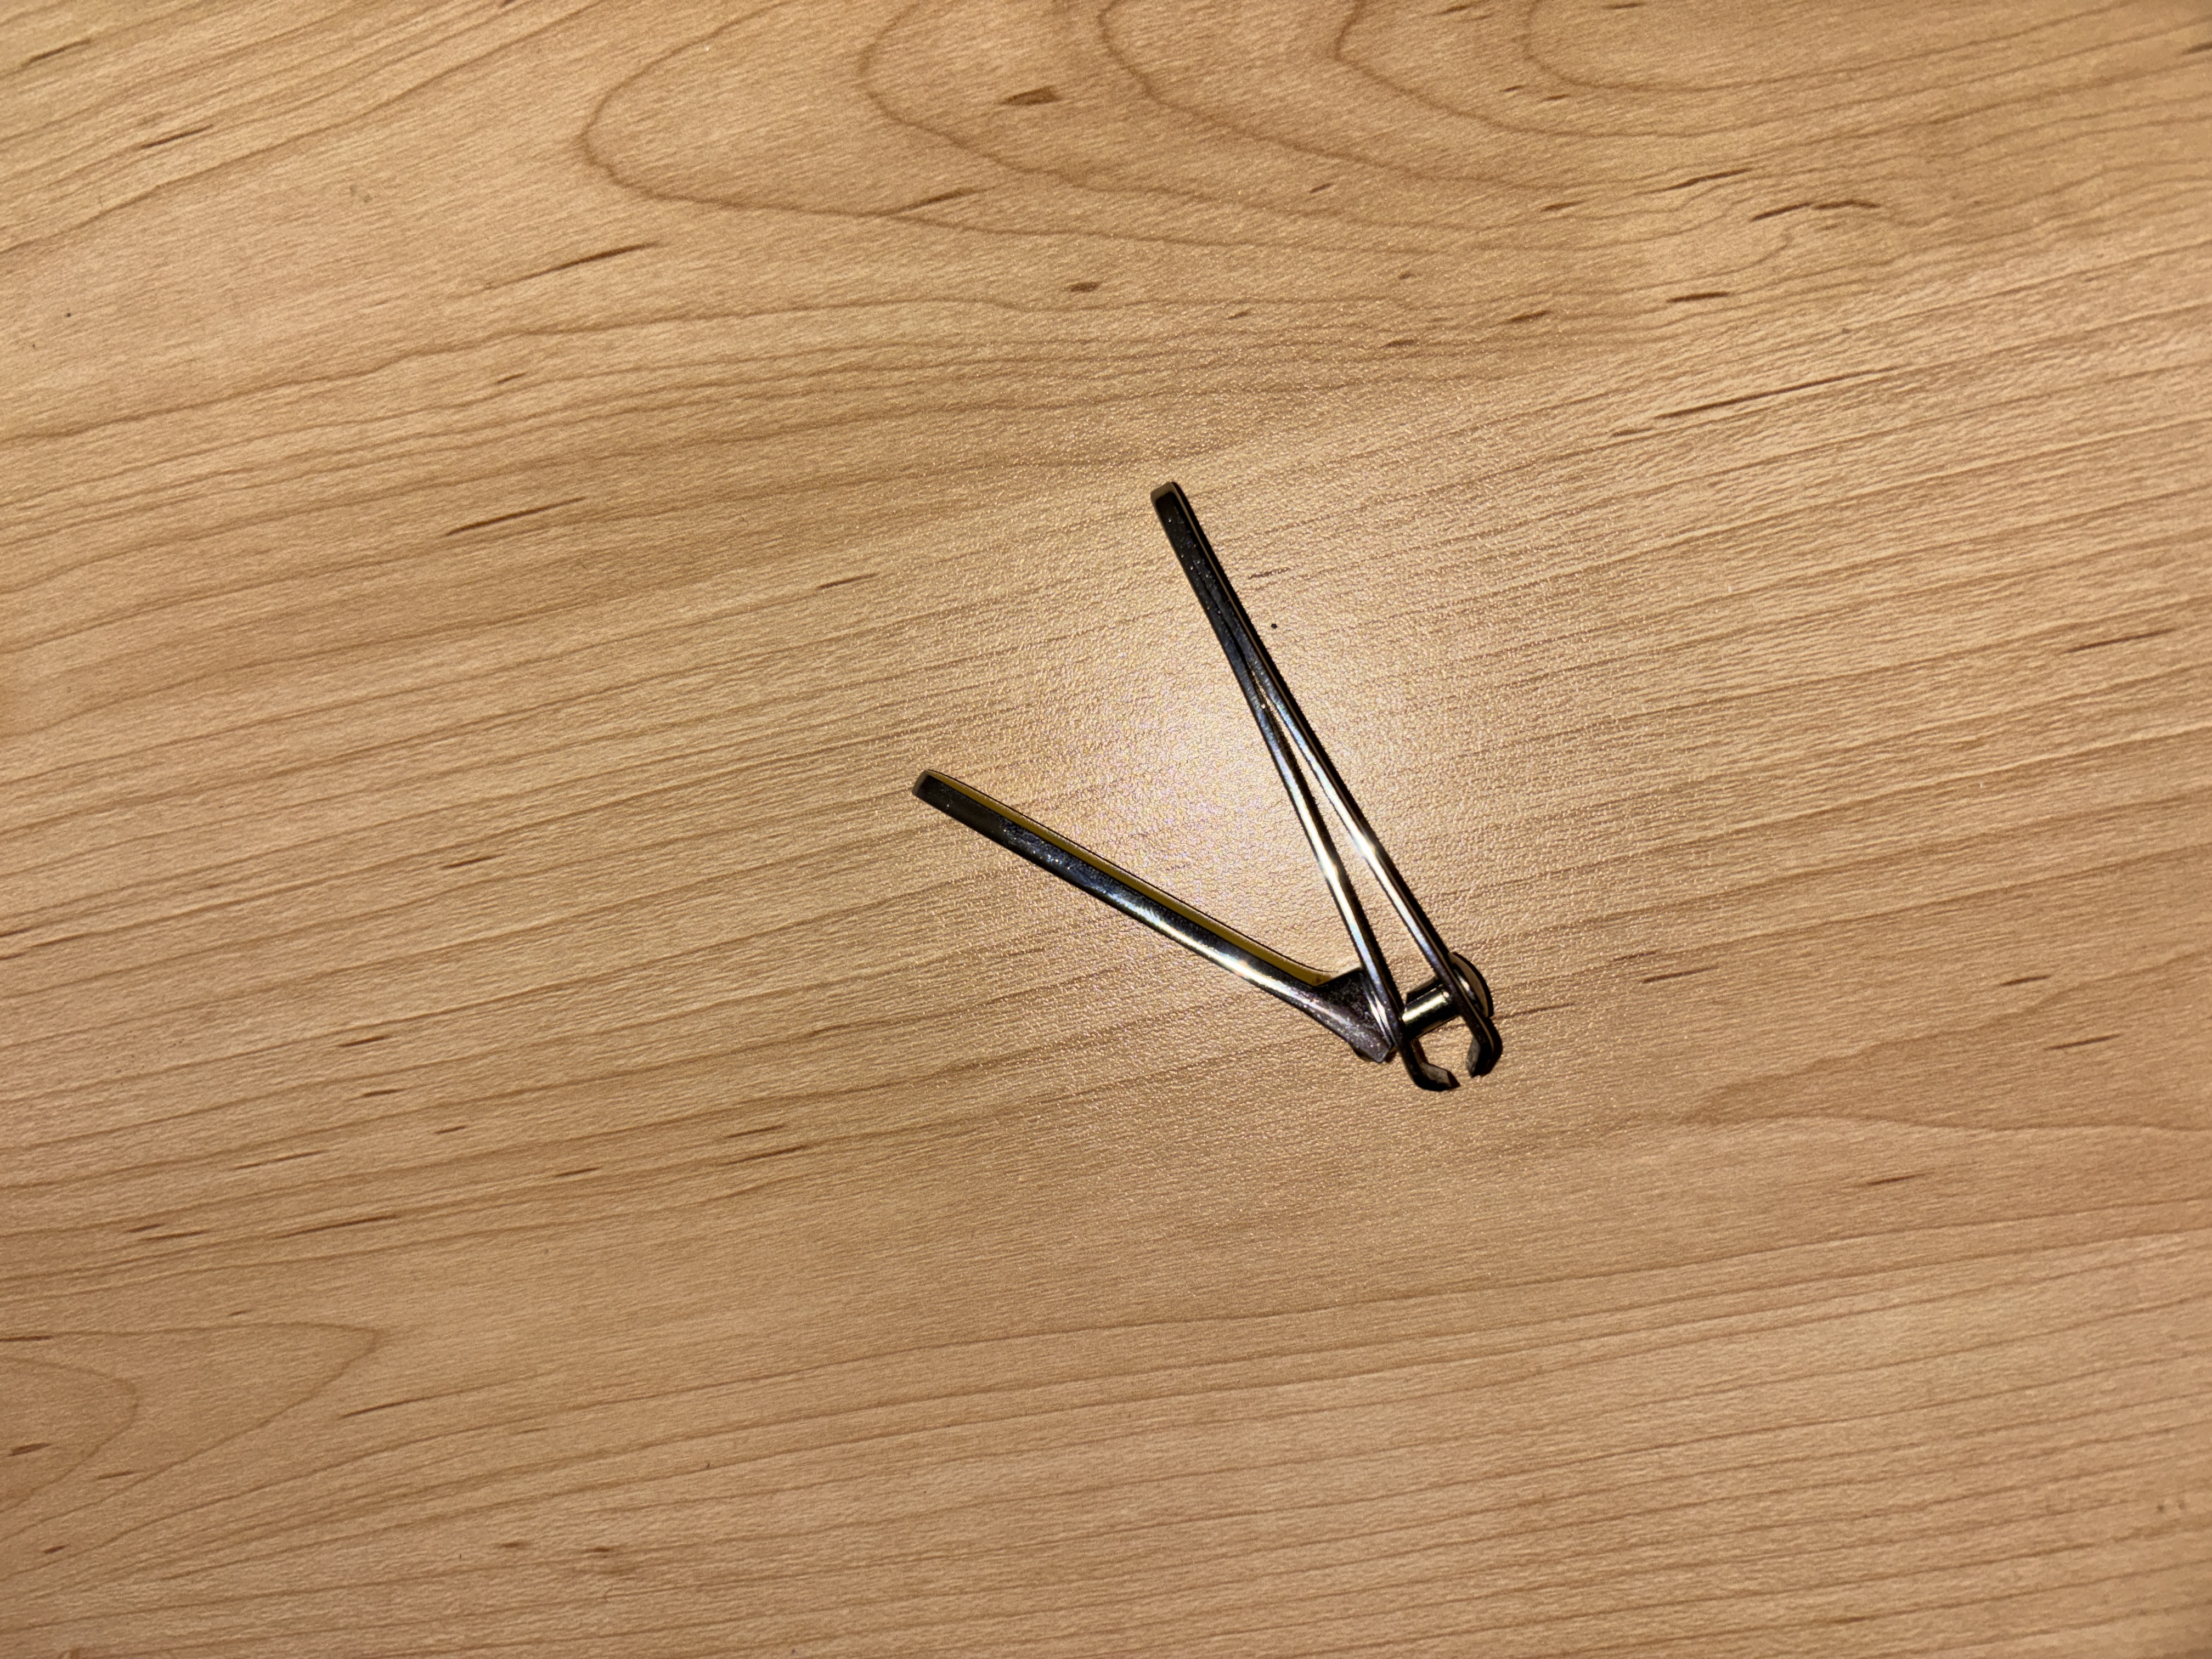
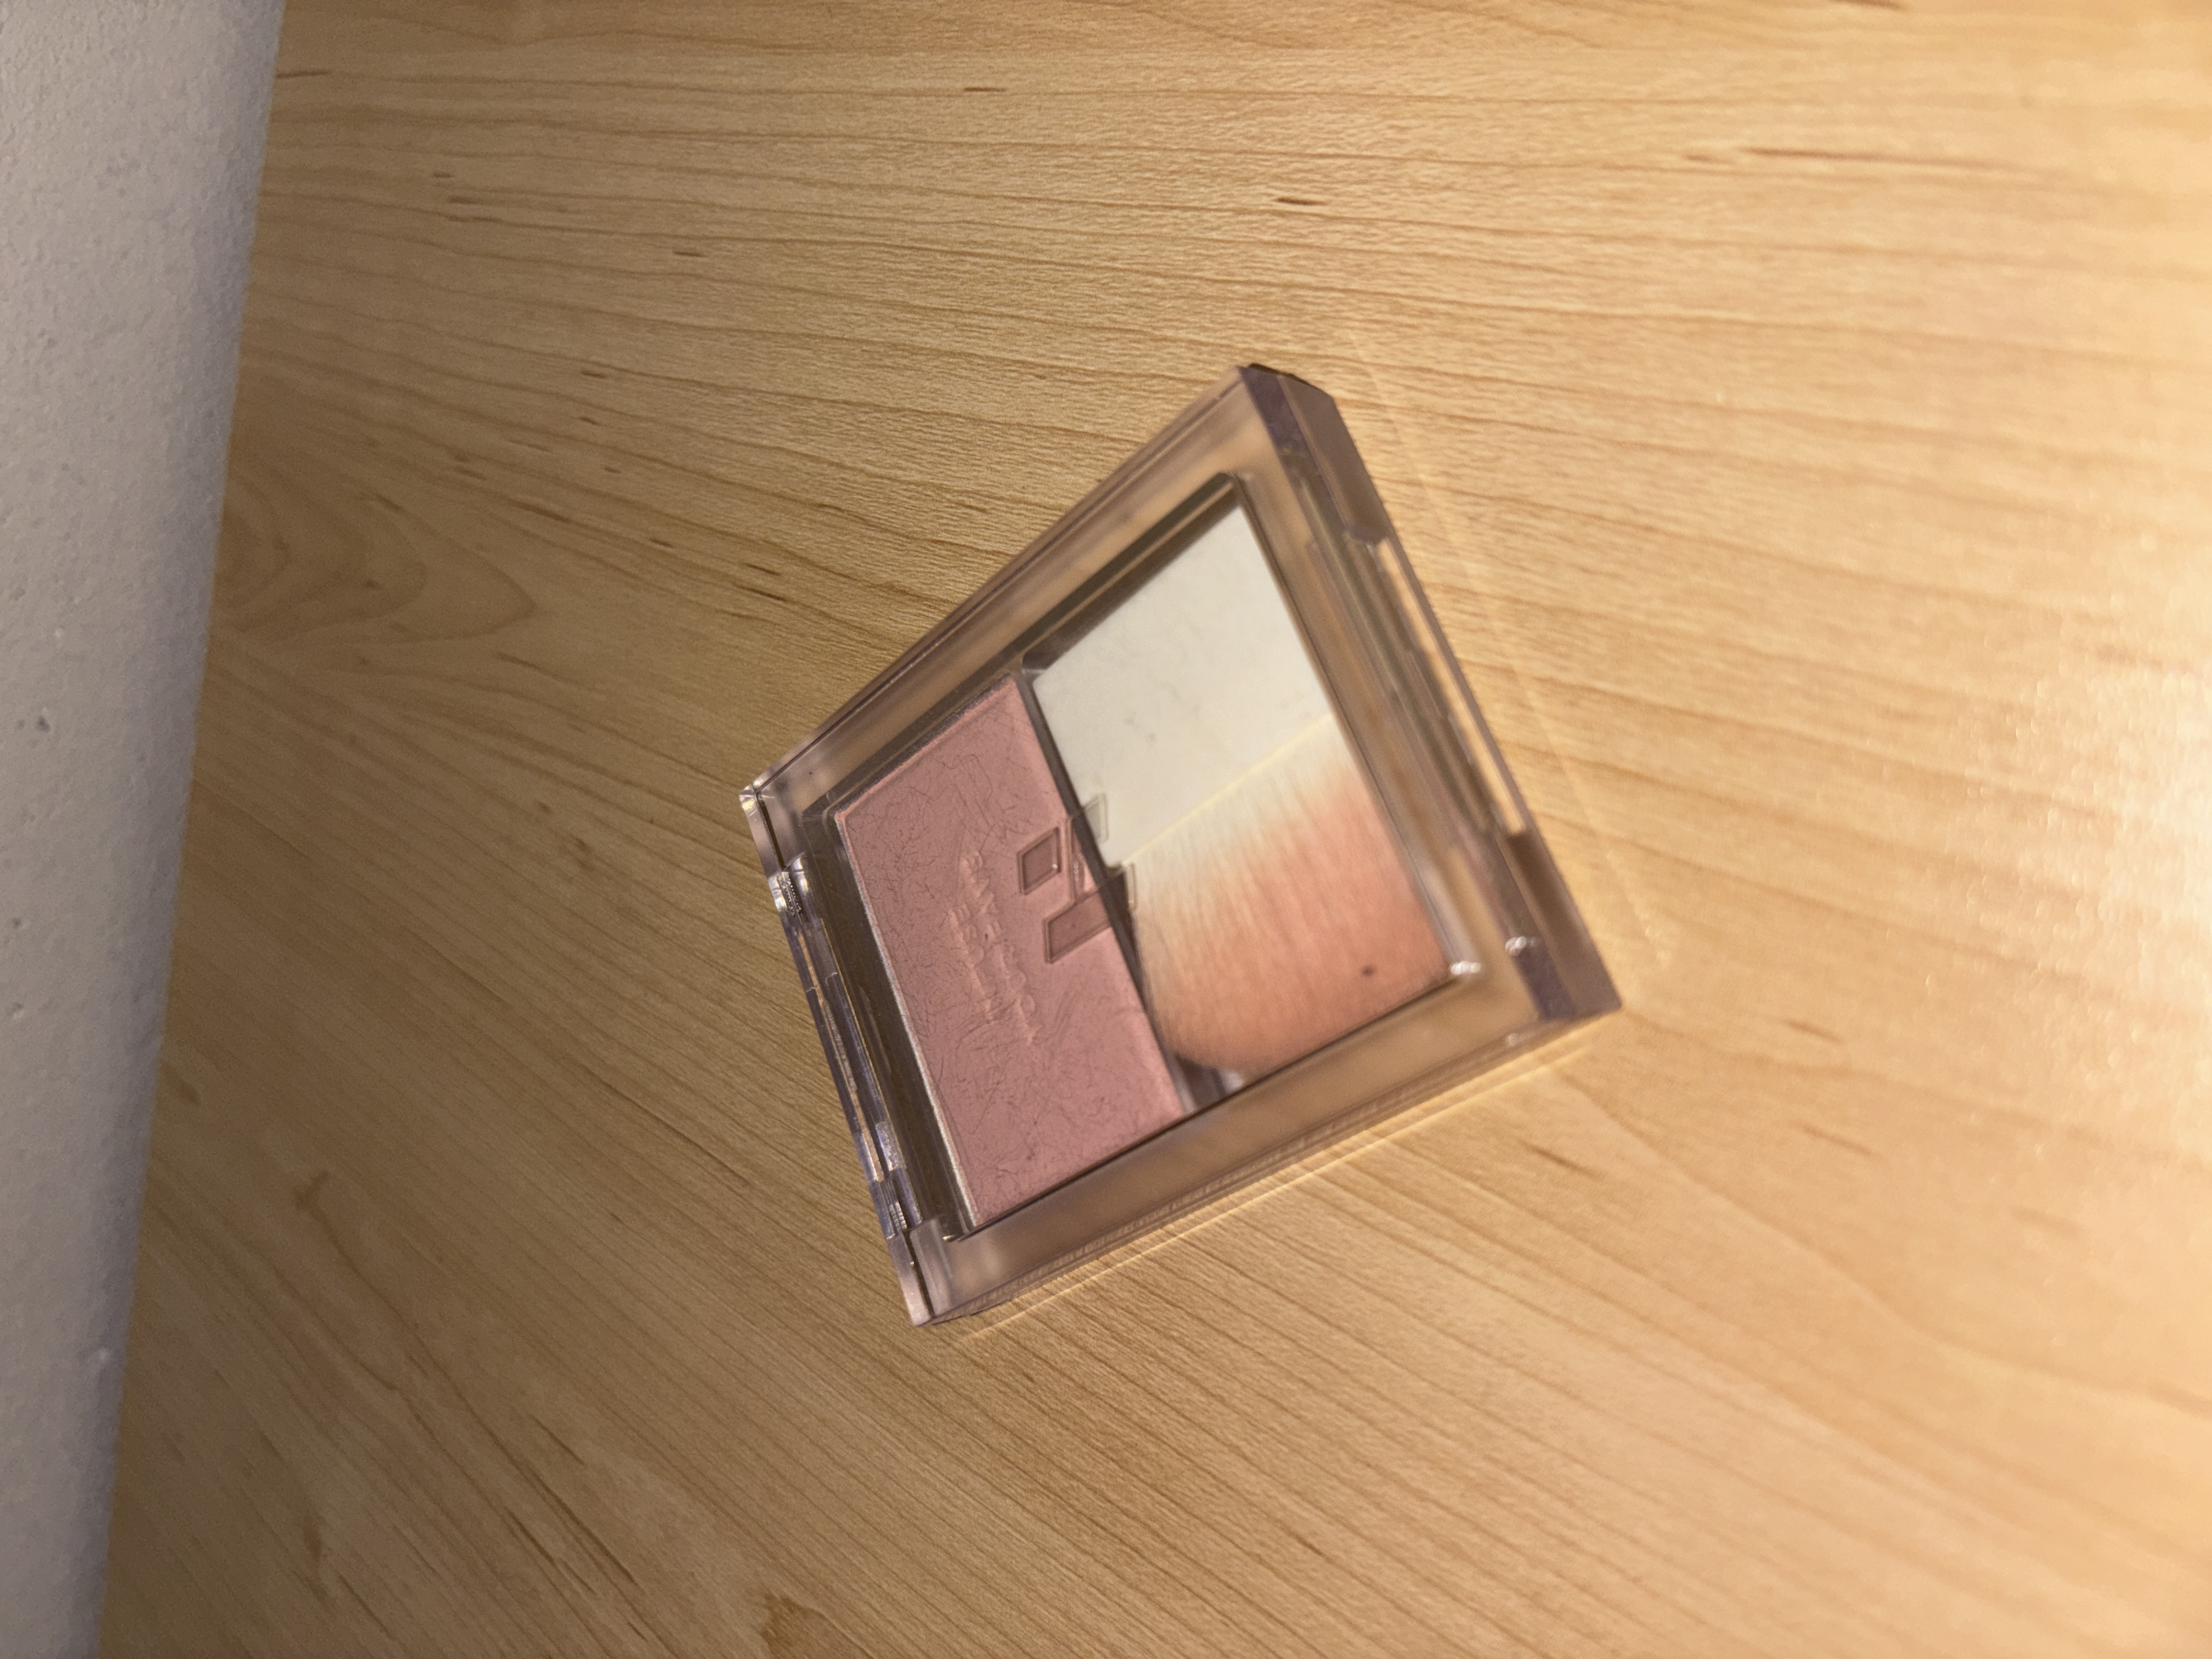
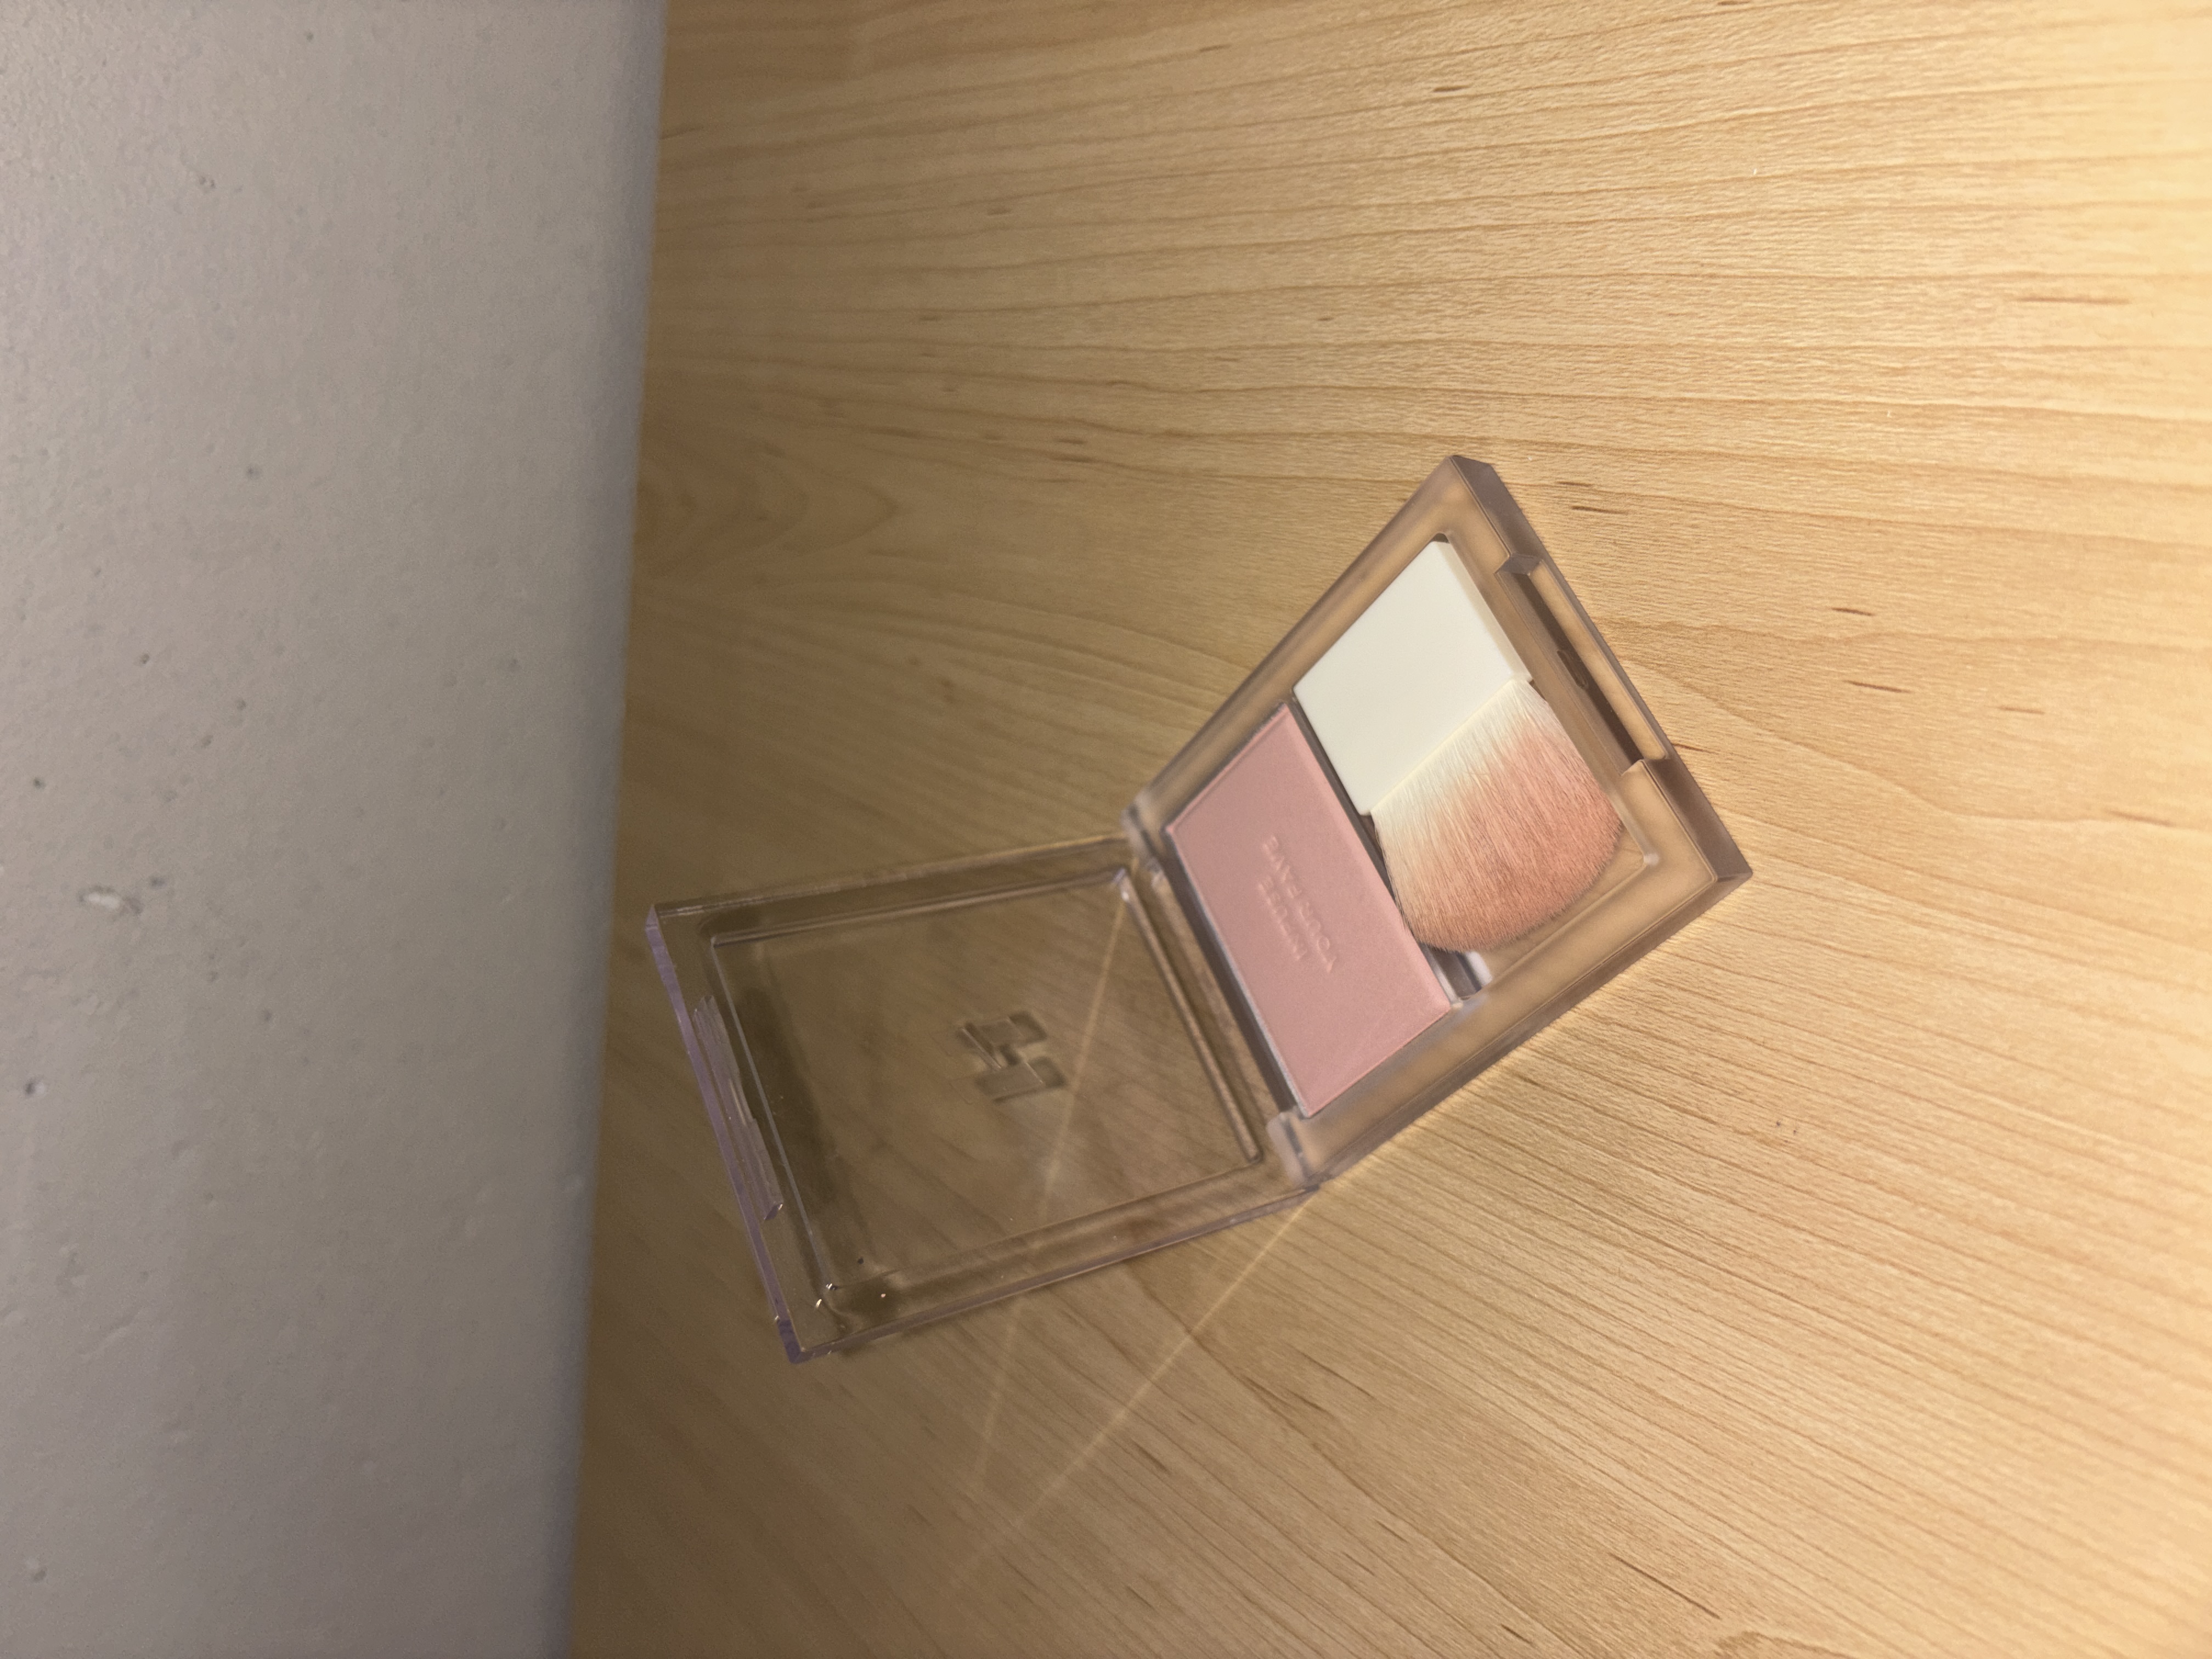
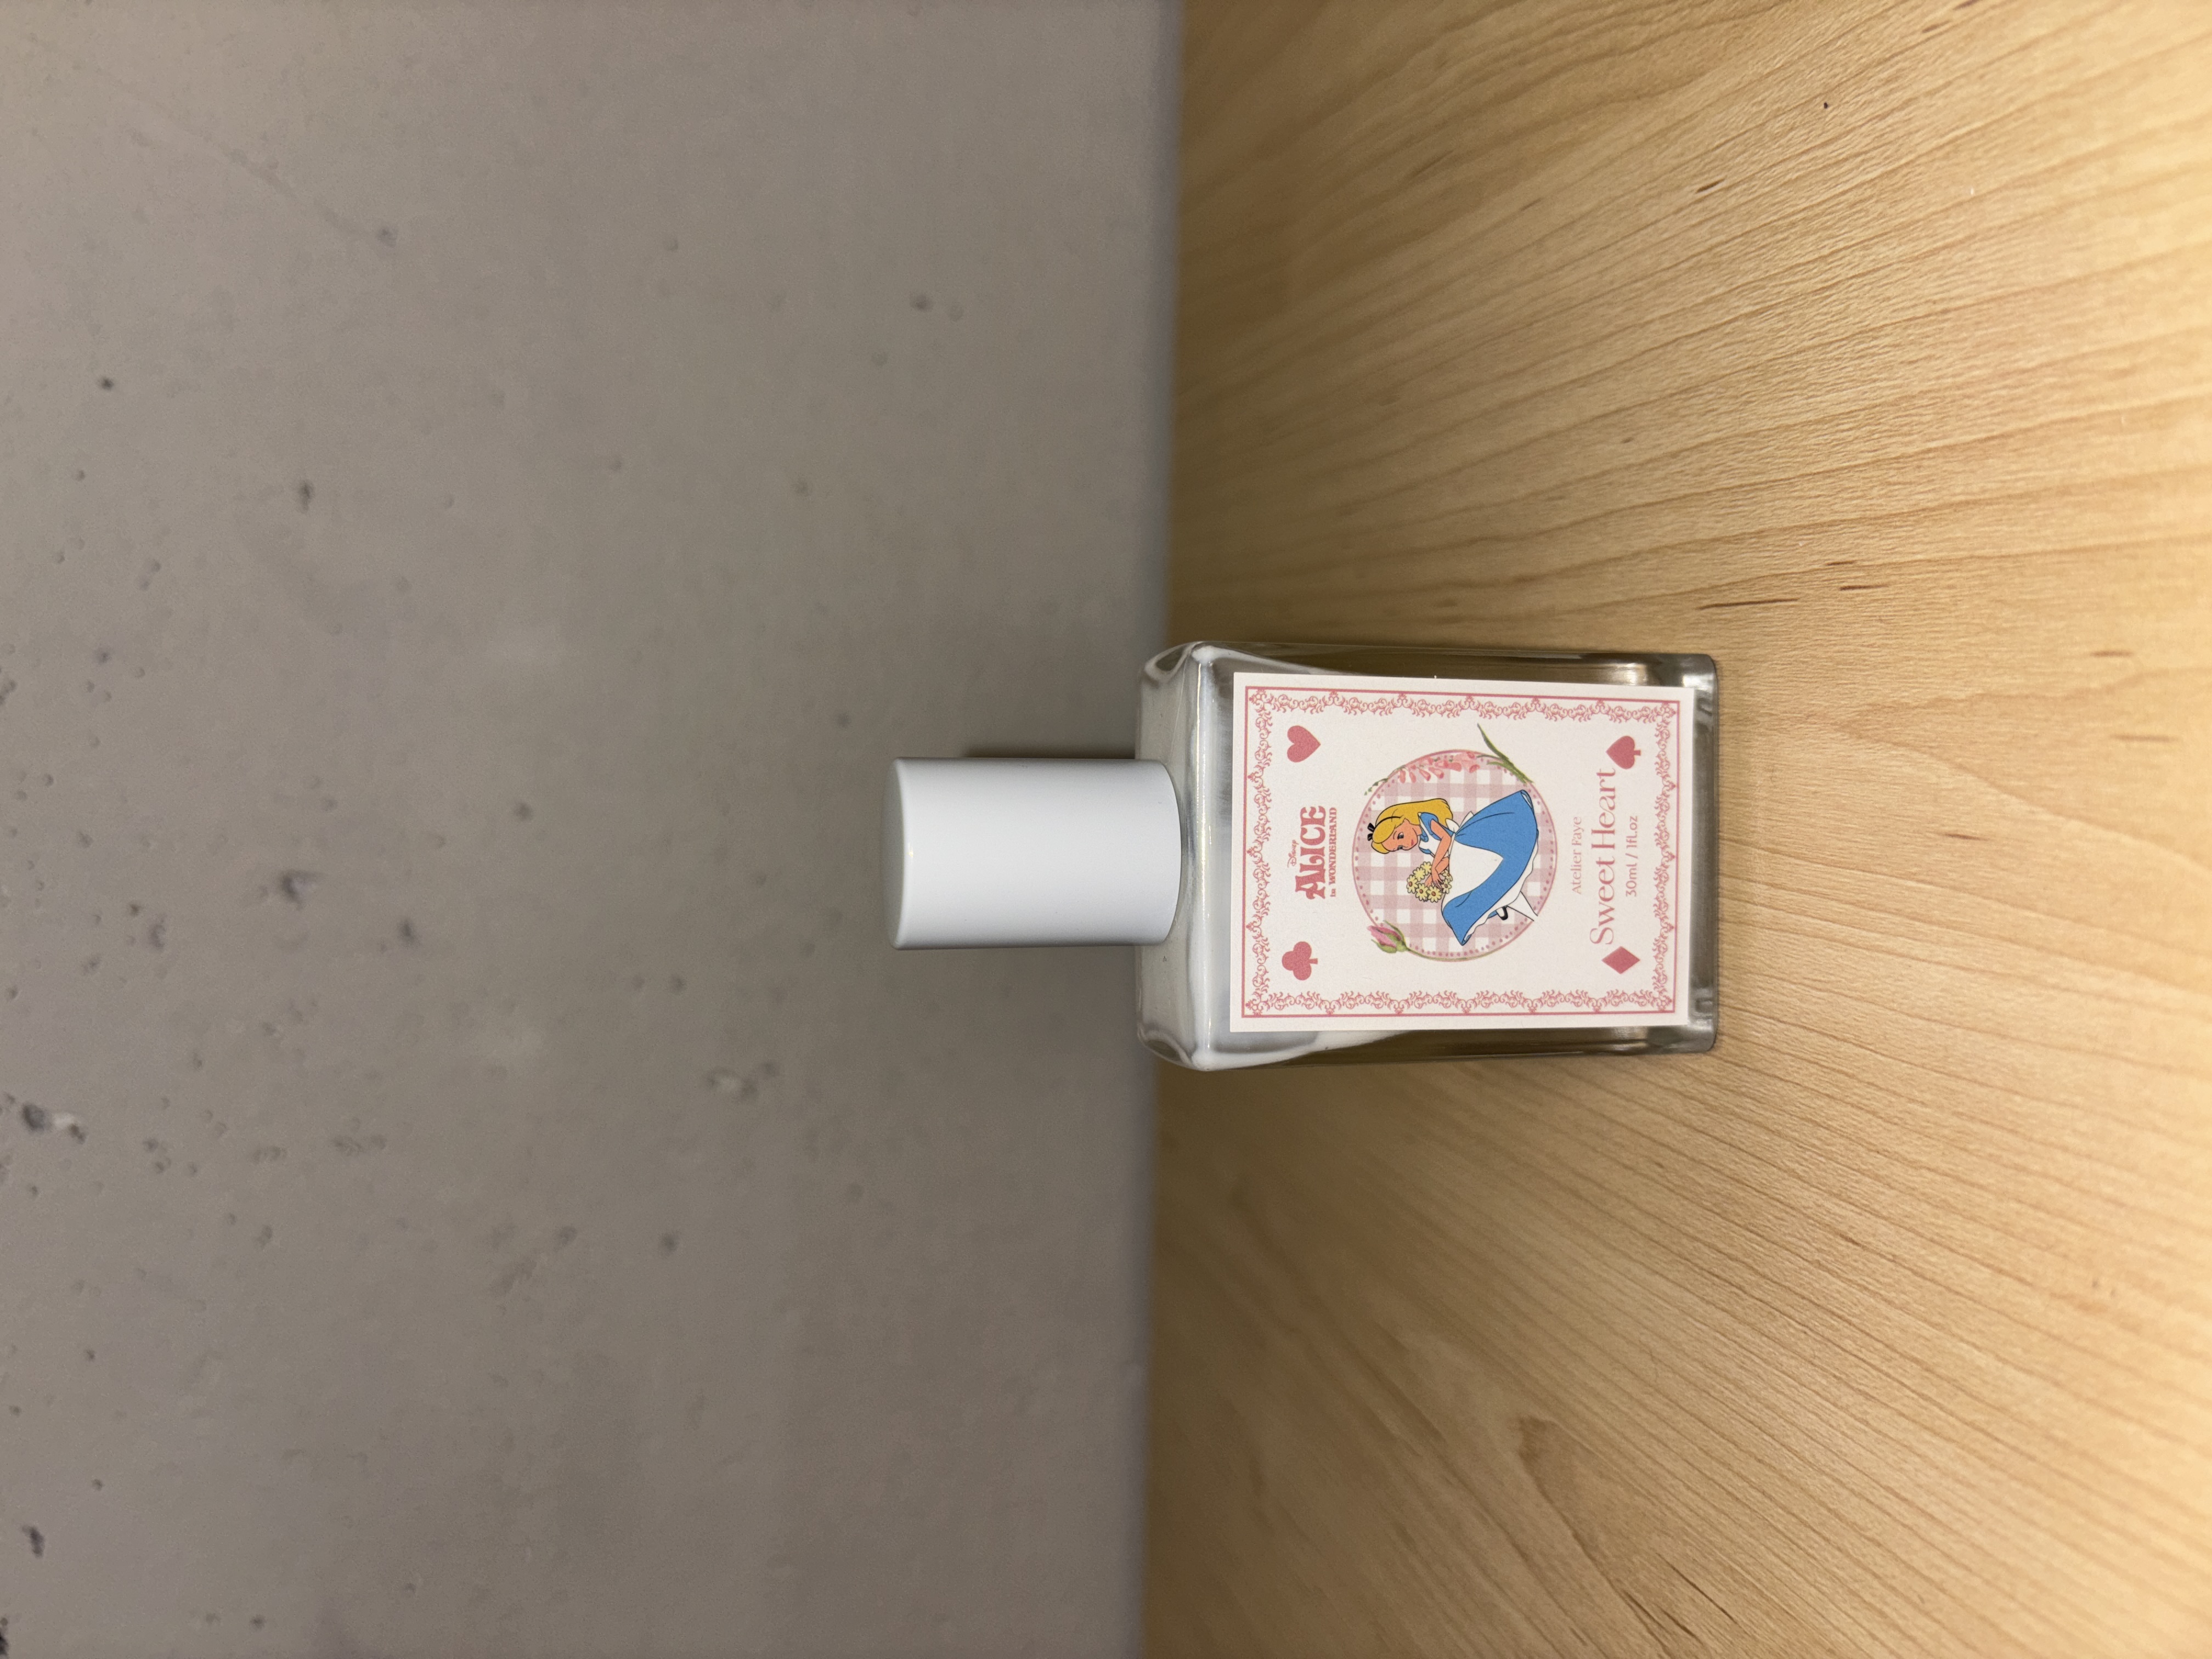
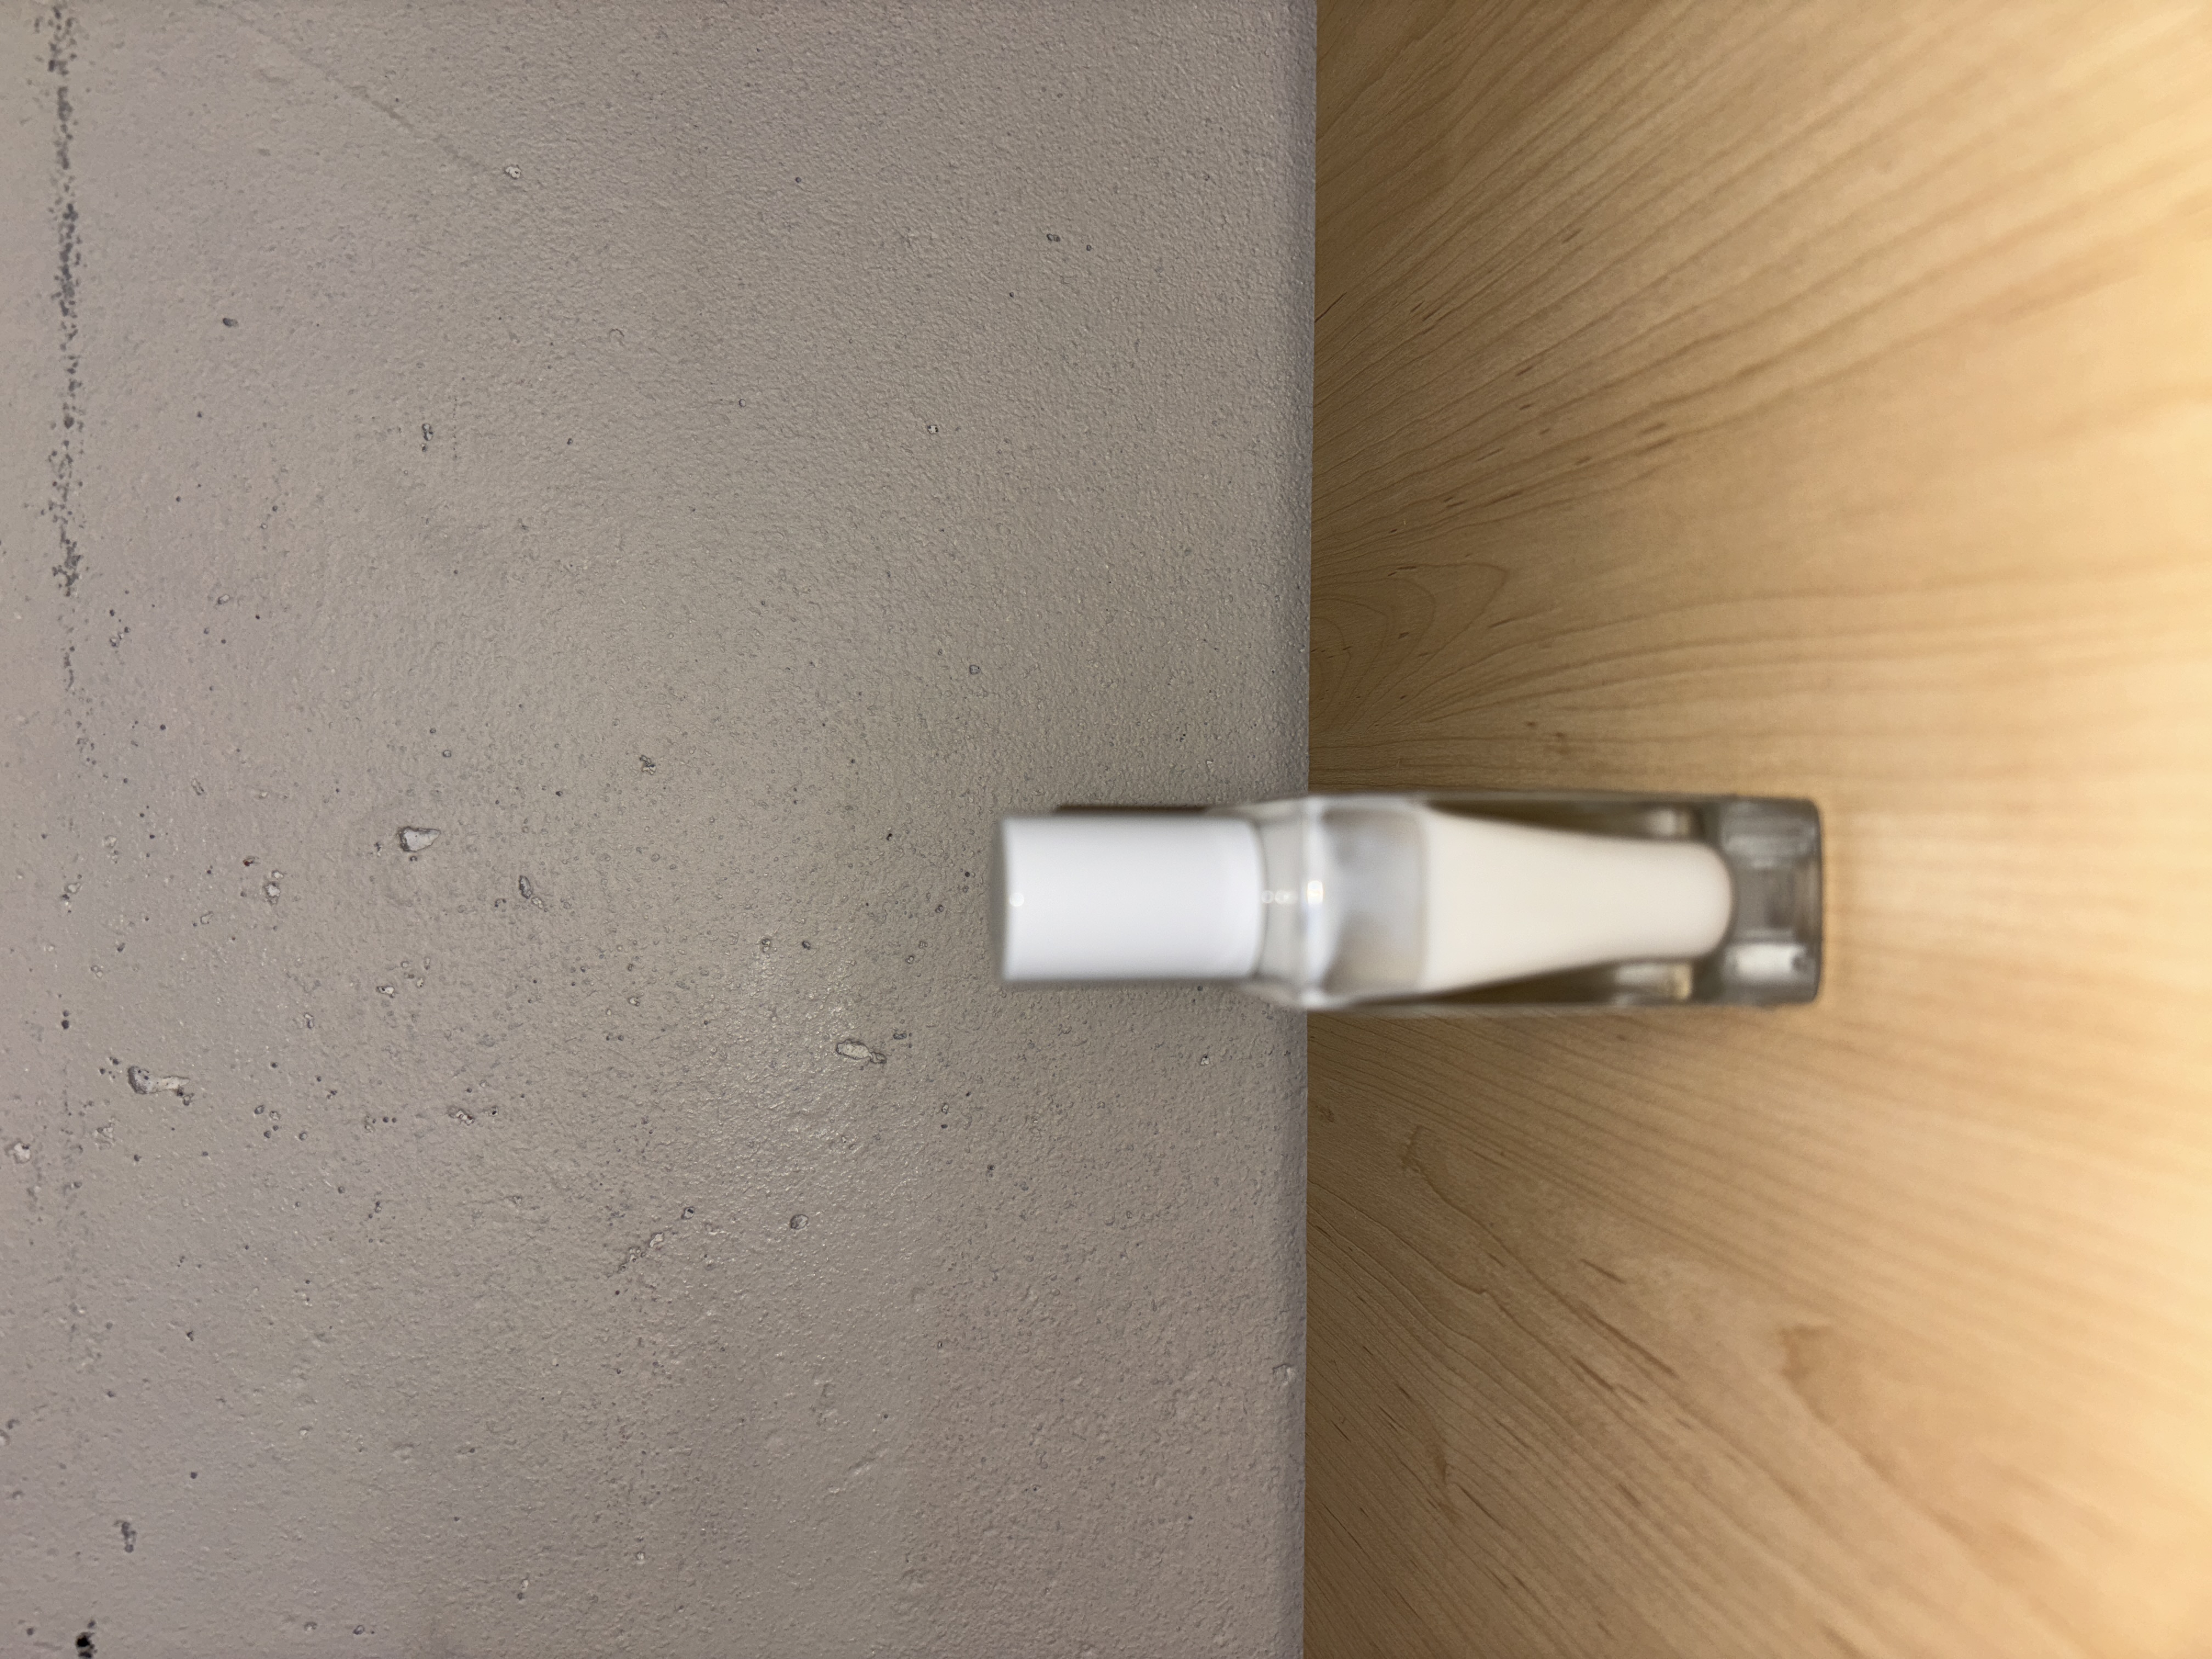
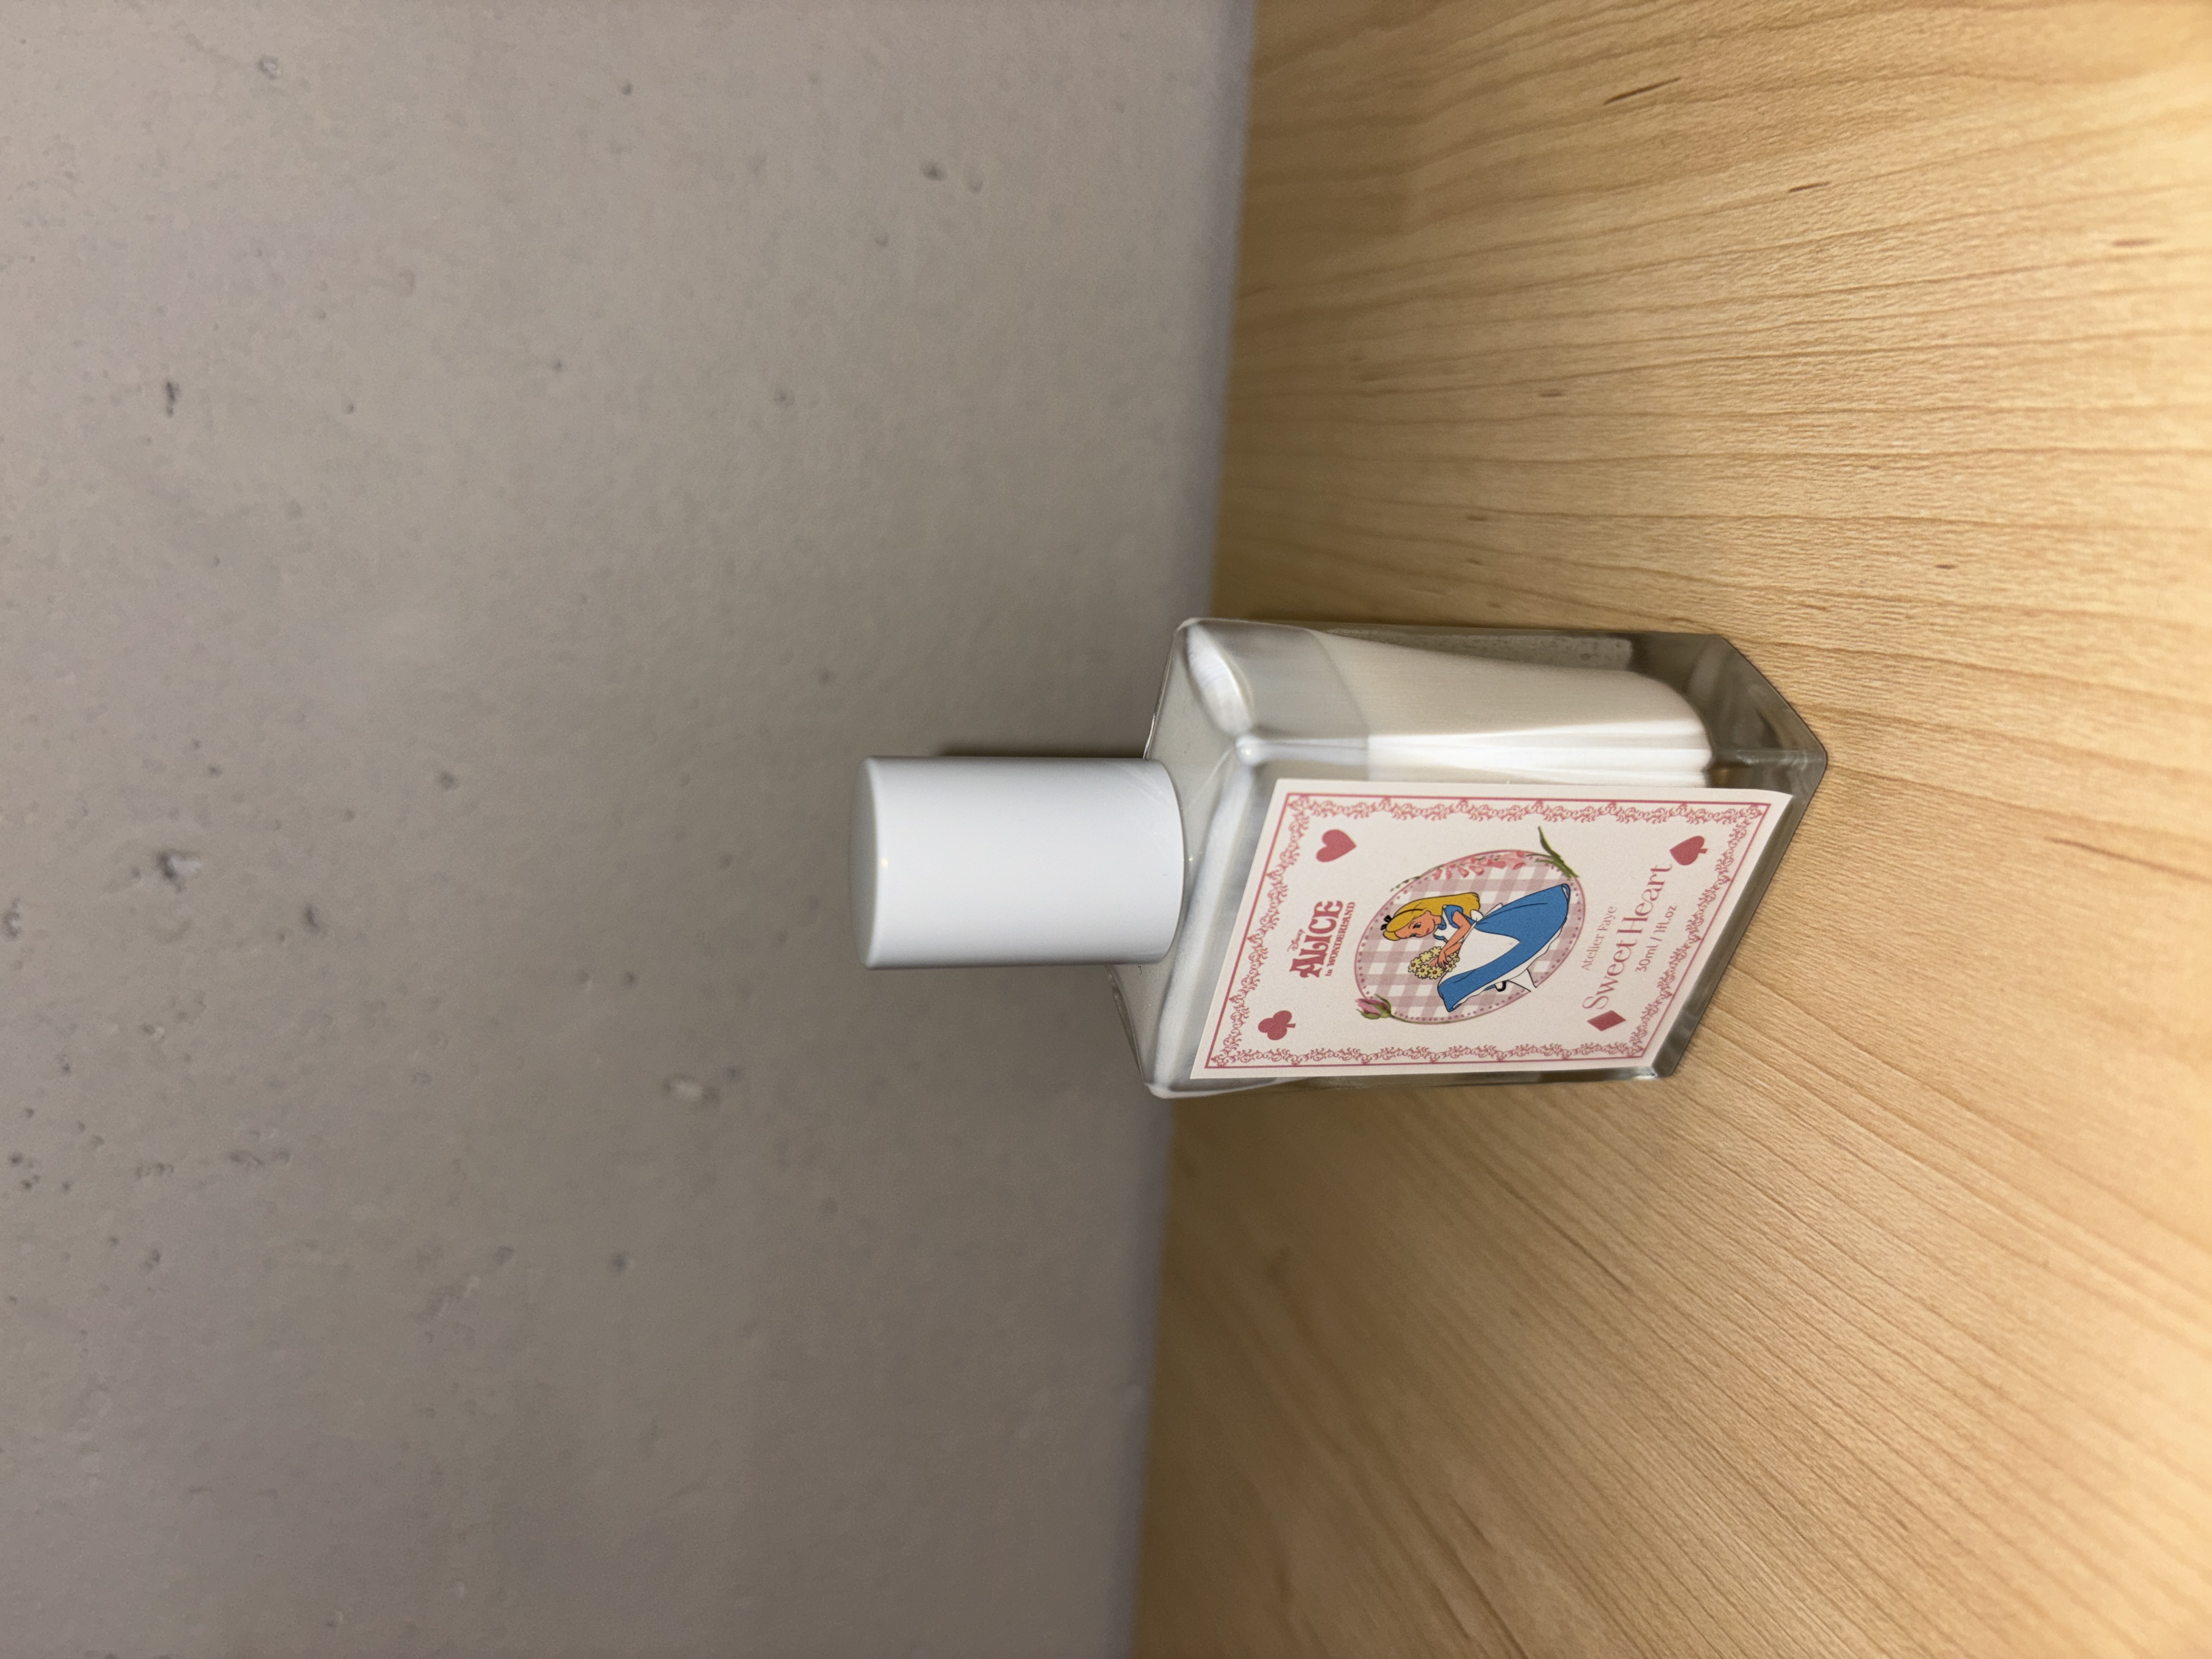
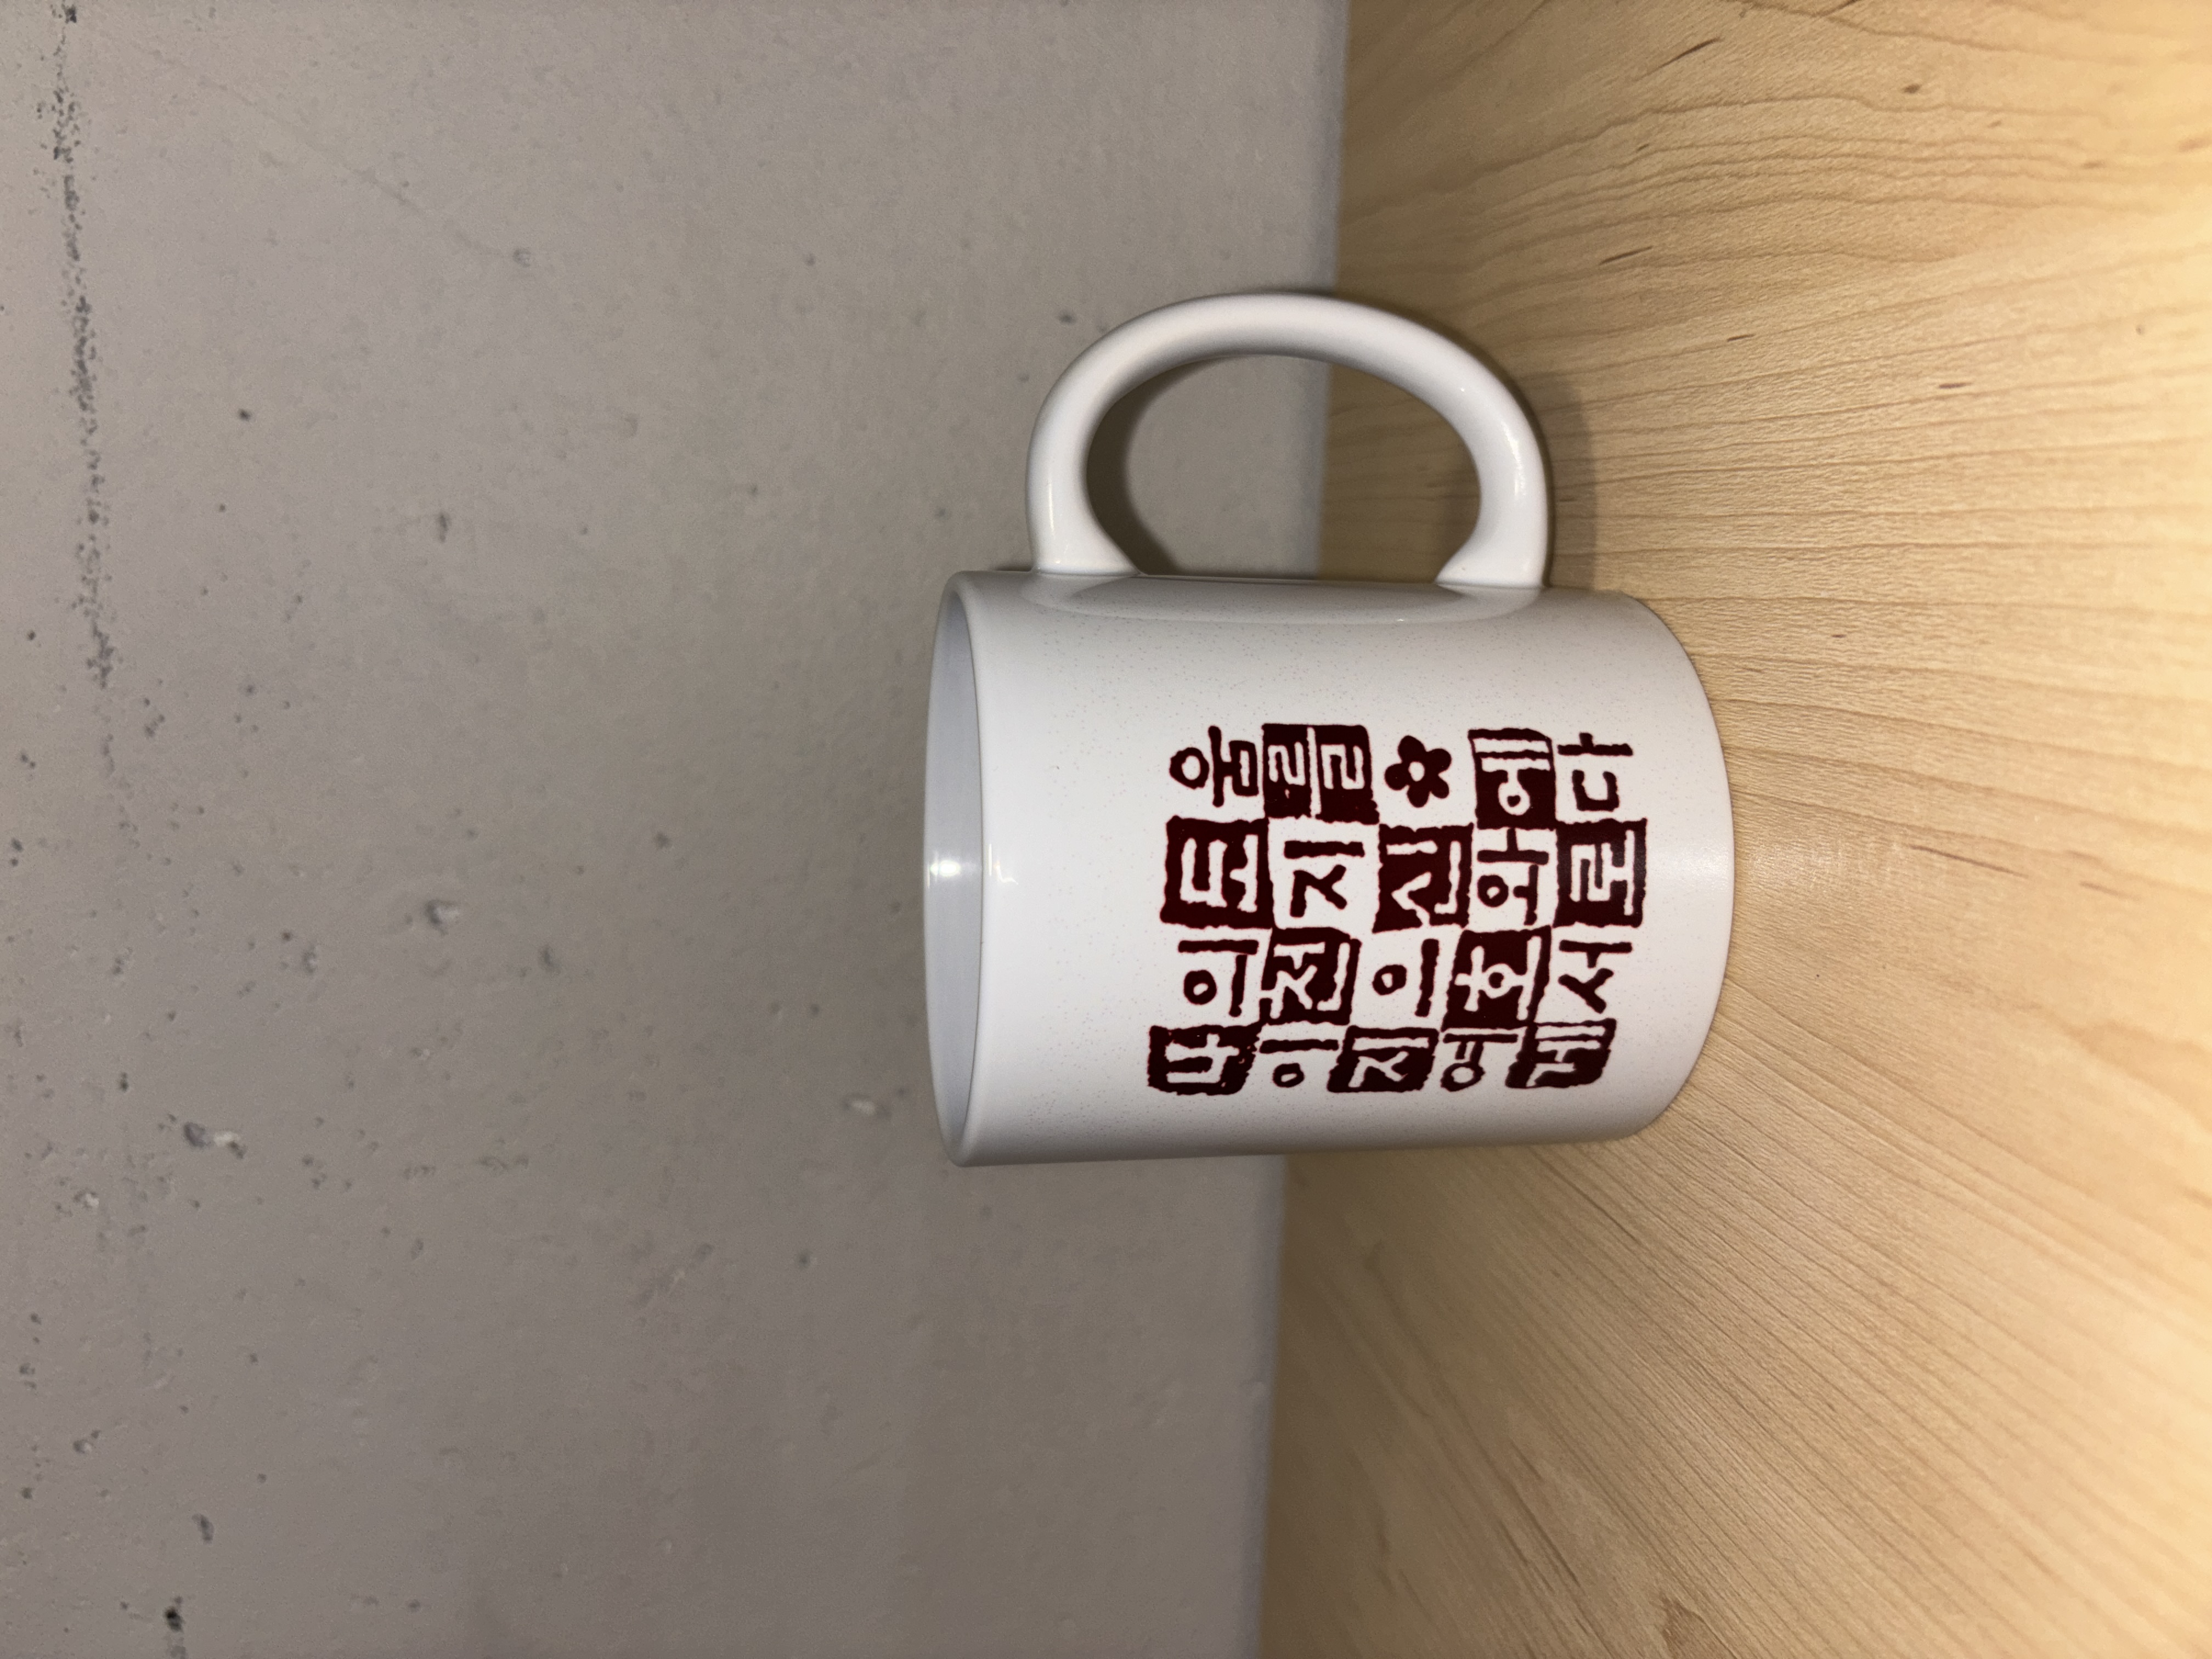
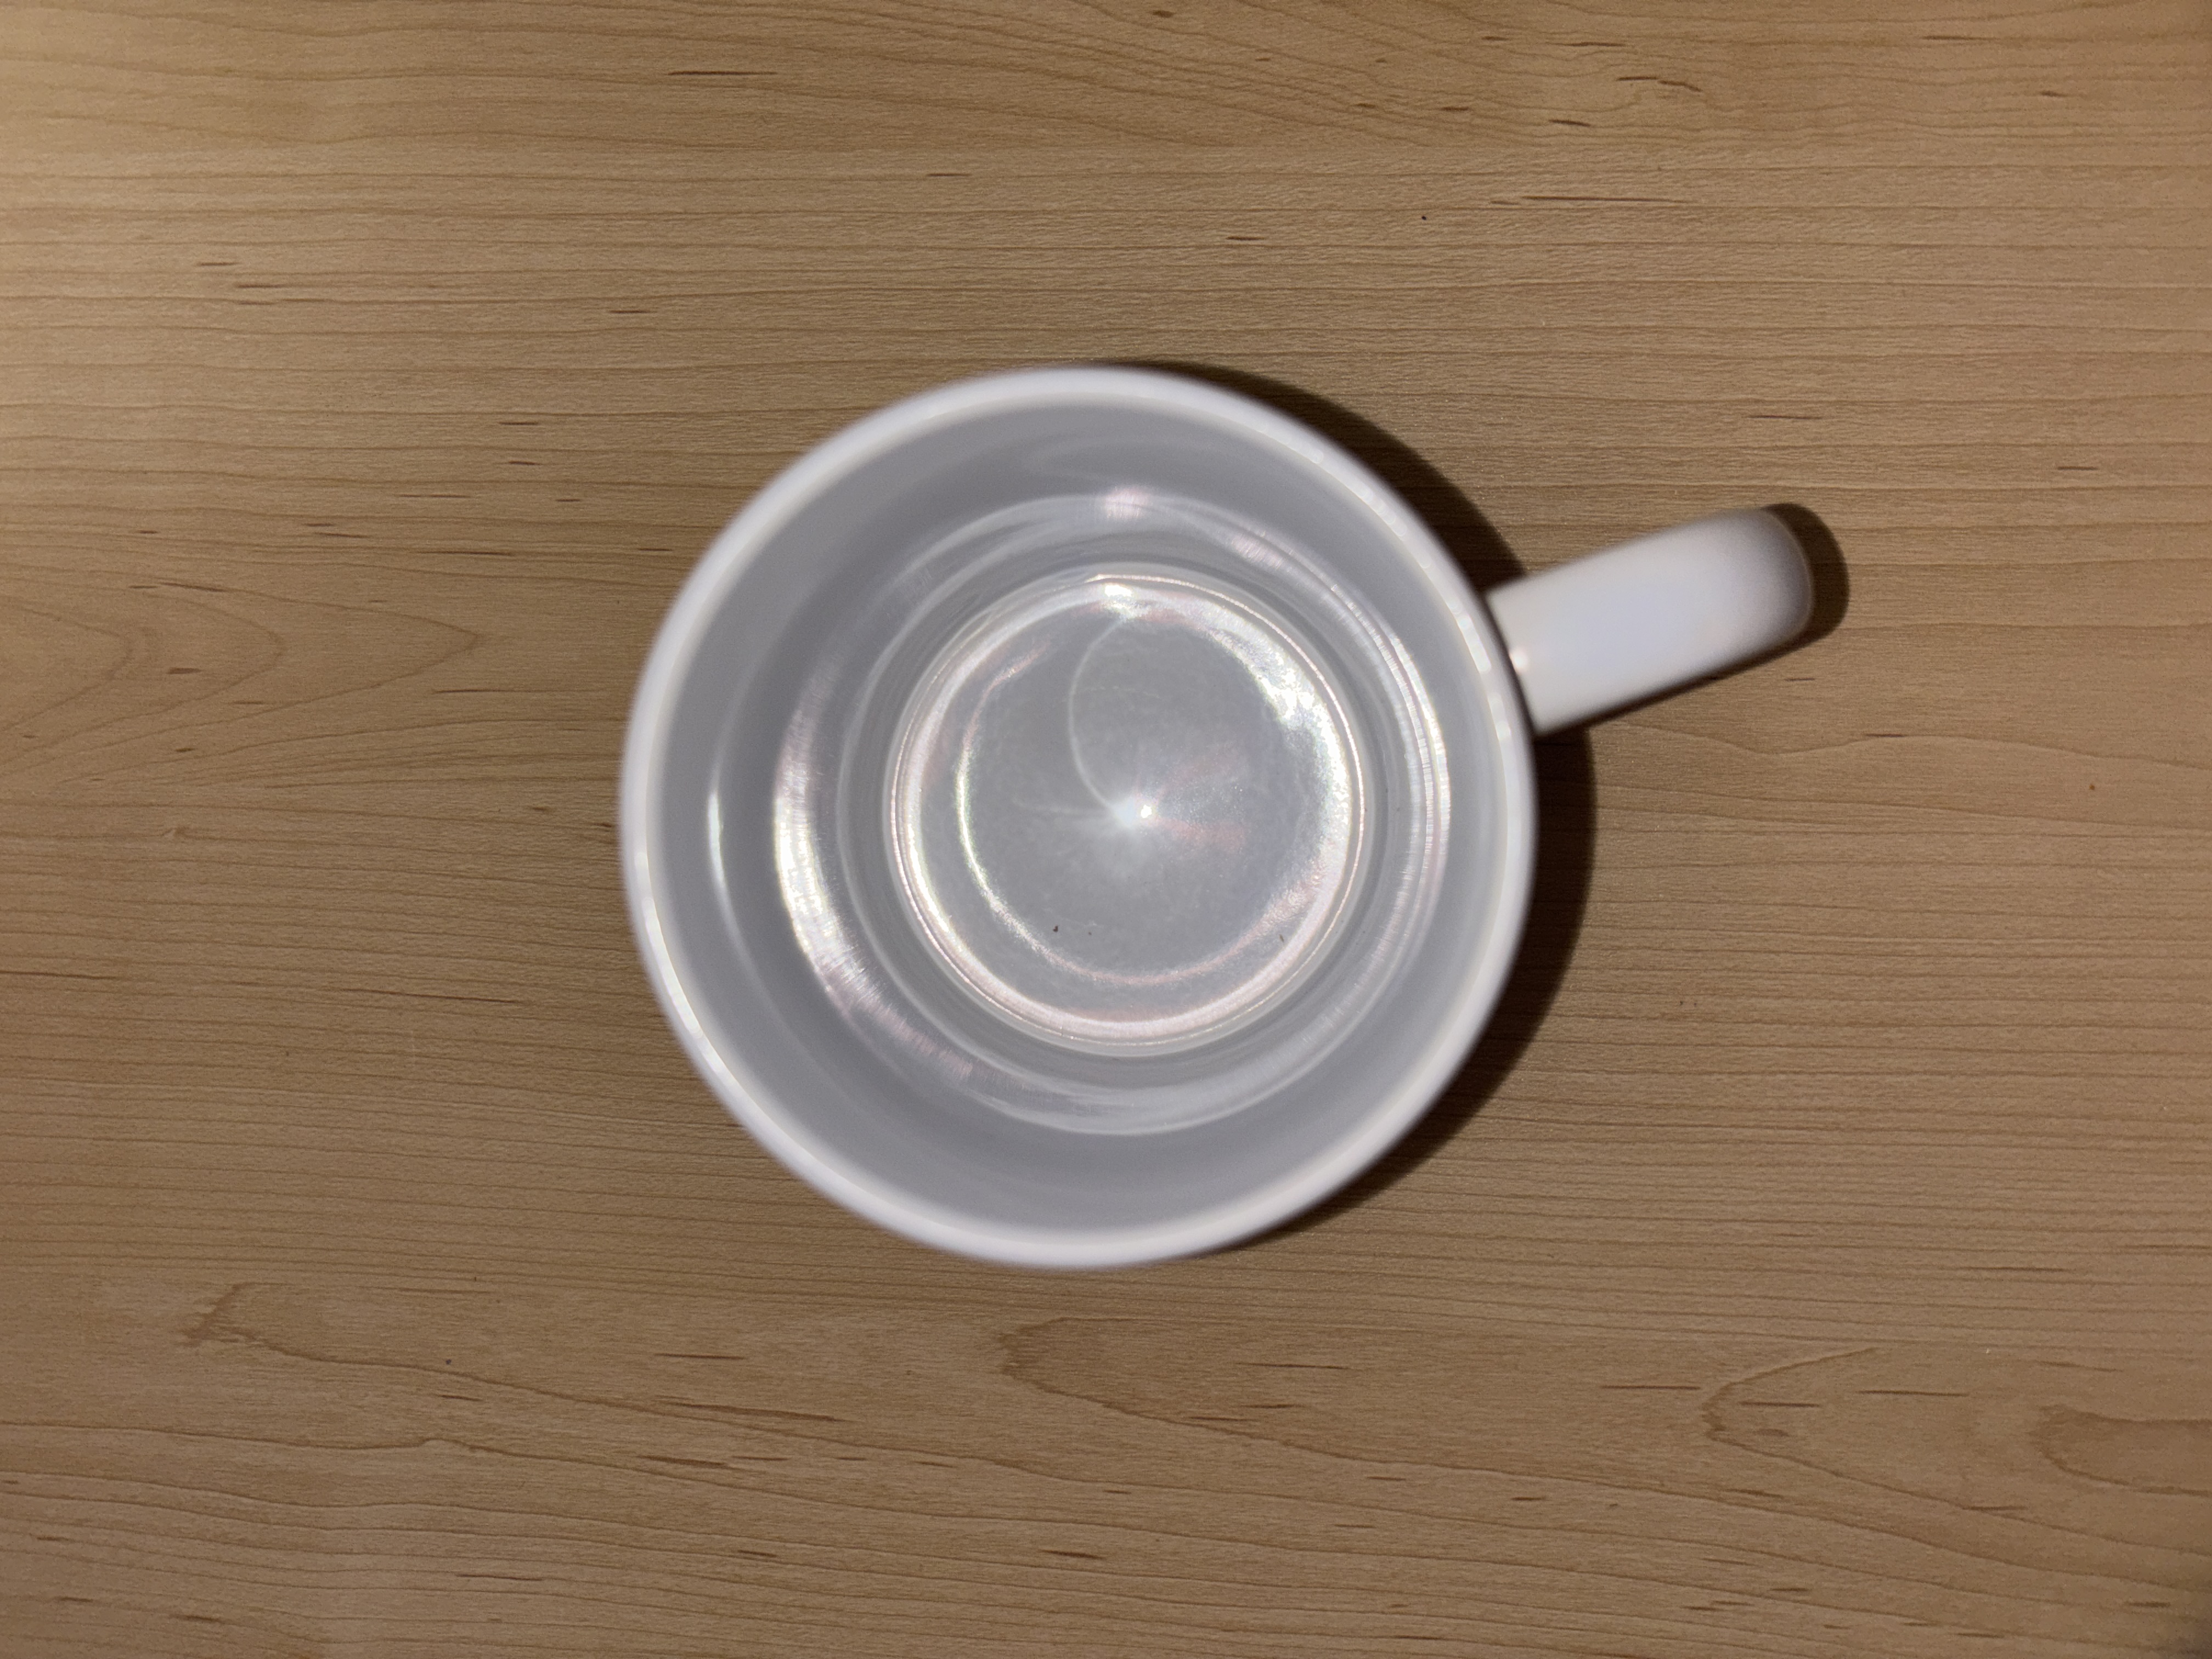
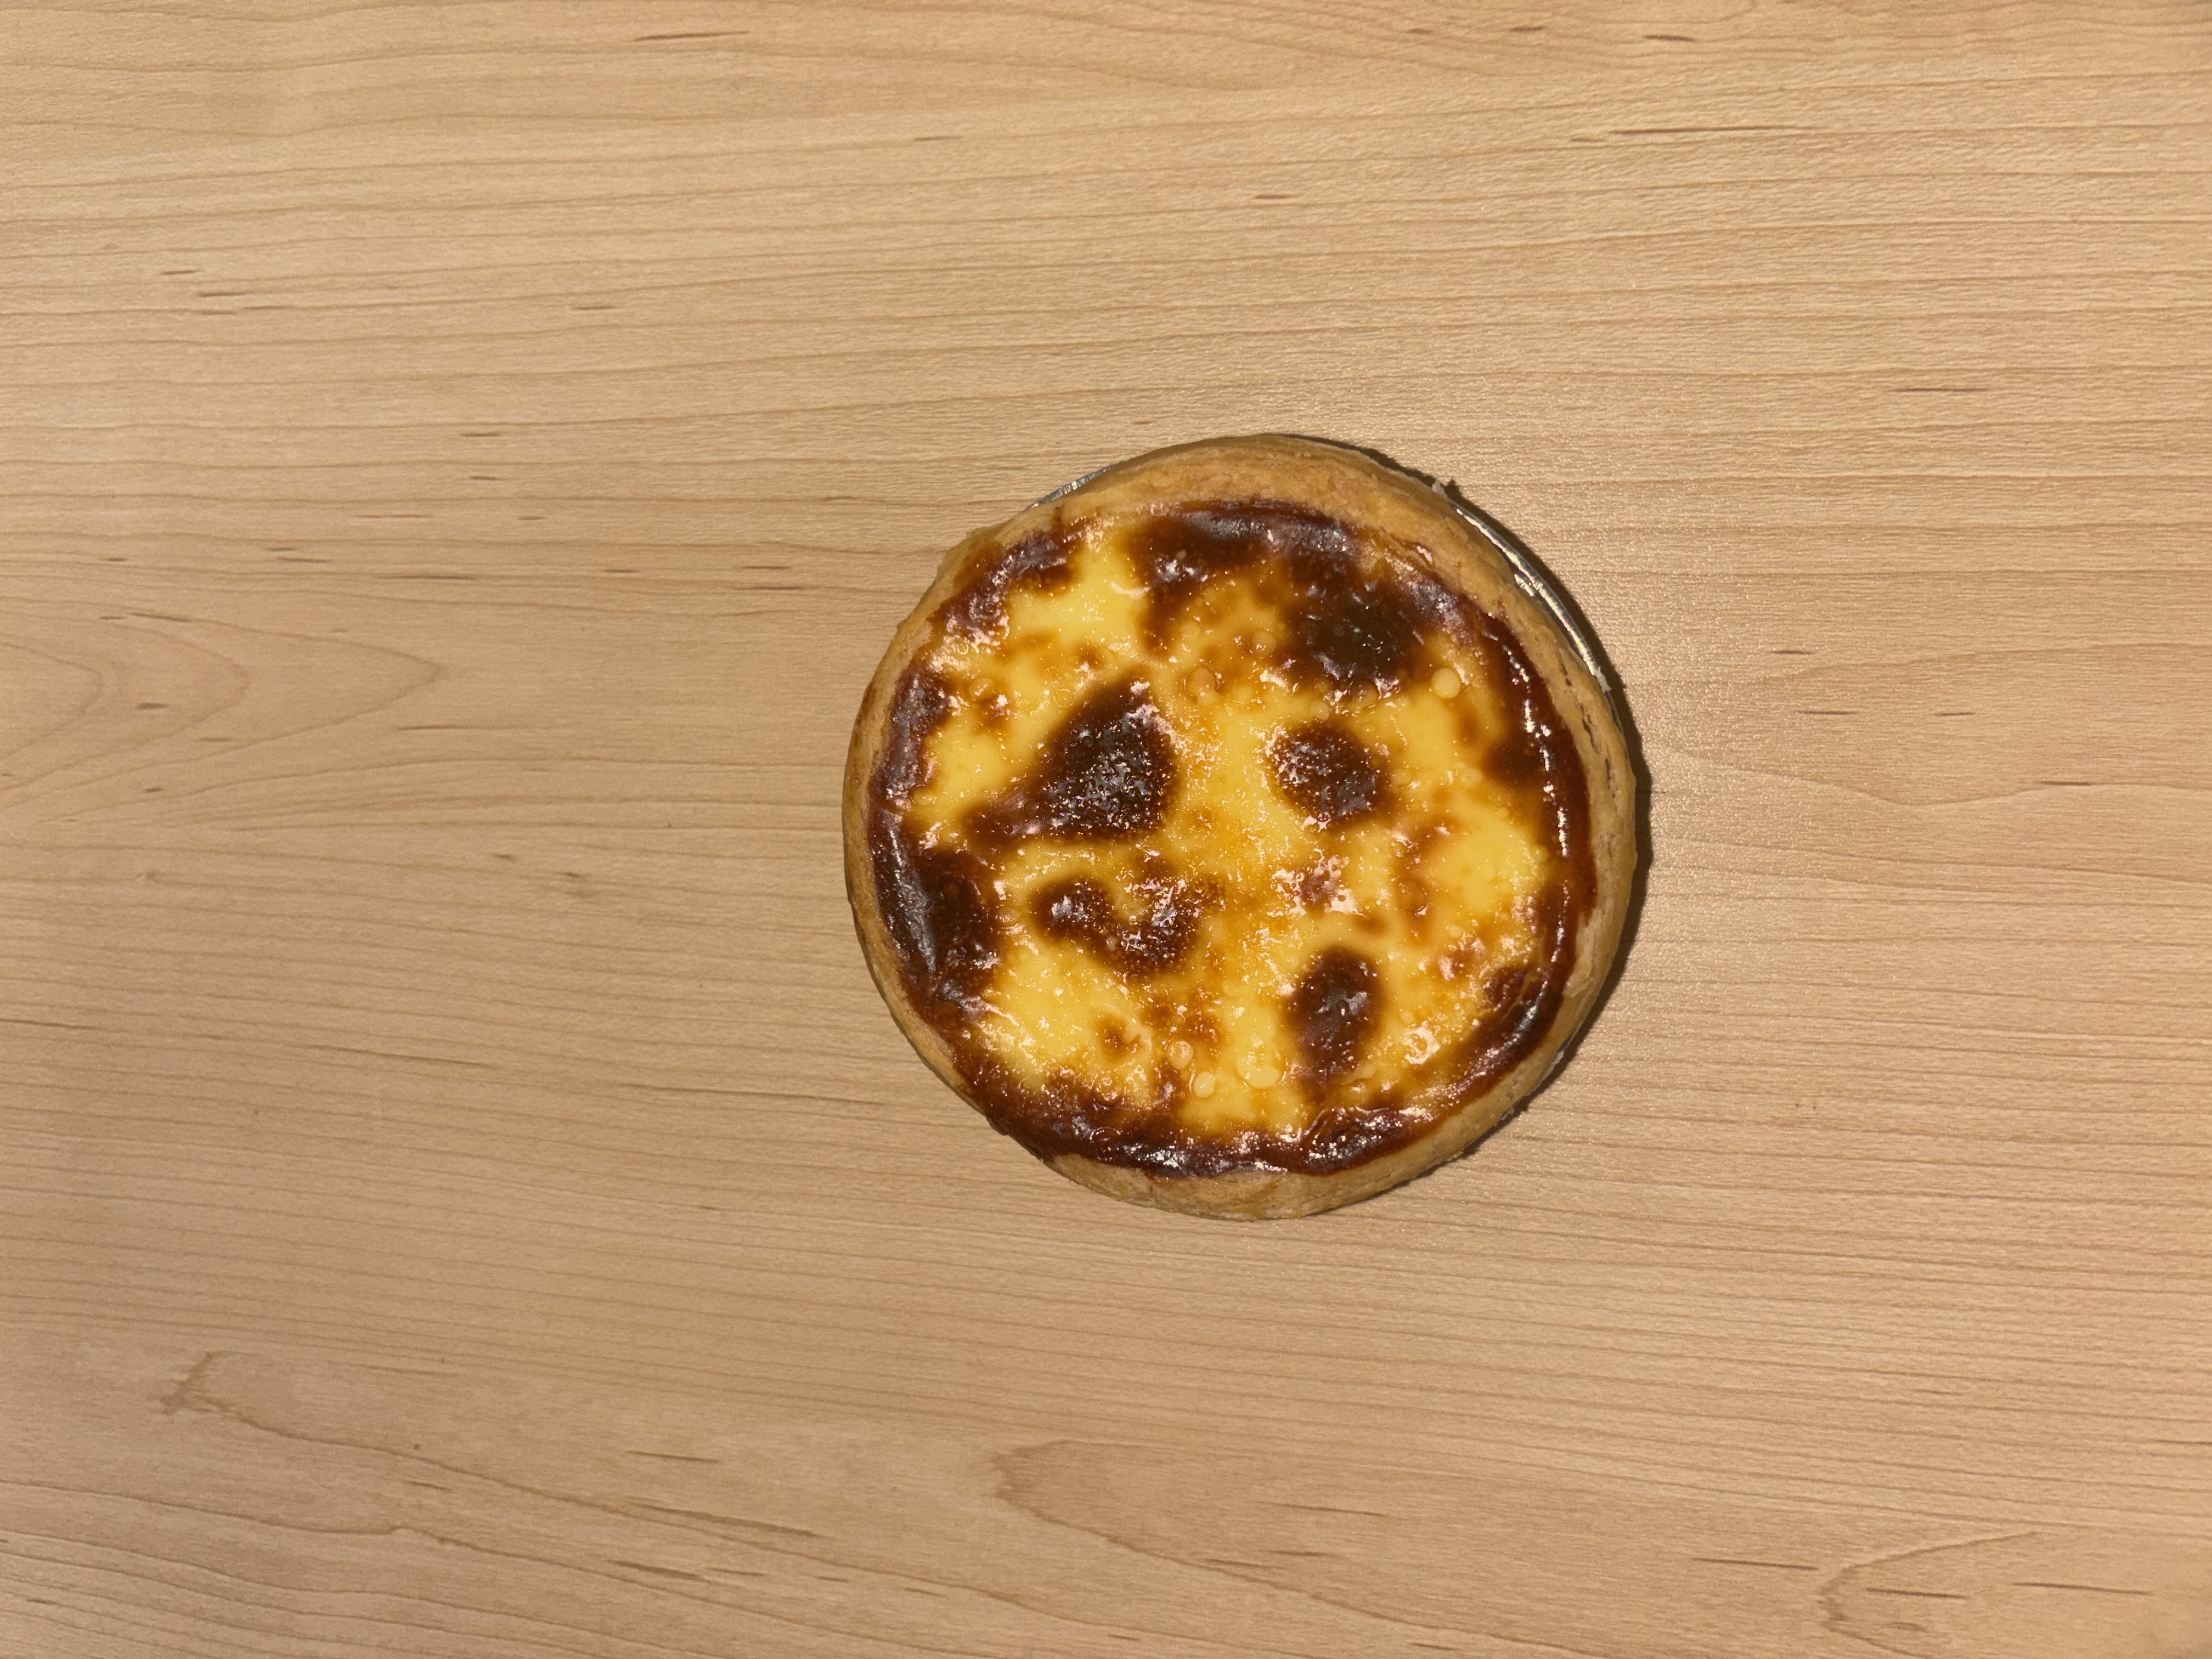
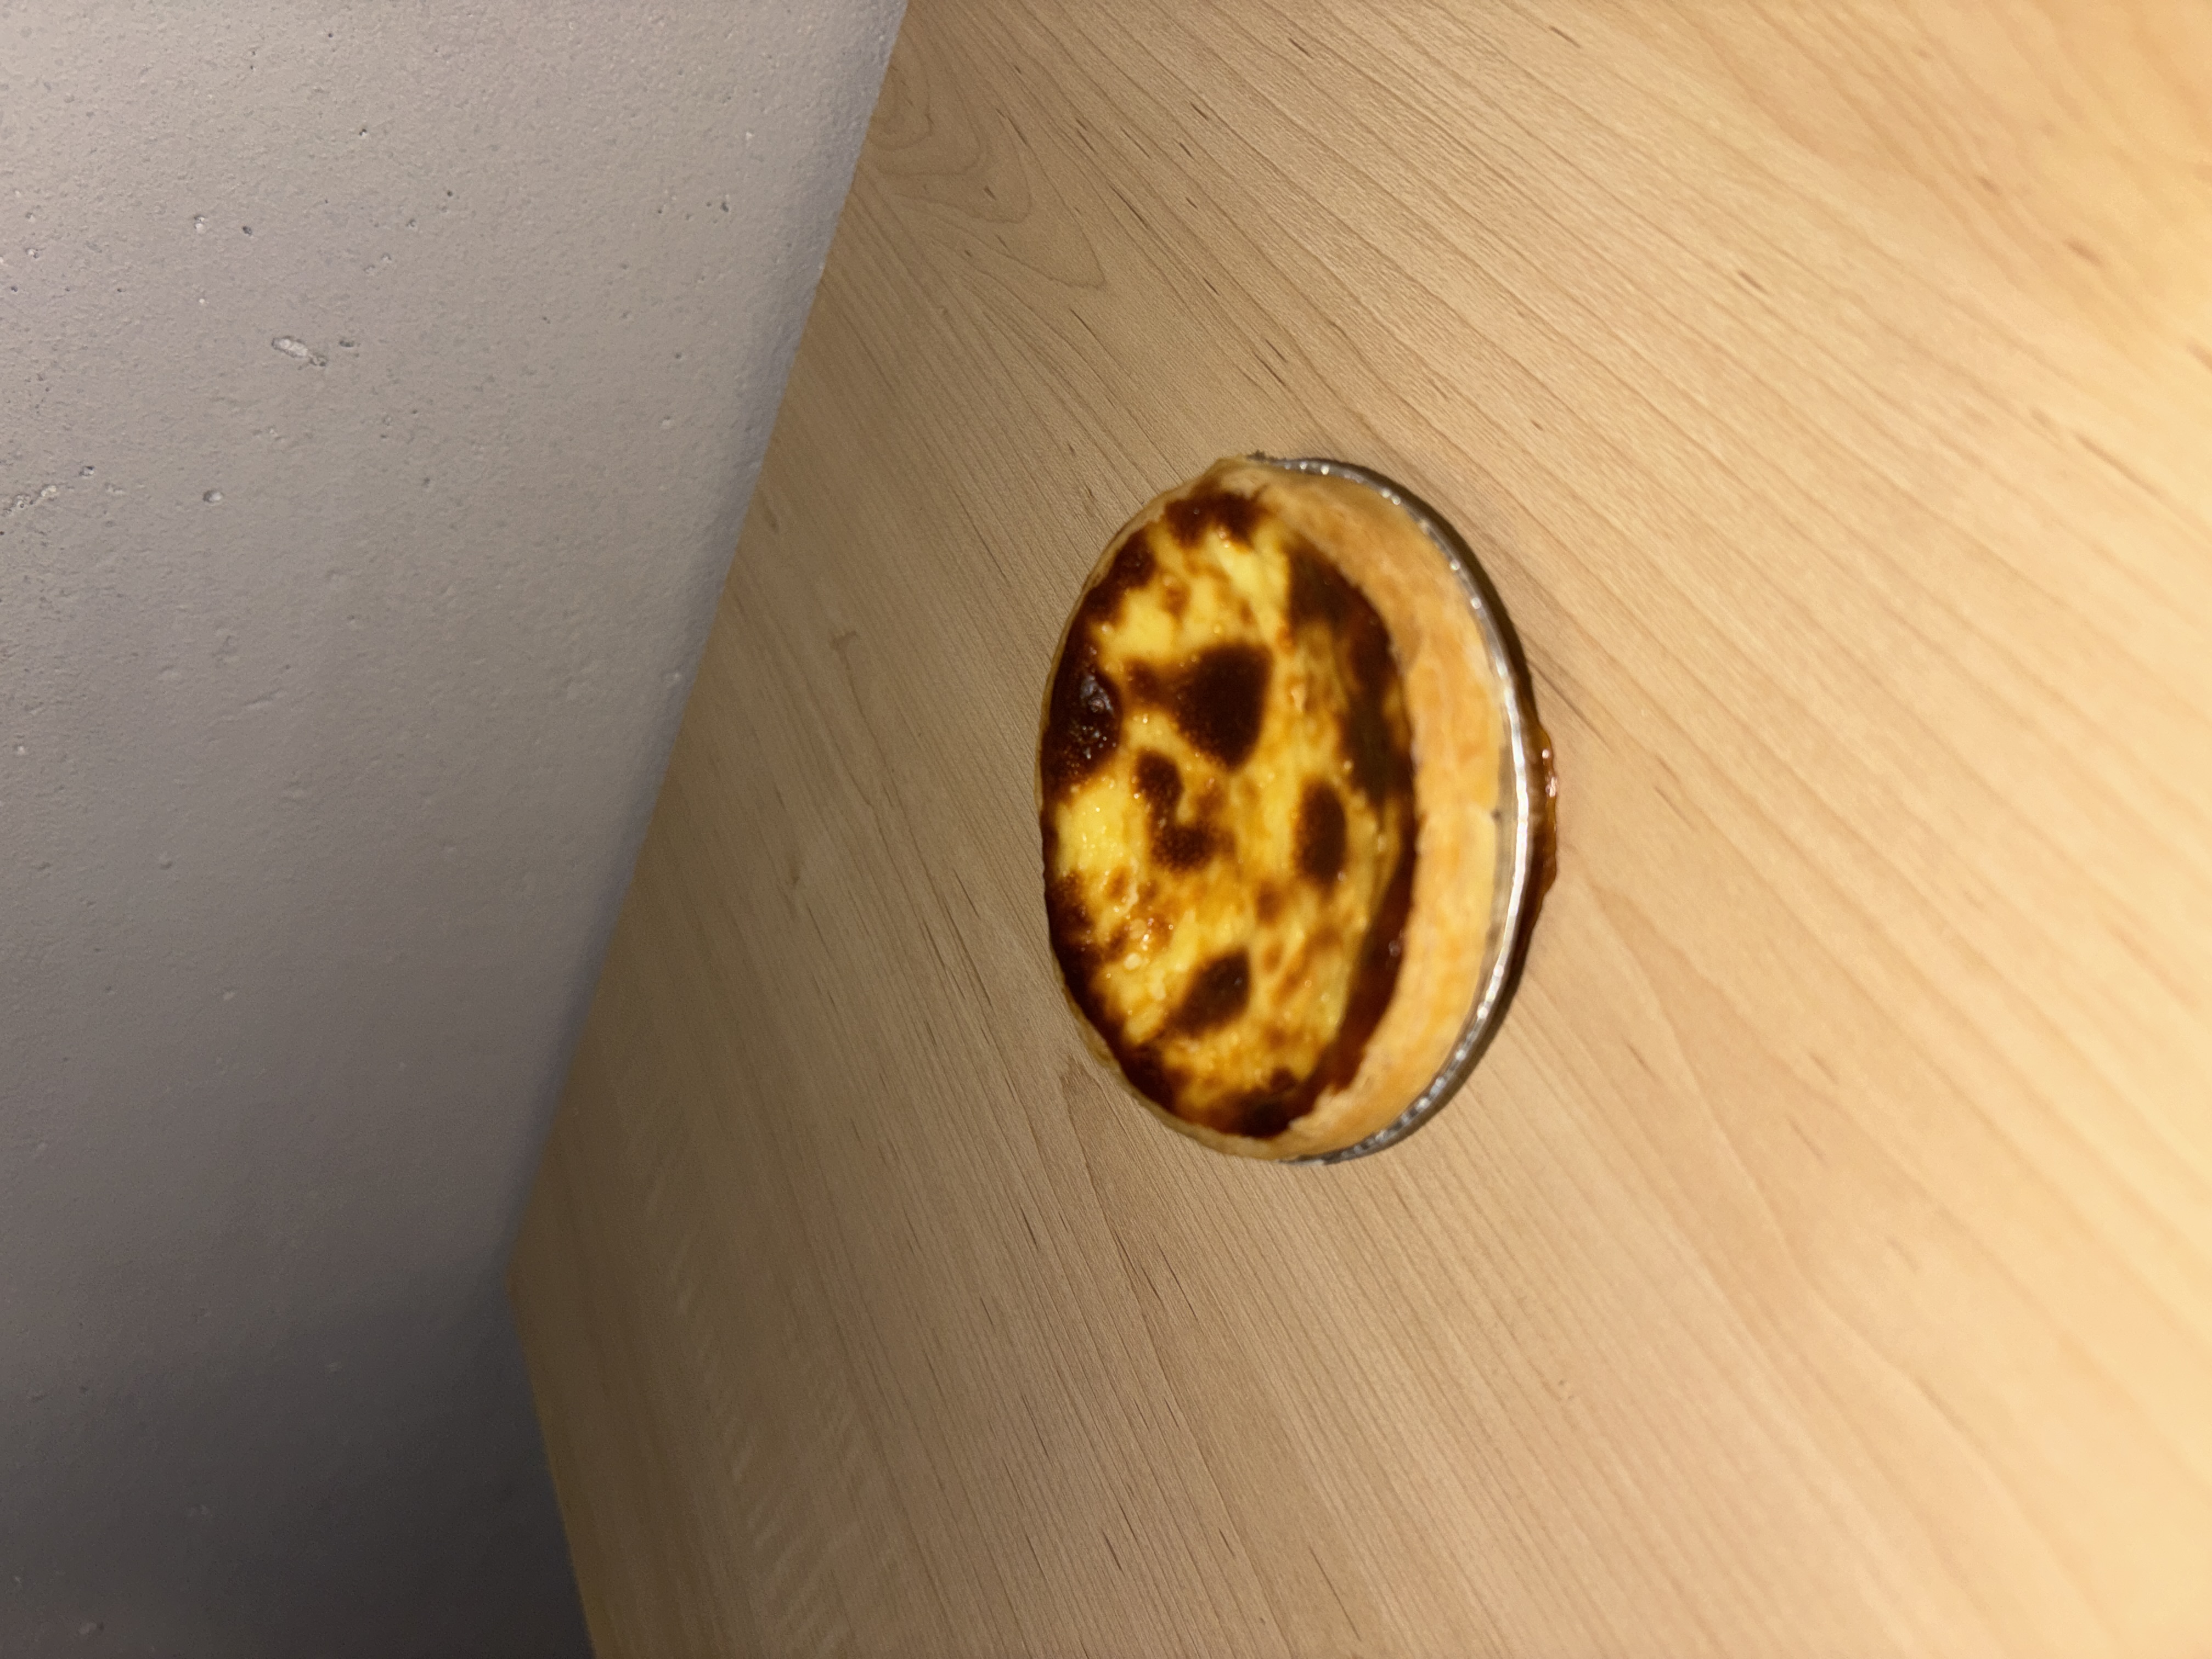
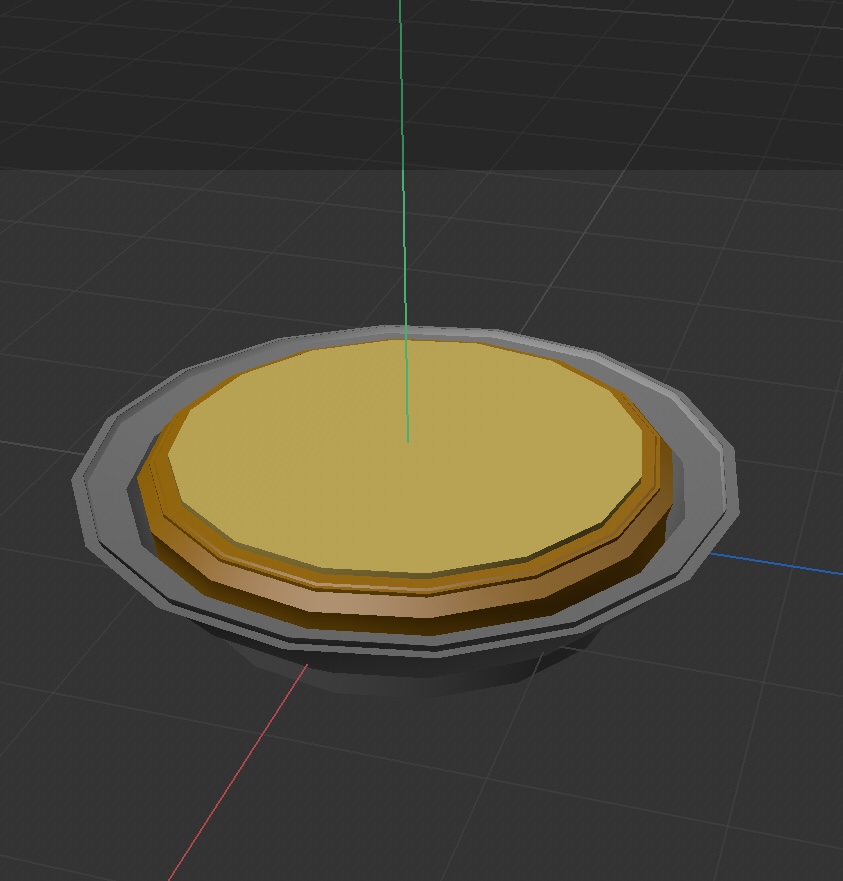
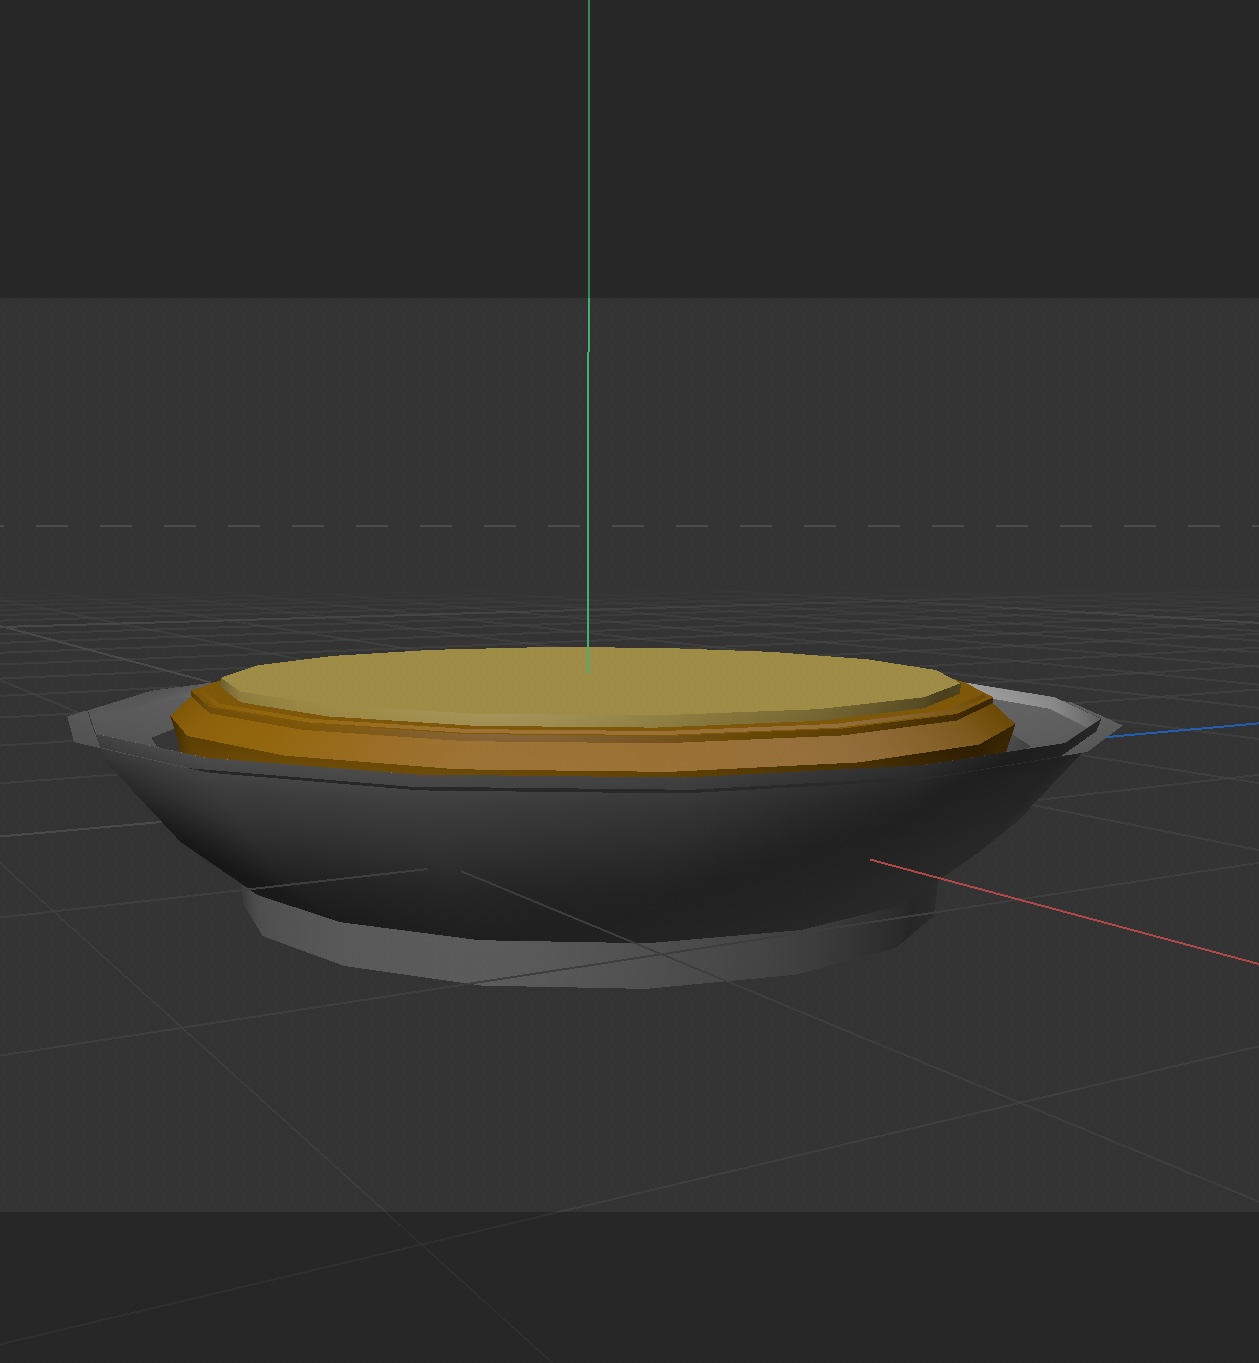
I selected eight objects and take picture of them from diffrenet angles in design 1 challenge. I also watched tutorials to learn Cinema 4D and began some simple modeling, documenting the entire process with photos.

Design Challenge 1
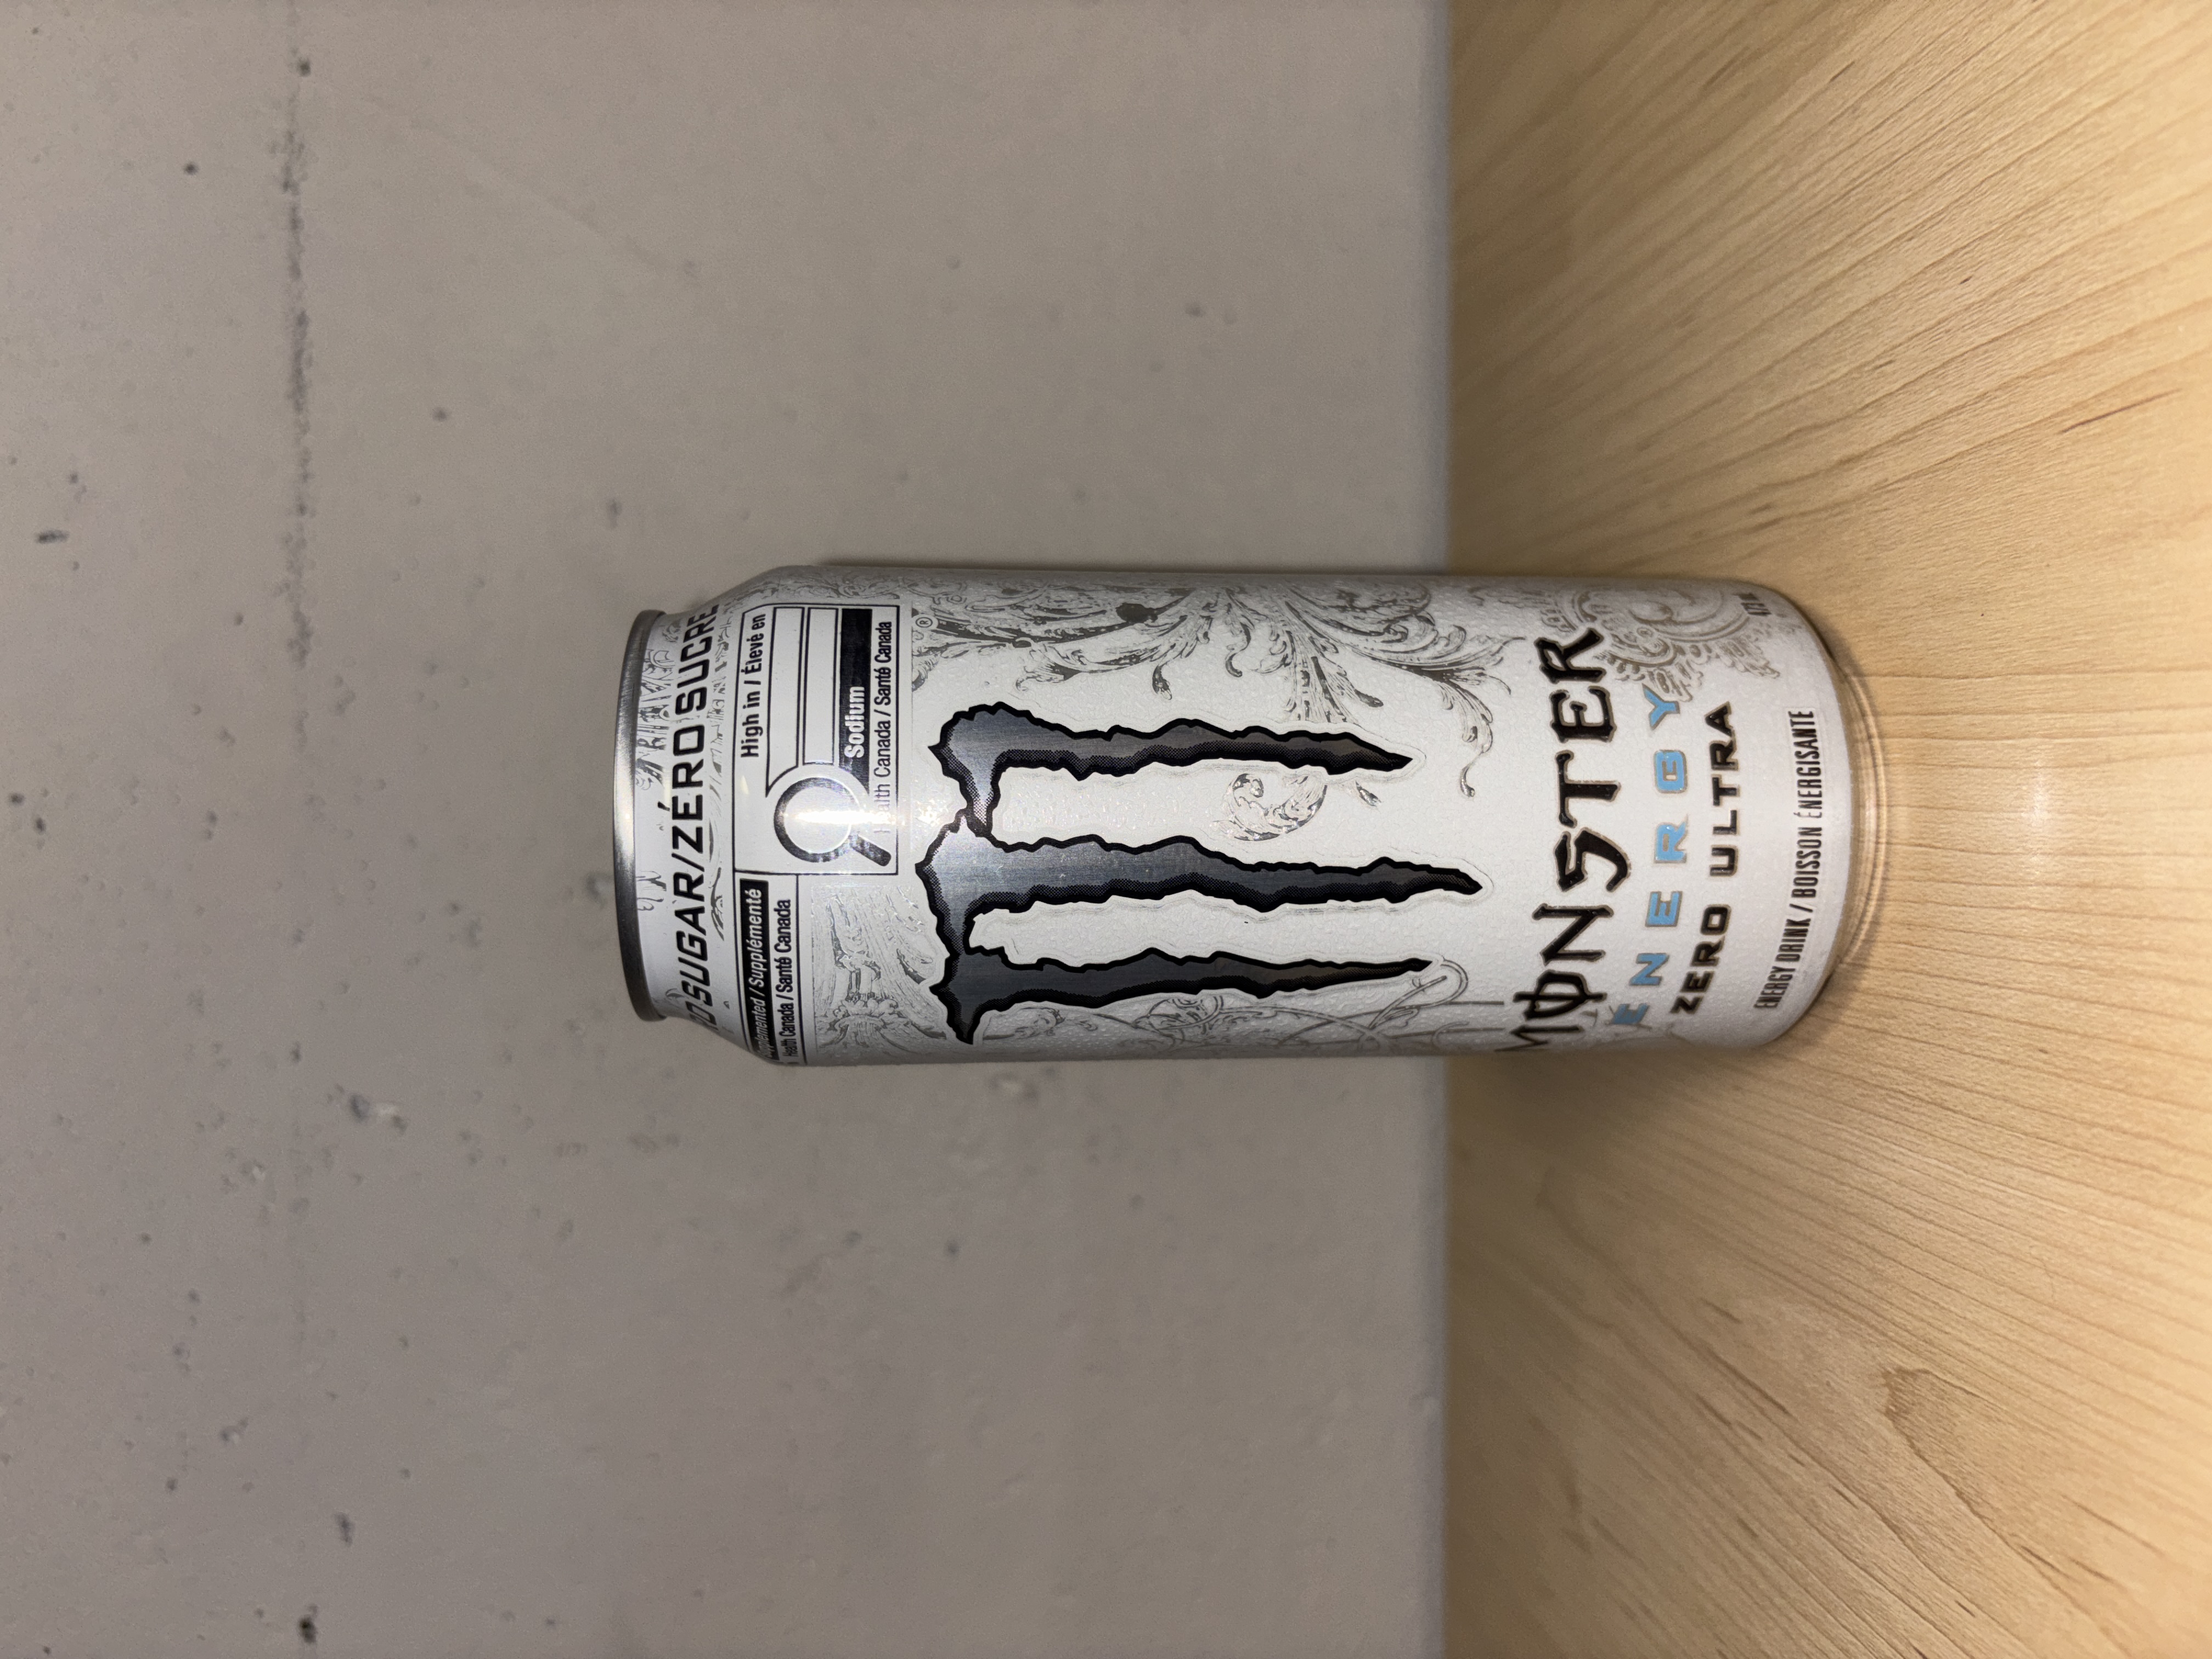
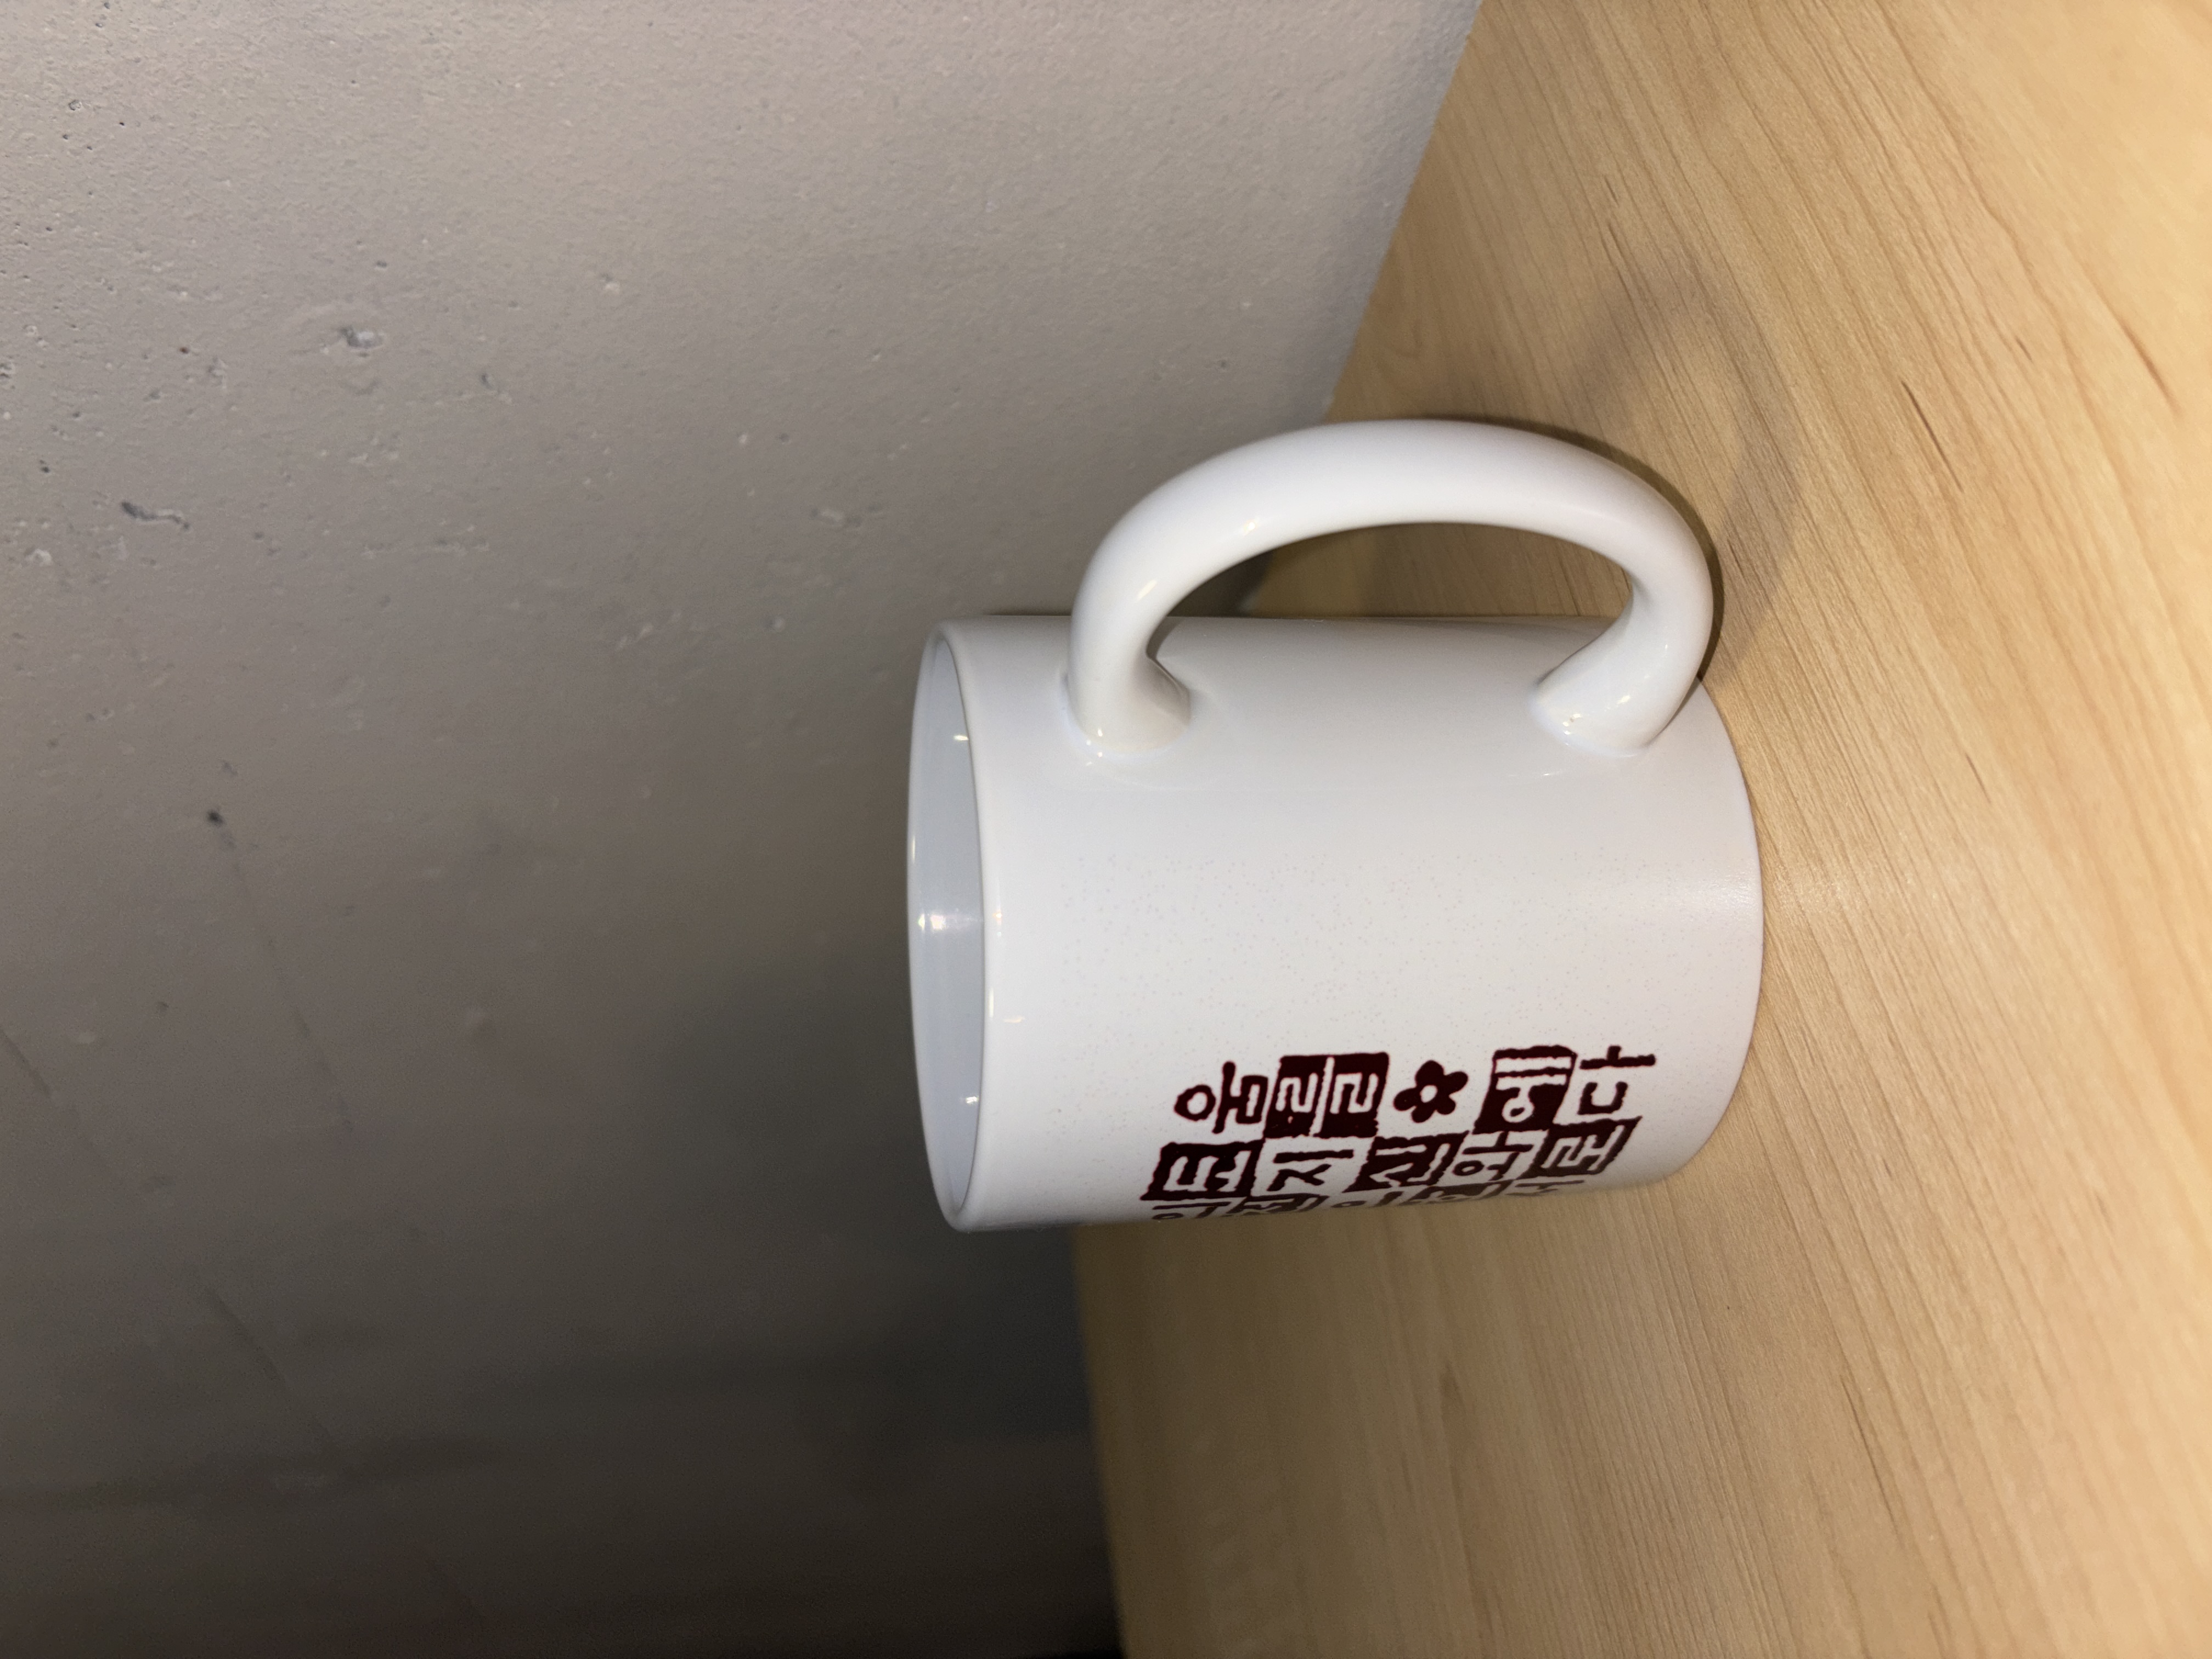
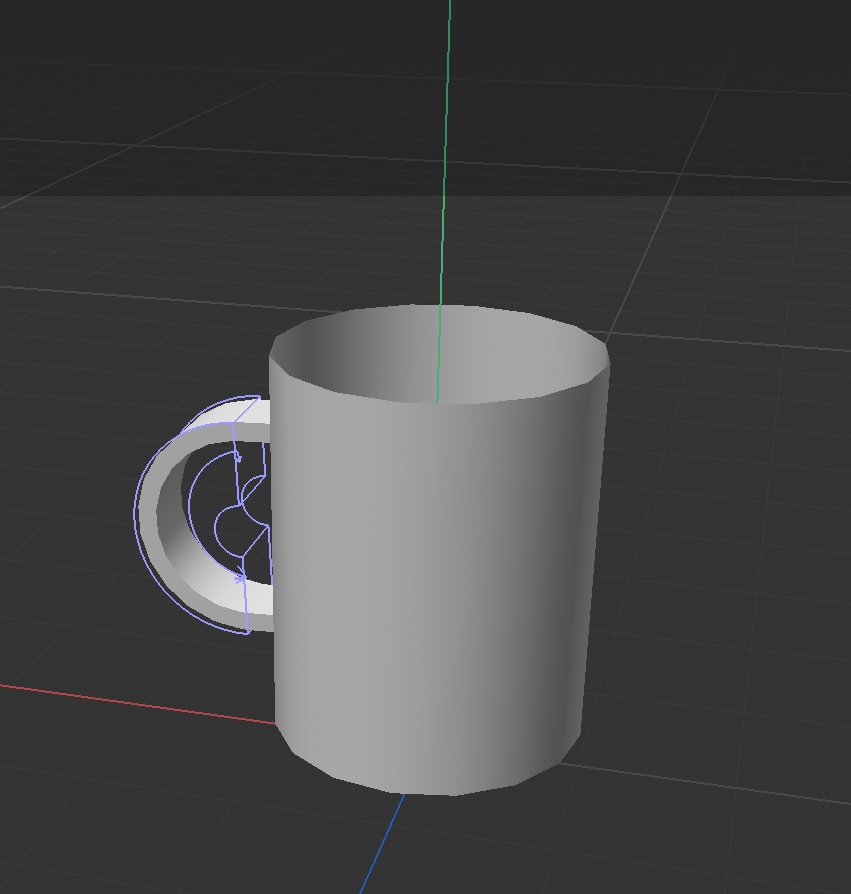
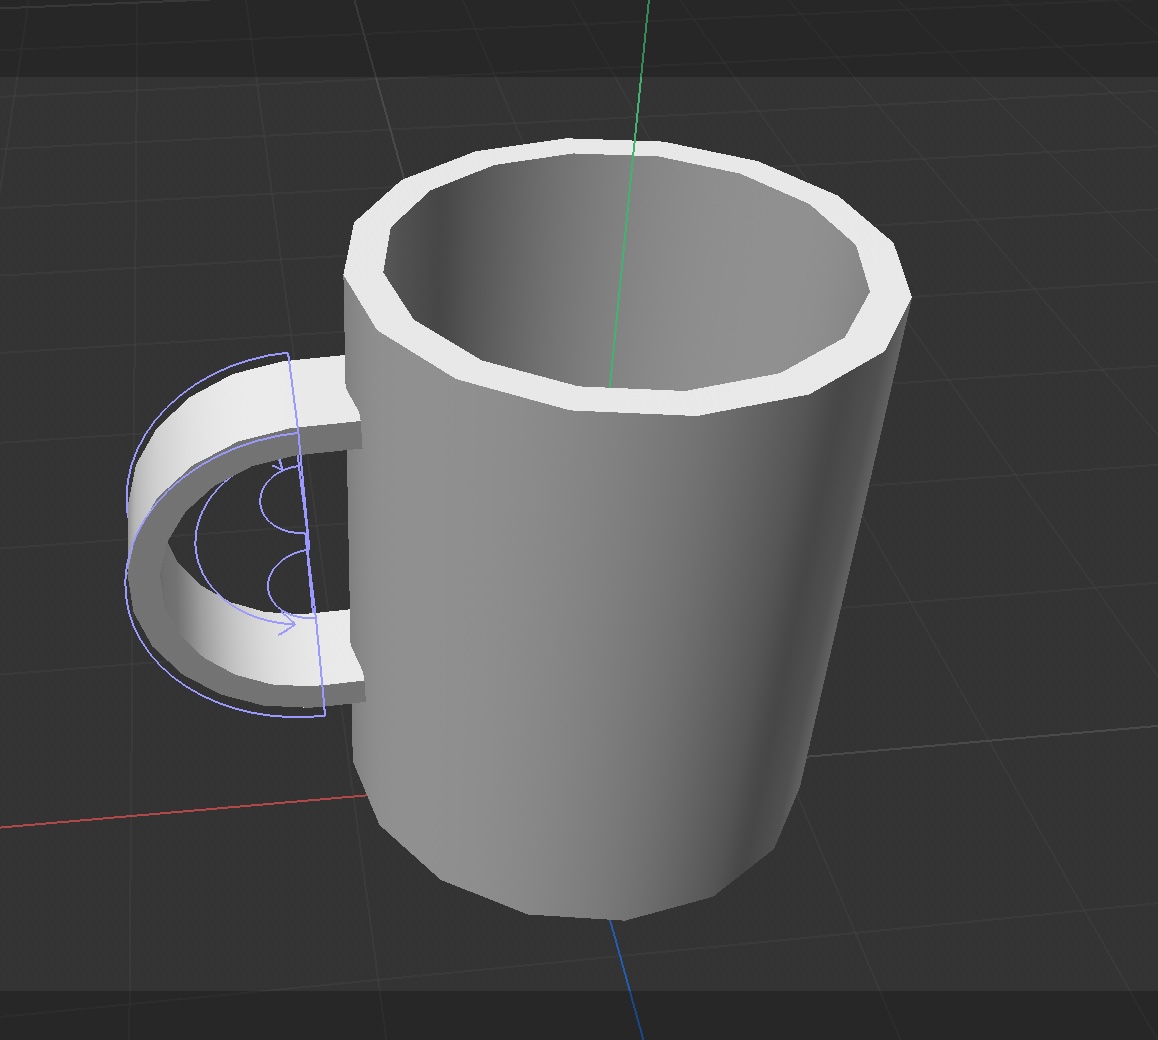
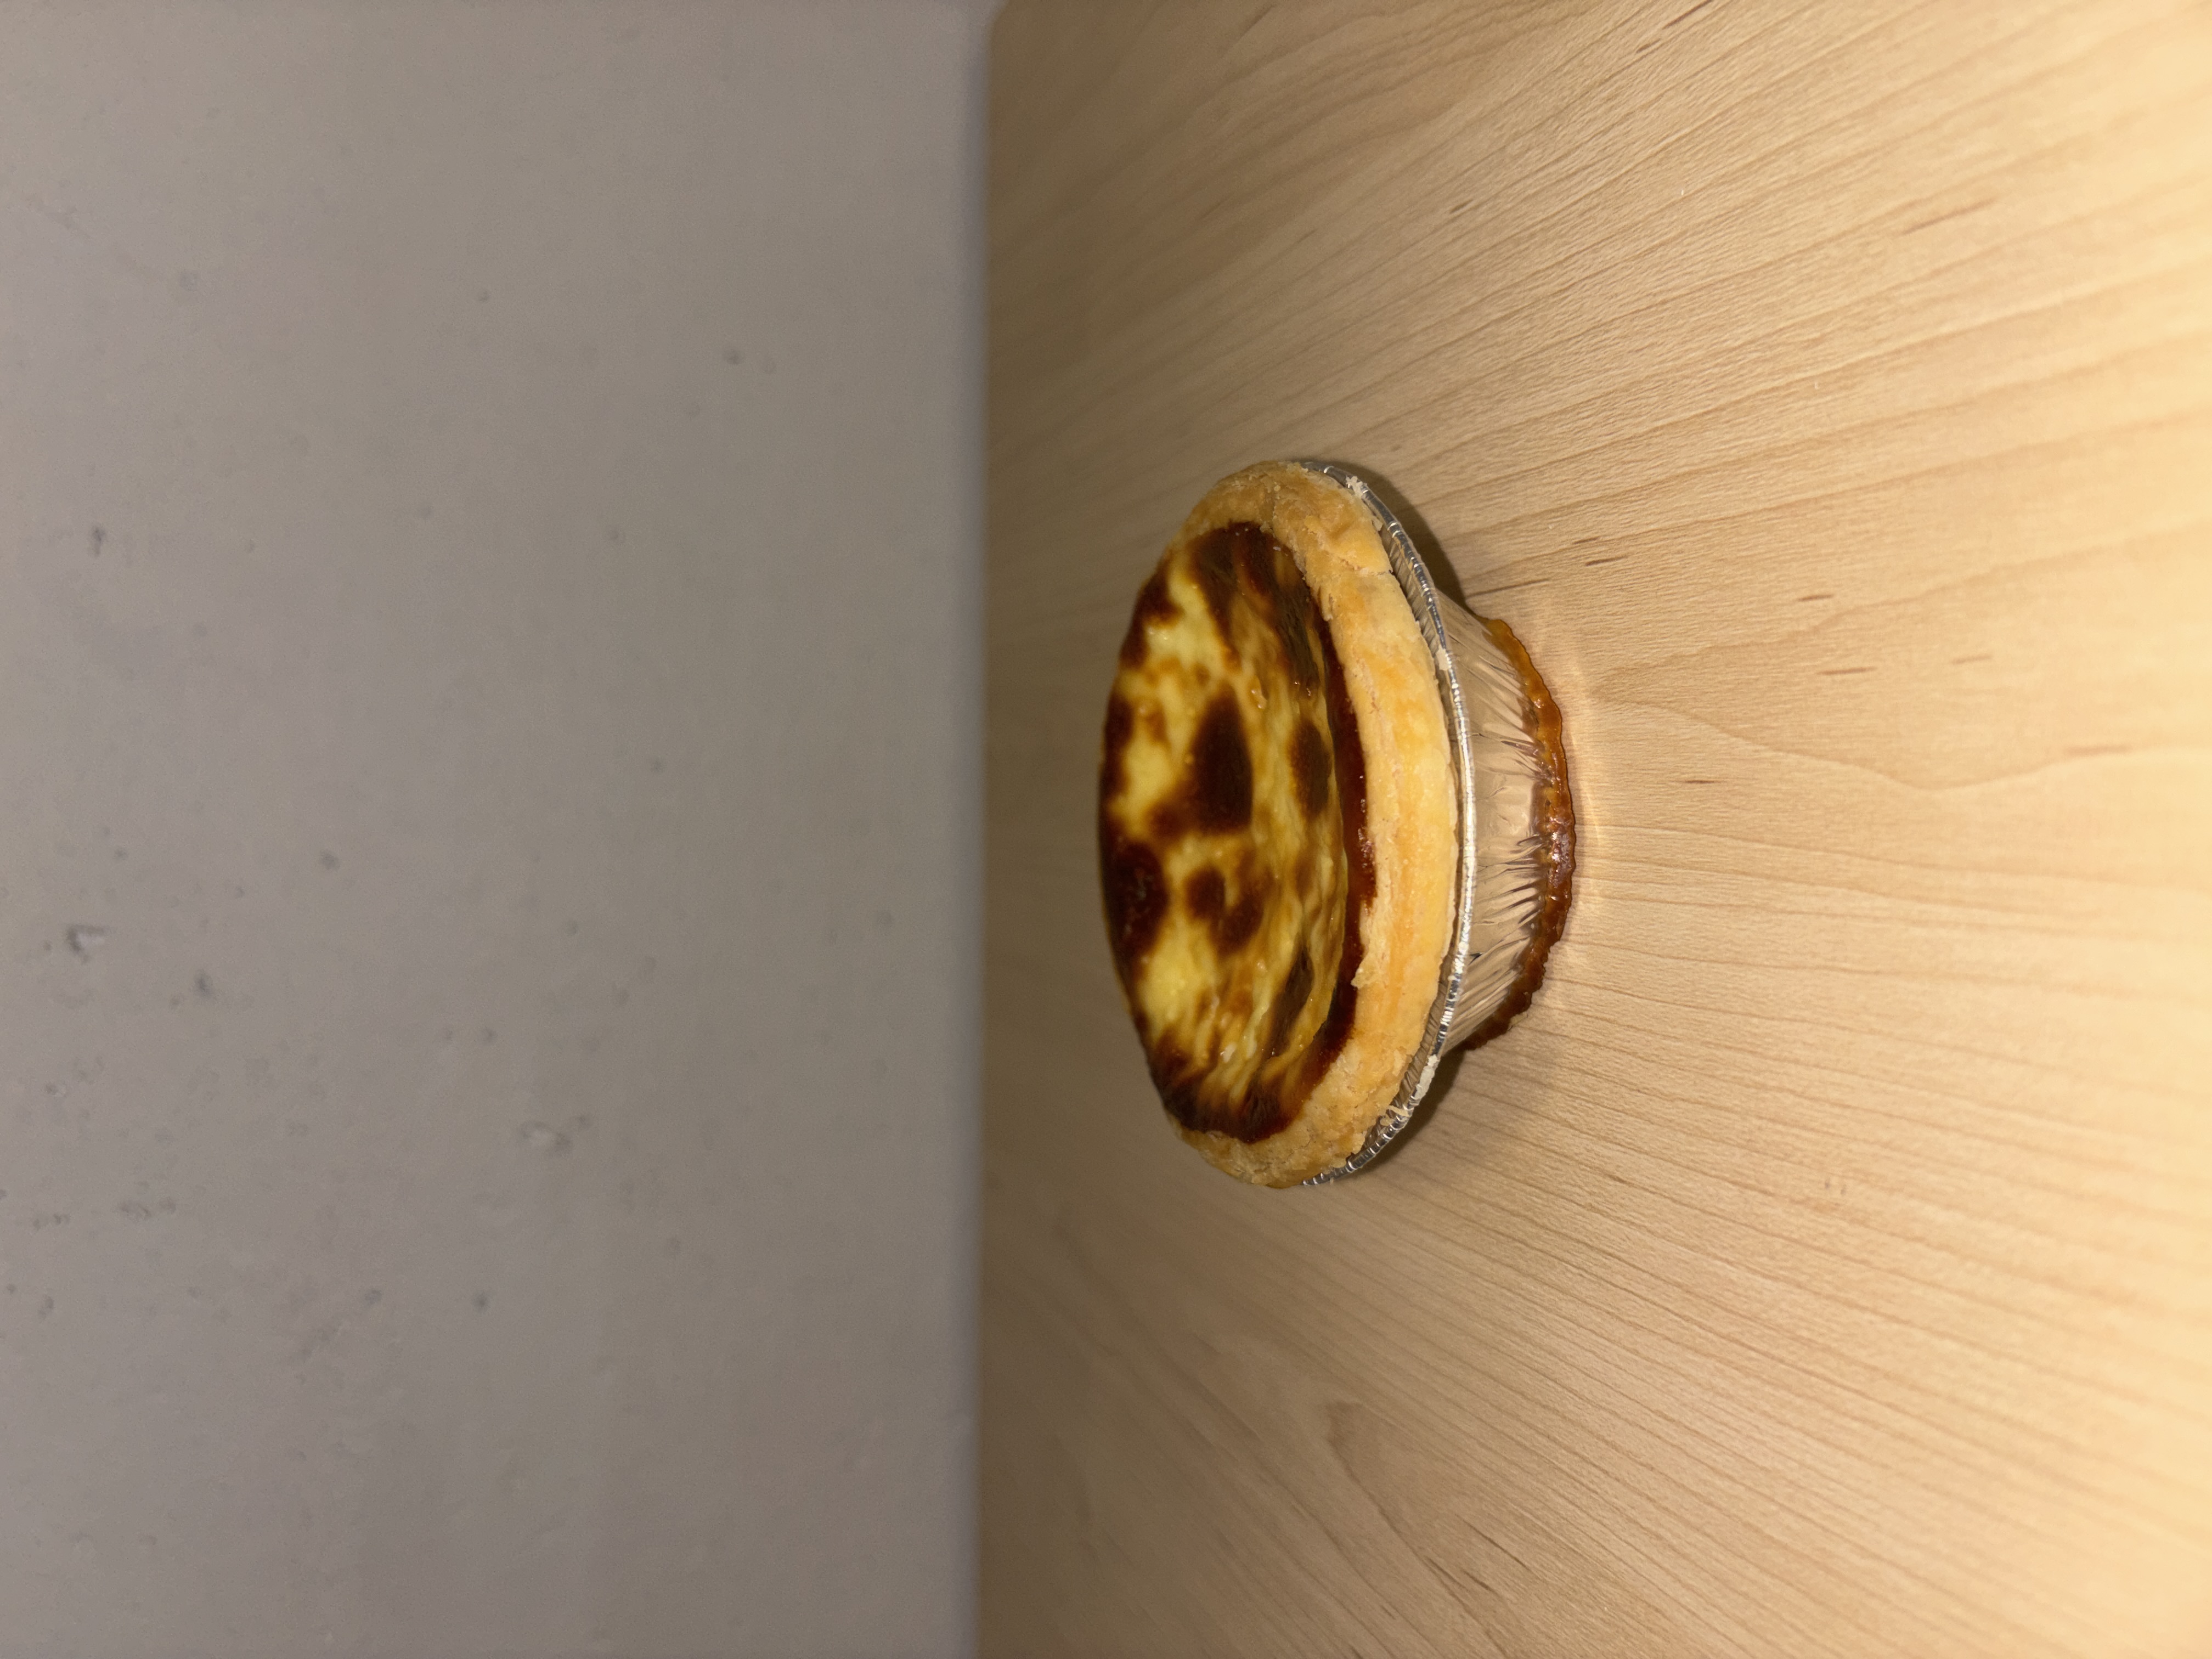
Front view of Monster(can) Top view of Monster(can) Top view of Monster(can) 3d model Front view of 3d model of the Monster(can) Front view of Edvil(Medicine container) Front/Side view of Wallflower Top view of Wallflower Back/Side view of Wallflower Side view of Nail clippers Top view of Nail clippers Front/Side view of Eyeshadow Front/Side view of opened Eyeshadow Front view of perfume Side view of perfume Side view of perfume Front view of Cup Top view of Cup Side view of Cup Side view of Cup 3d model(without wall thickness) Side view of Cup 3d model(with wall thickness) Side view of Egg tart Top view of Egg tart Side view of Egg tart Top view of Egg tart 3d model Side view of Egg tart 3d model

Design Challenge 2
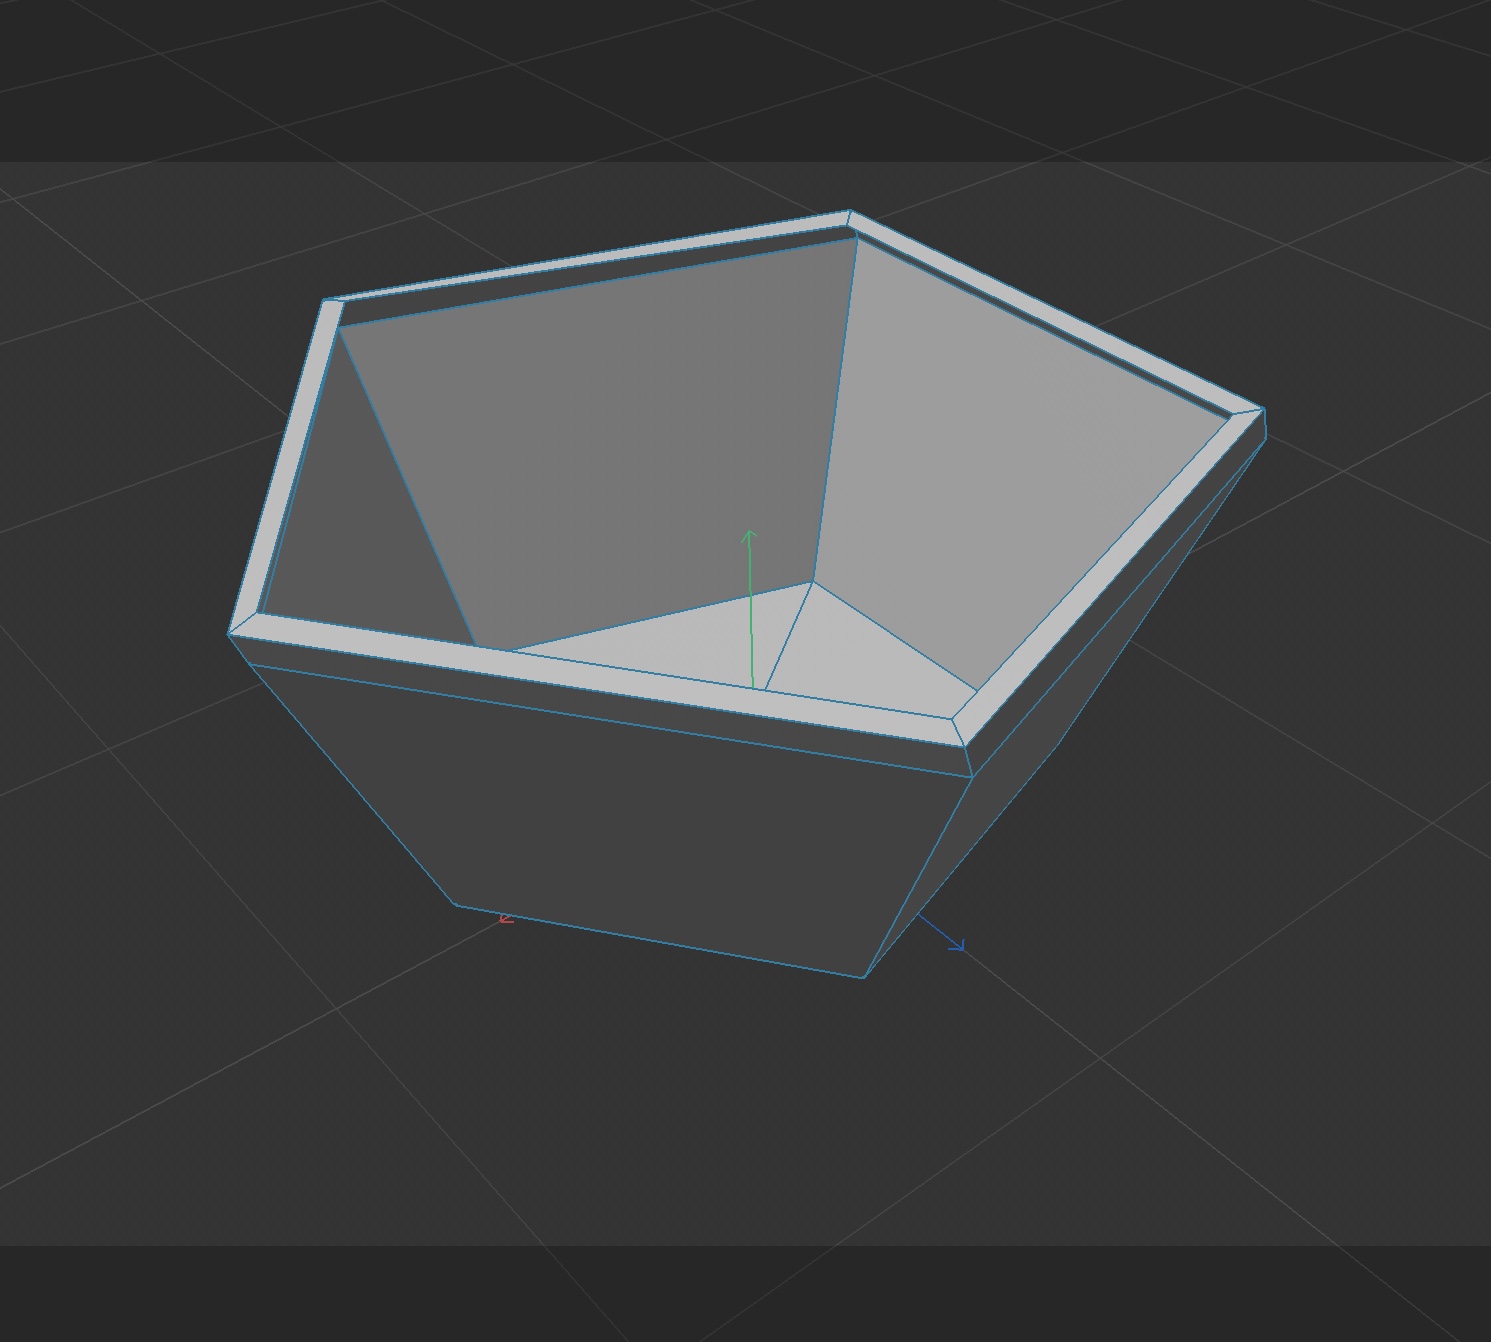
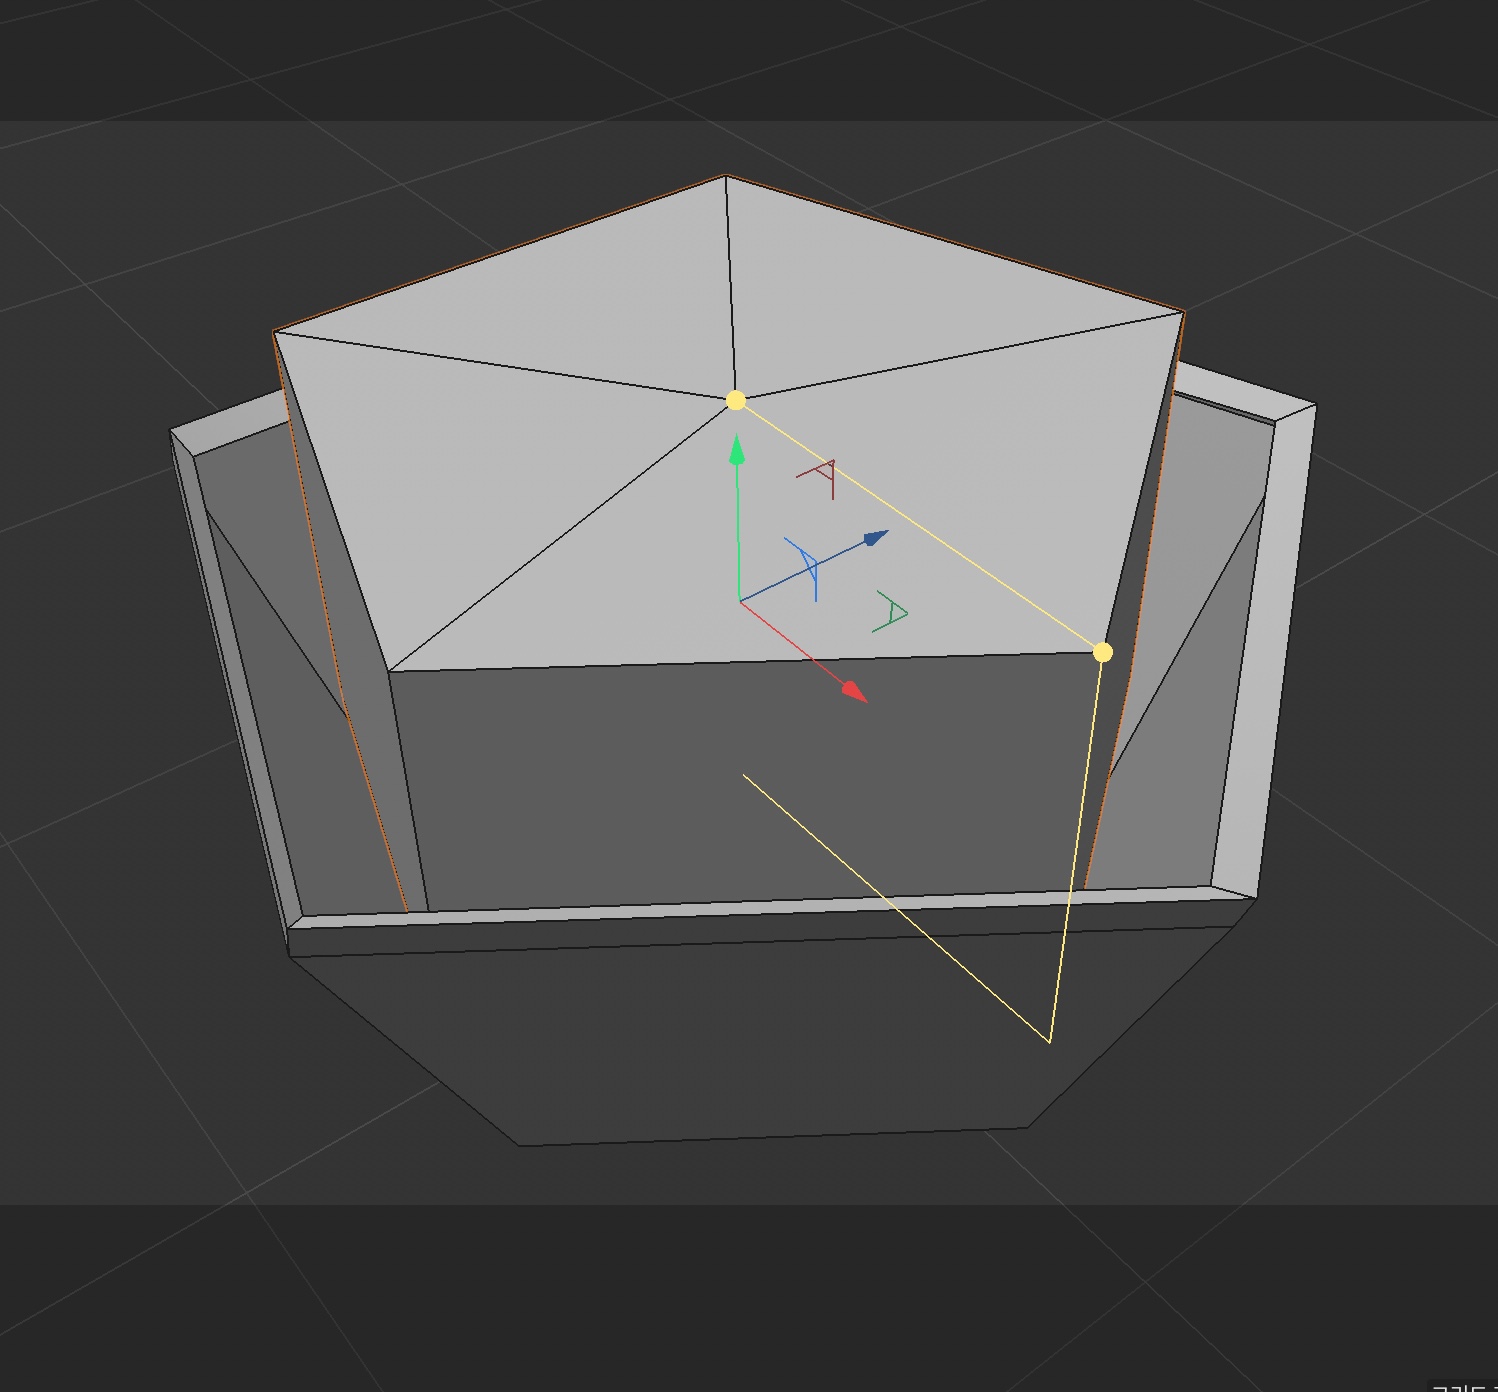
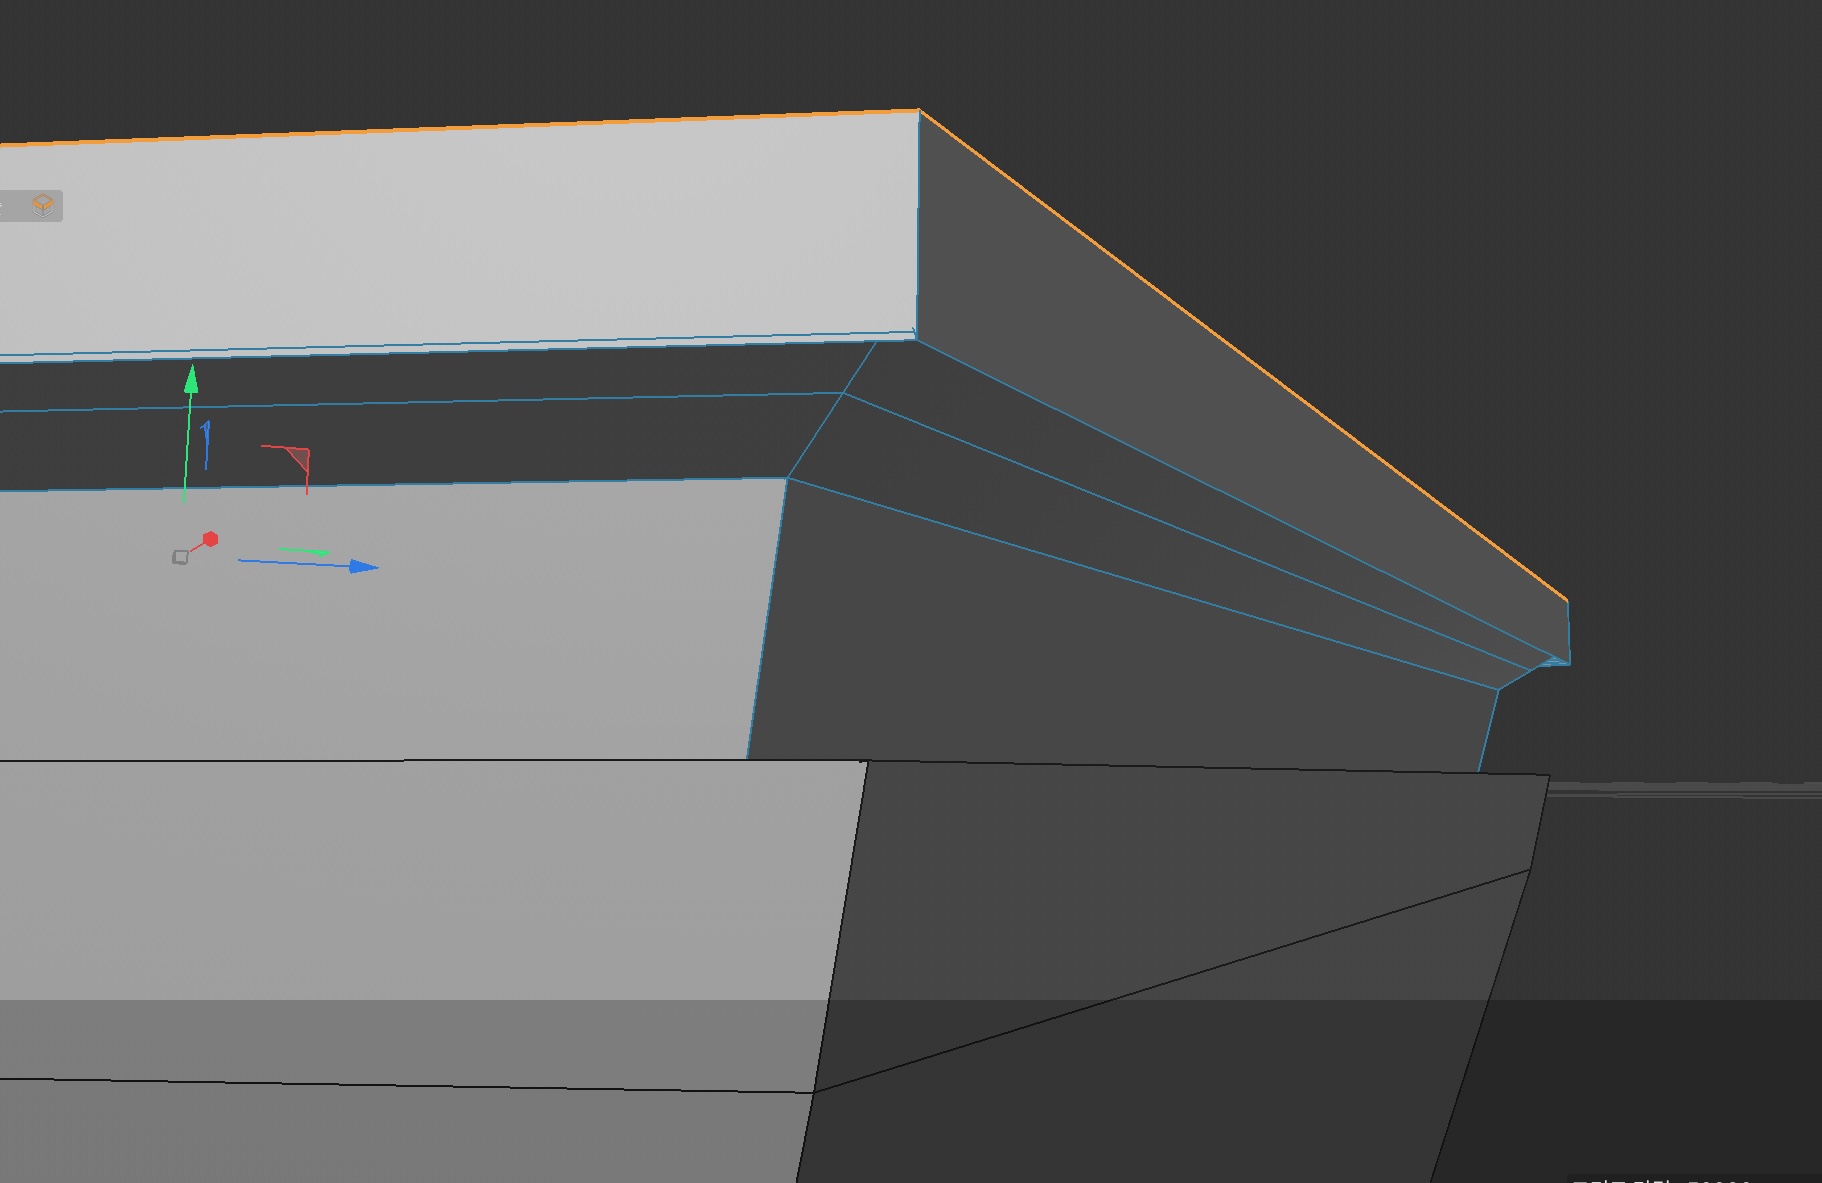
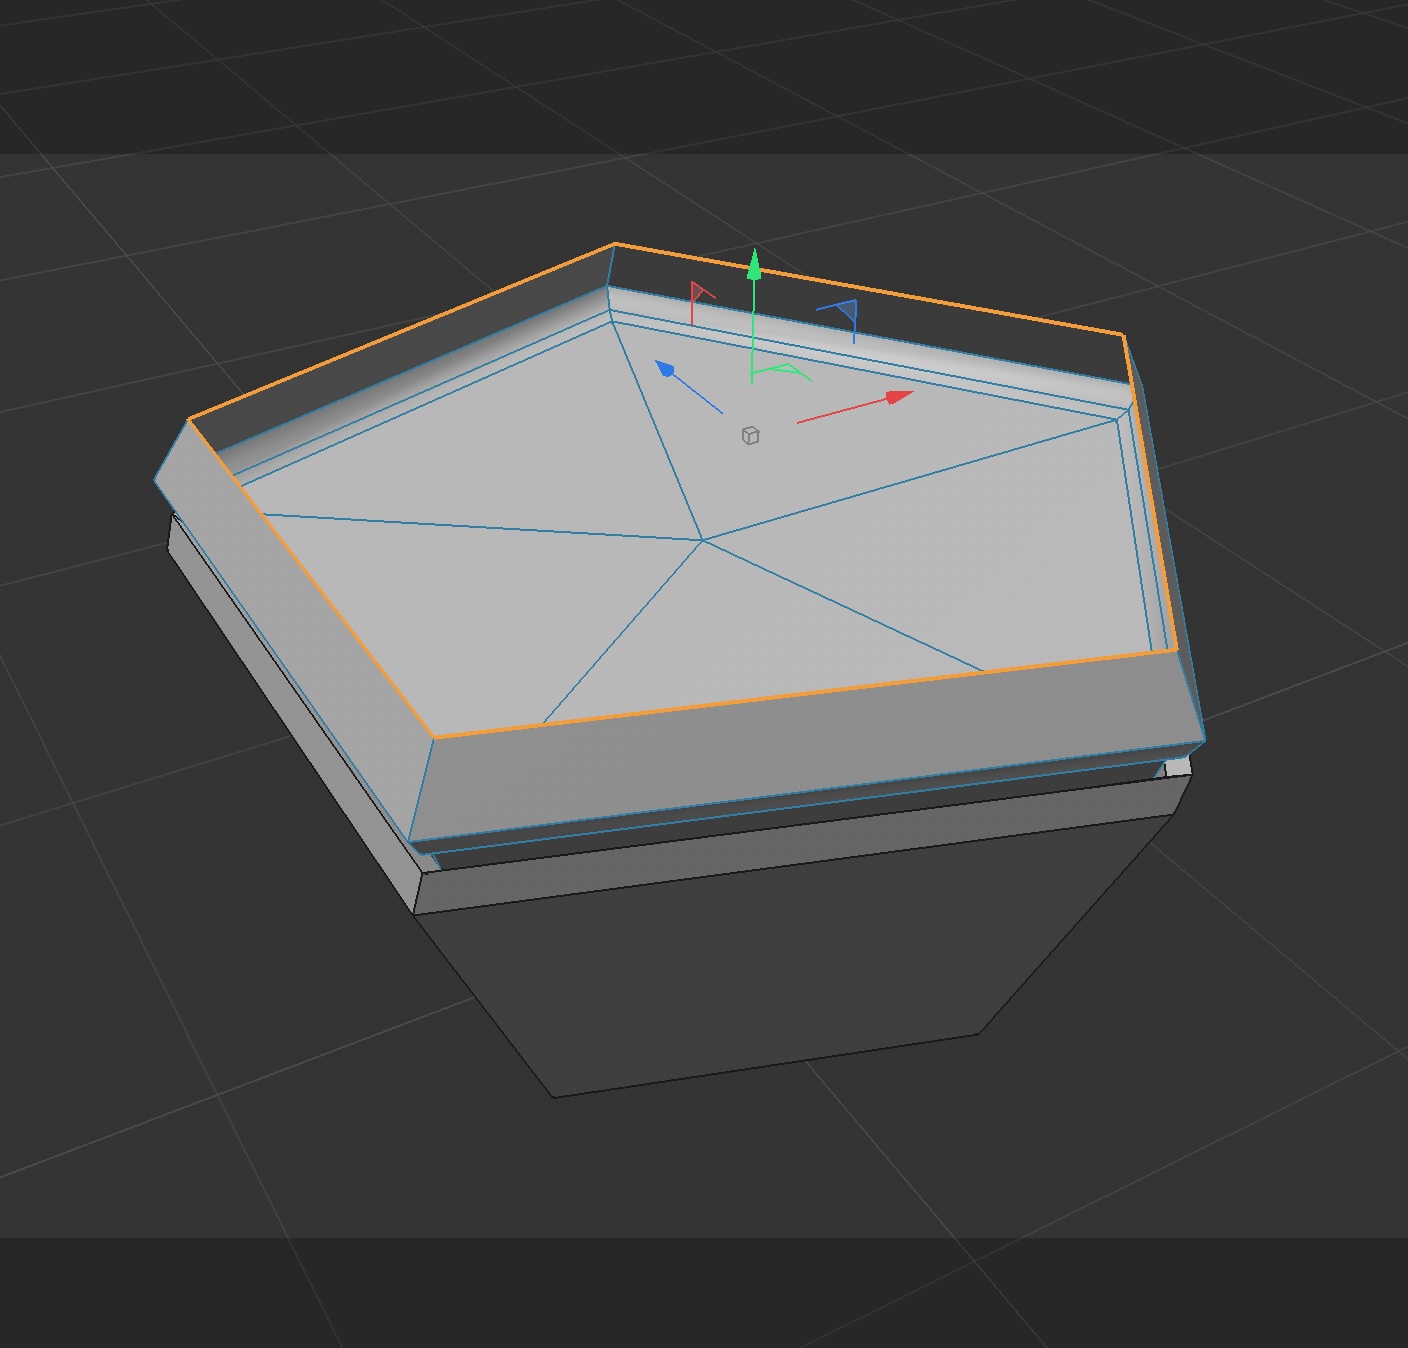
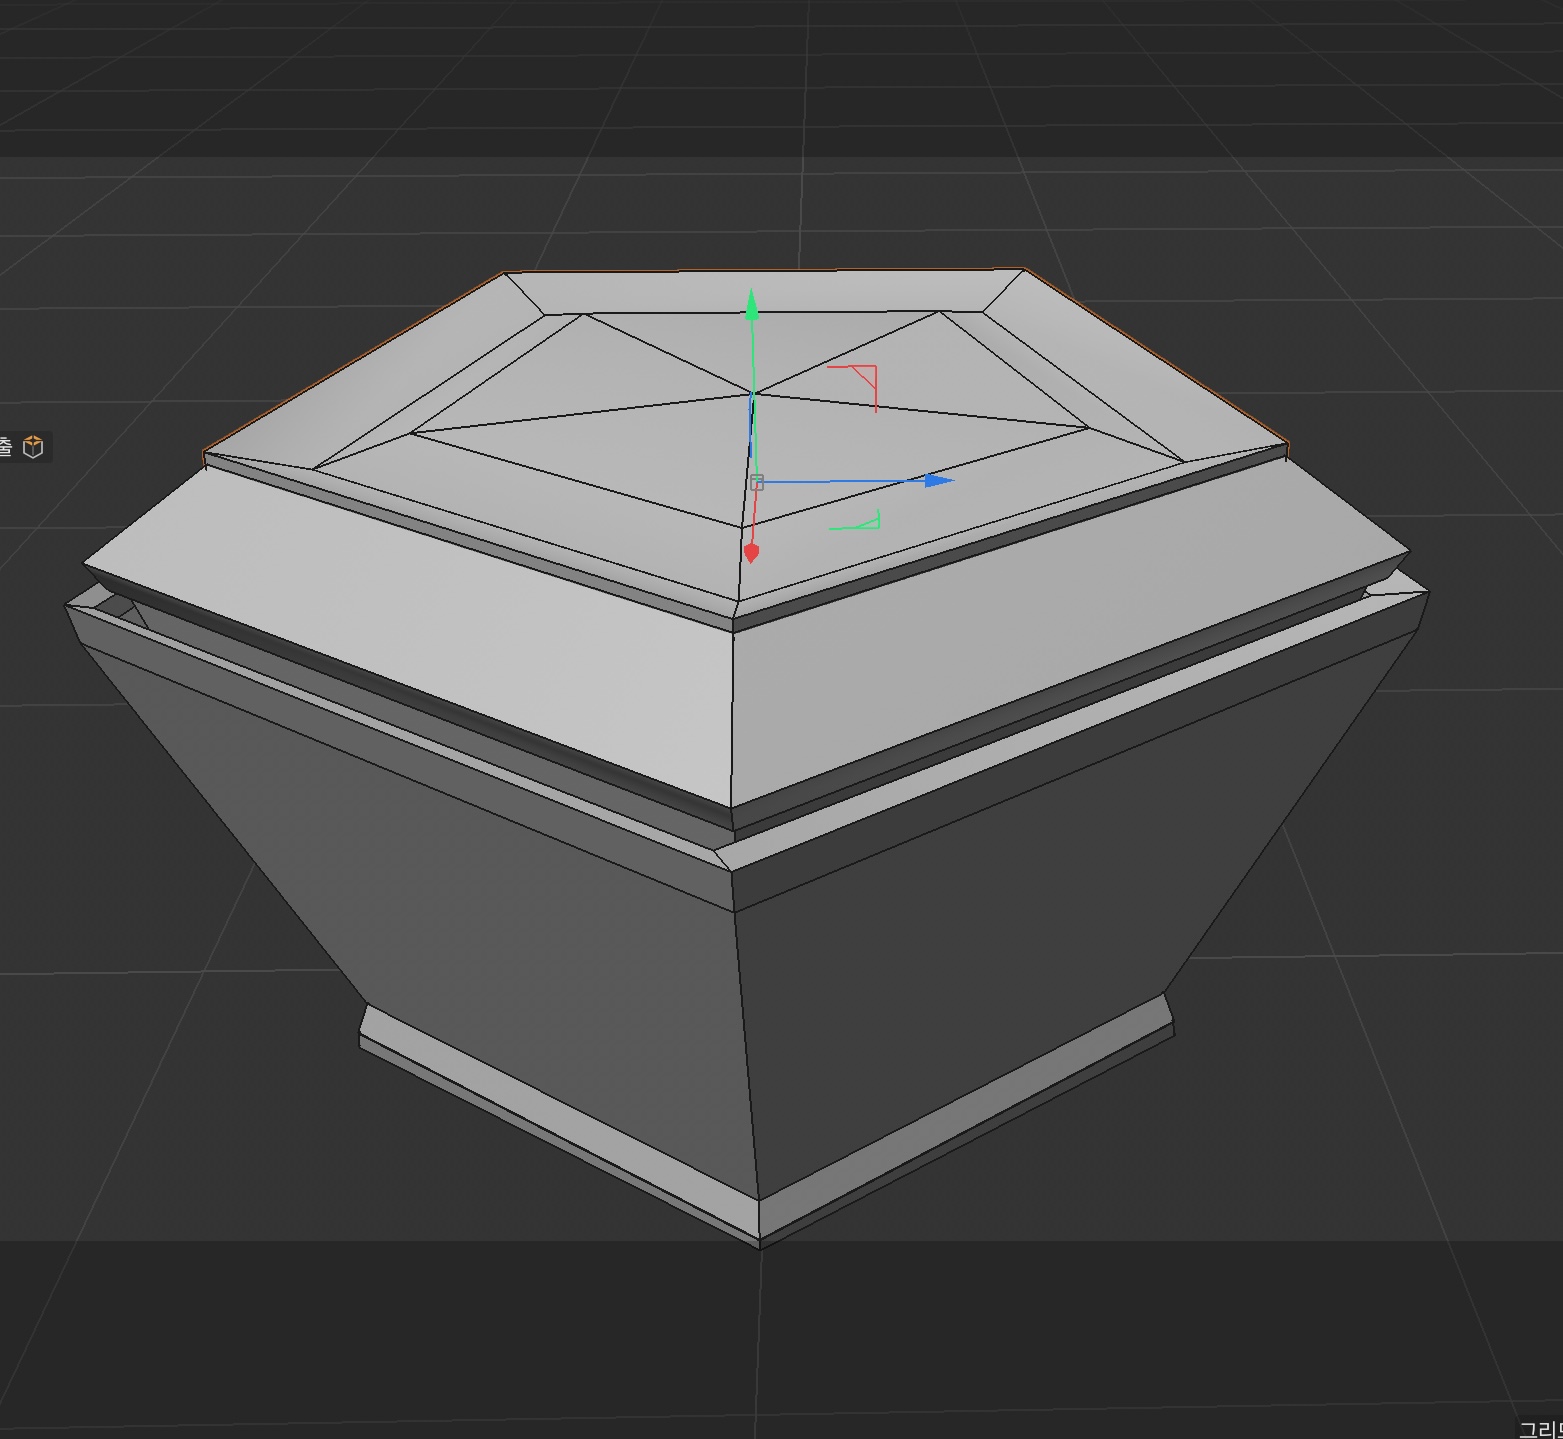
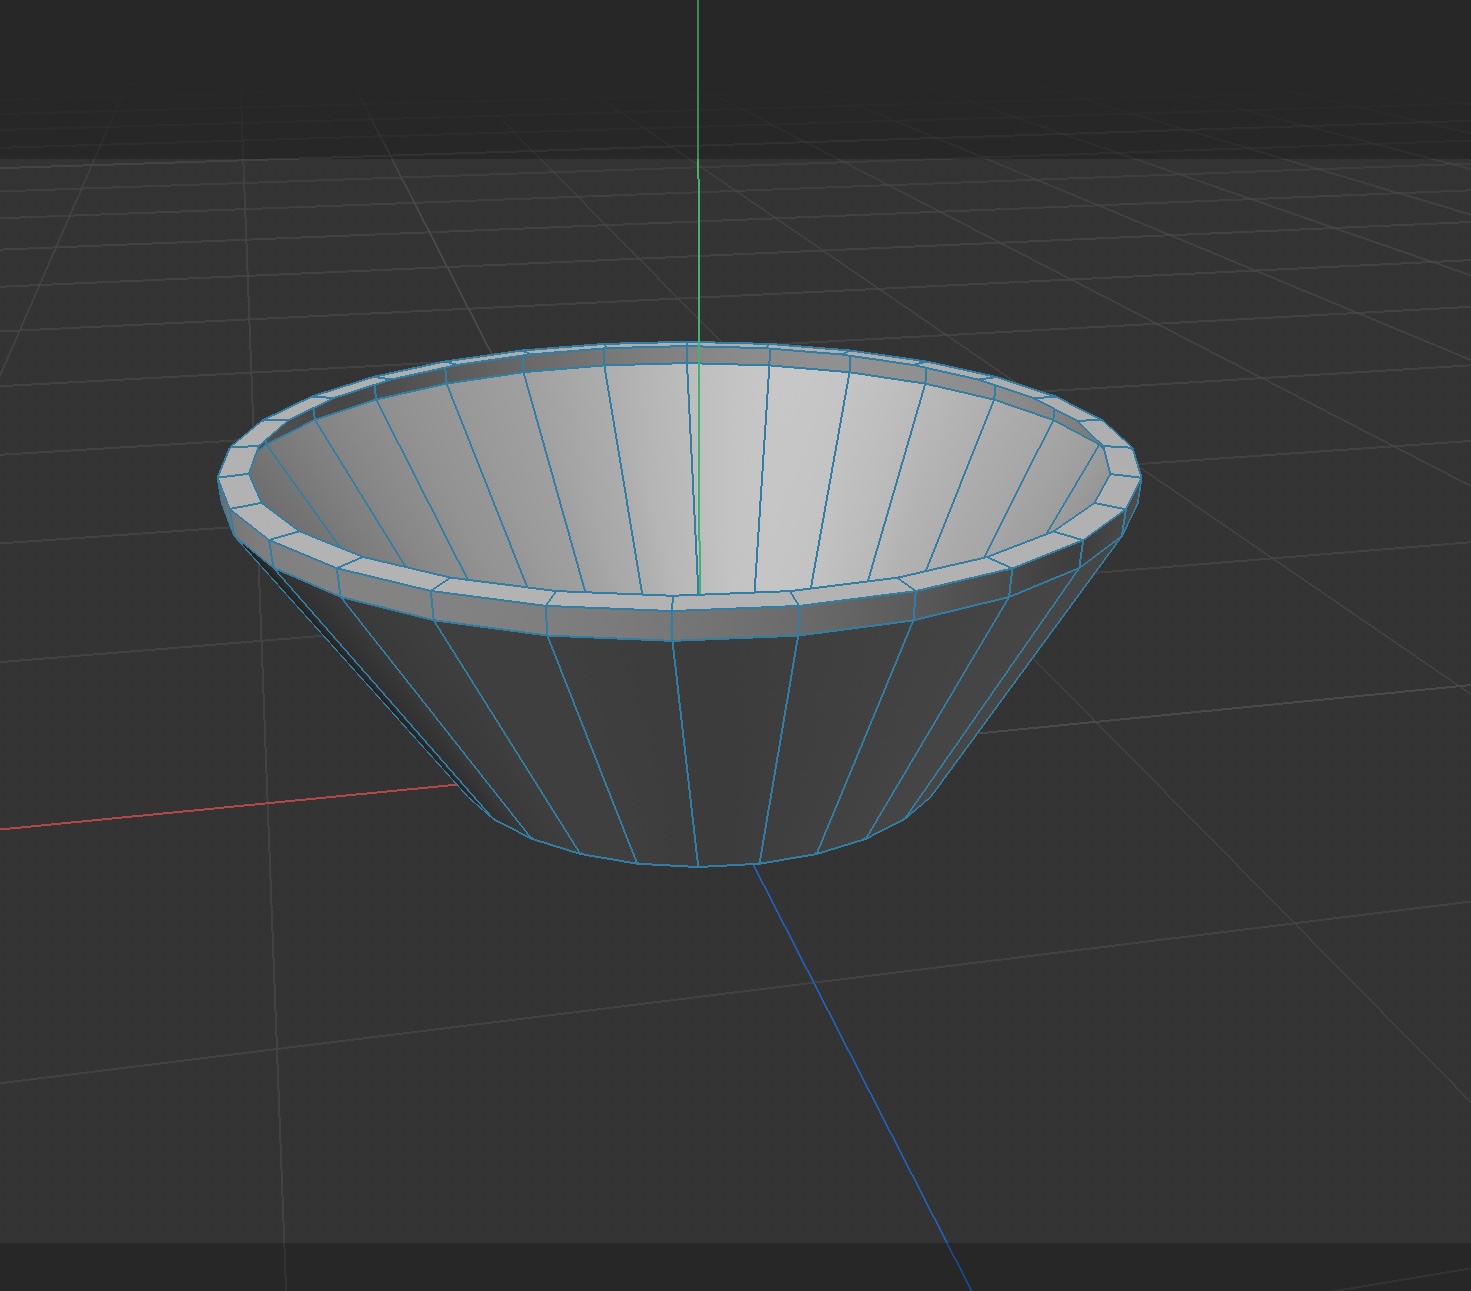
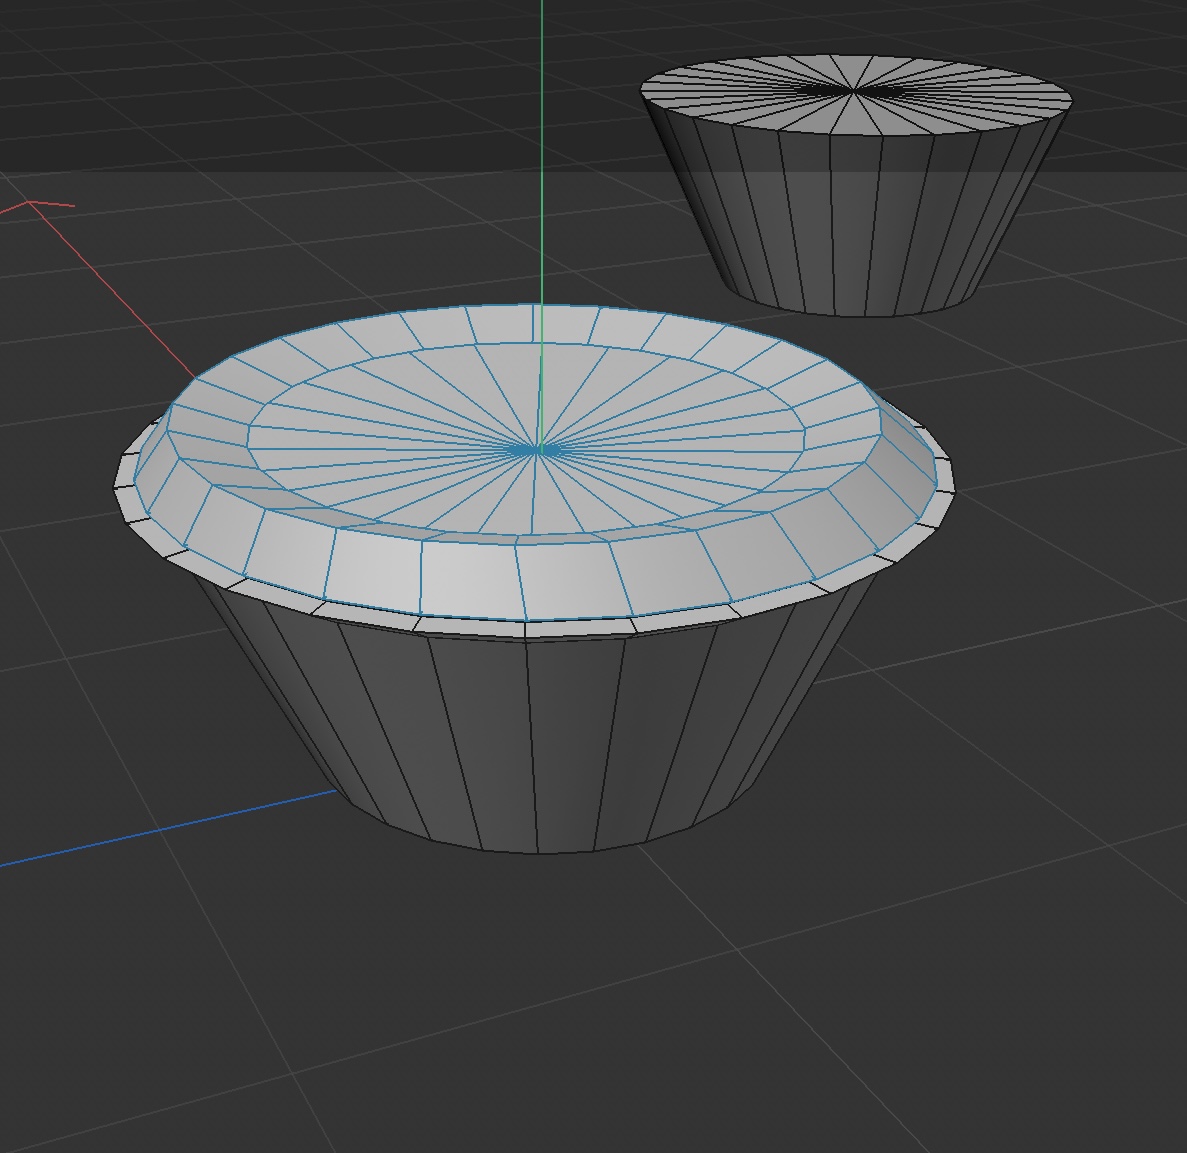
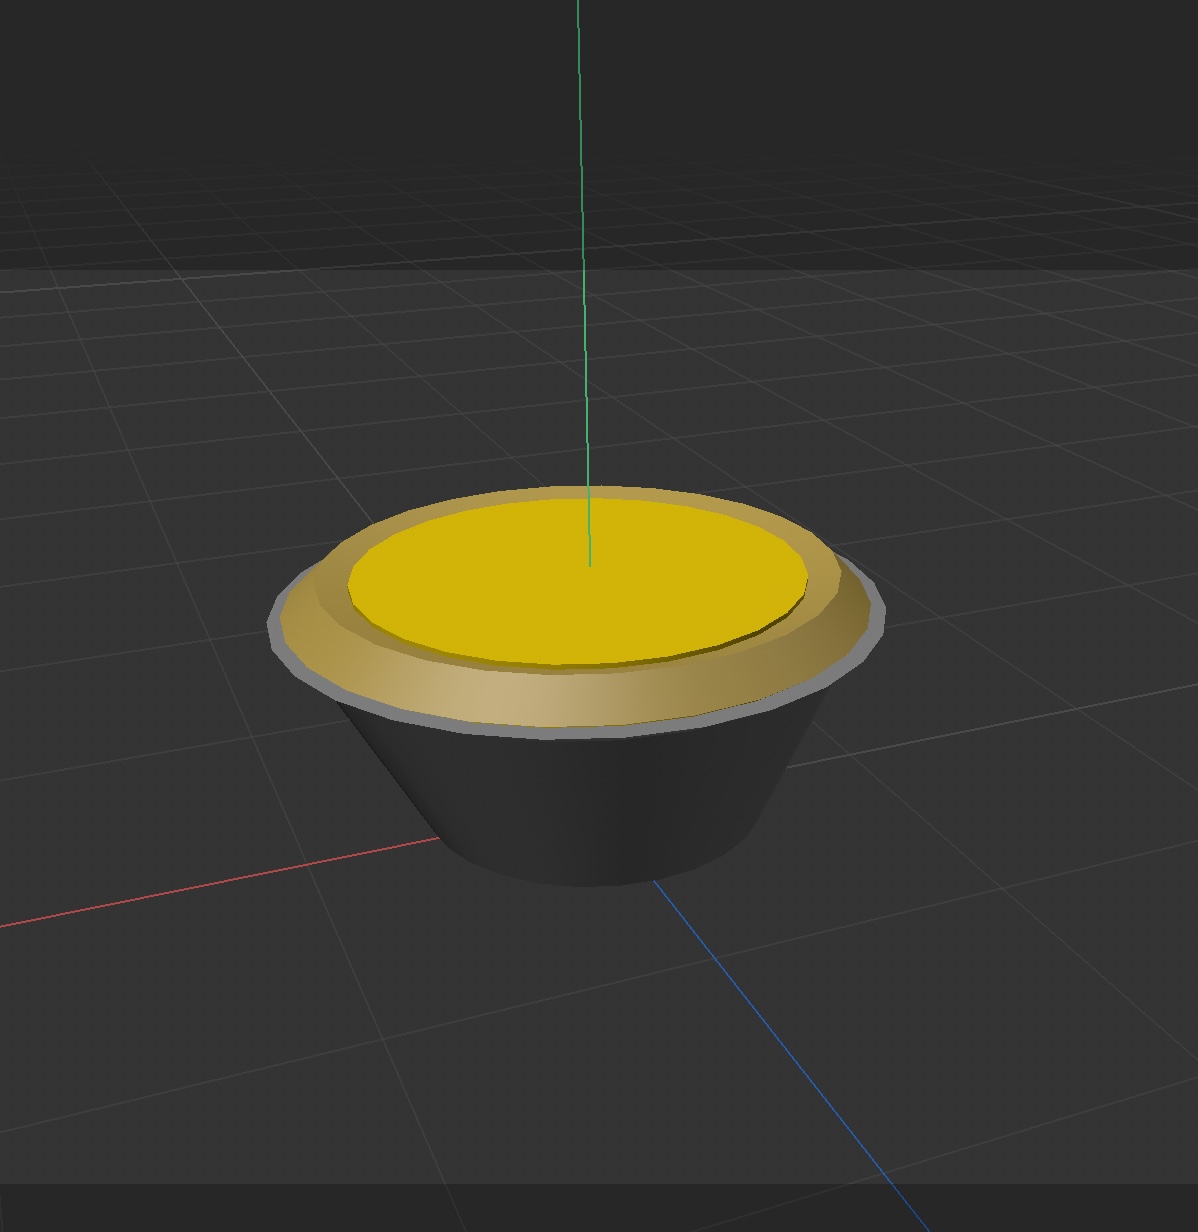
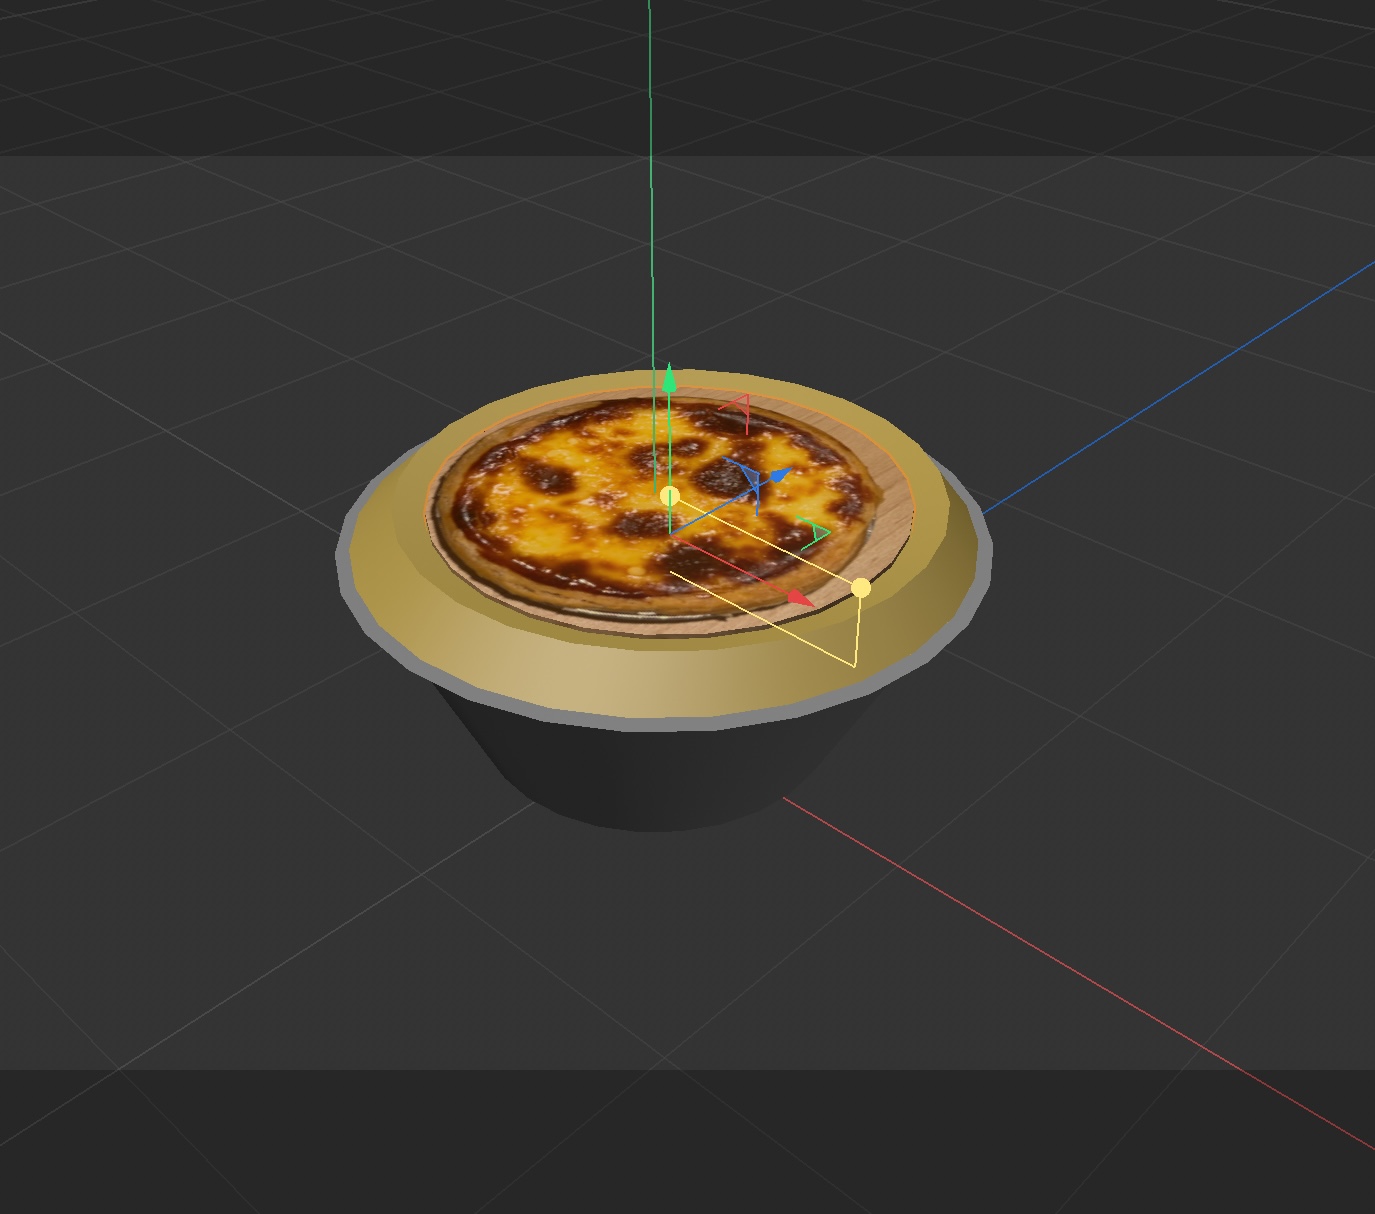
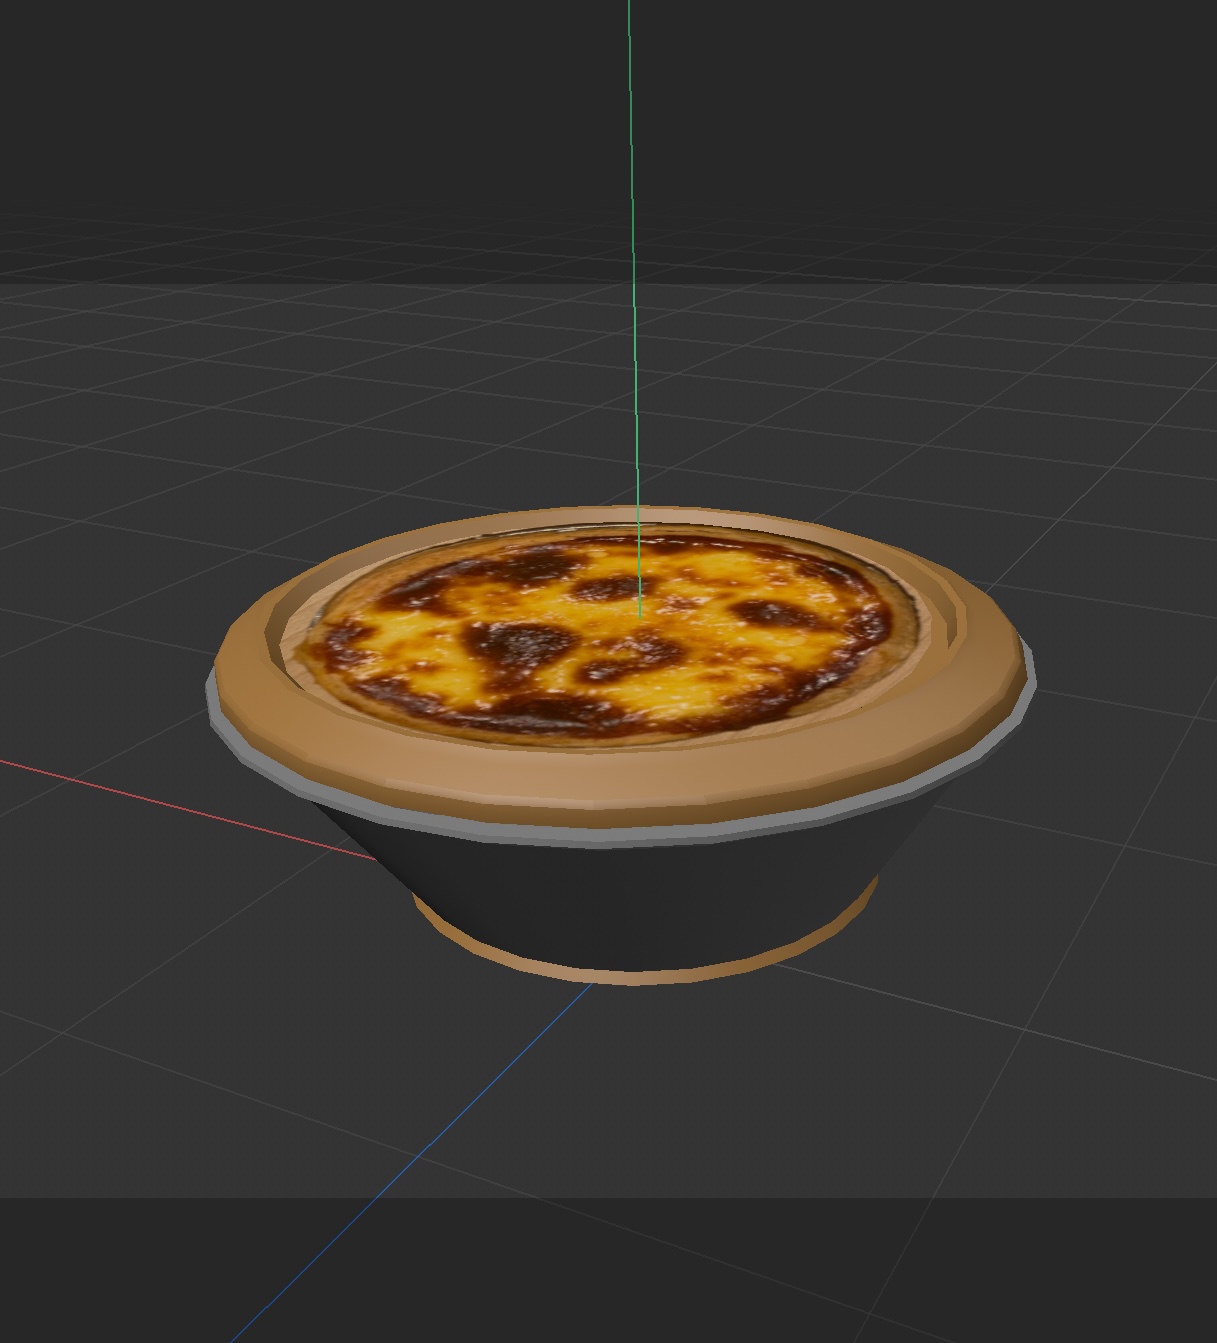
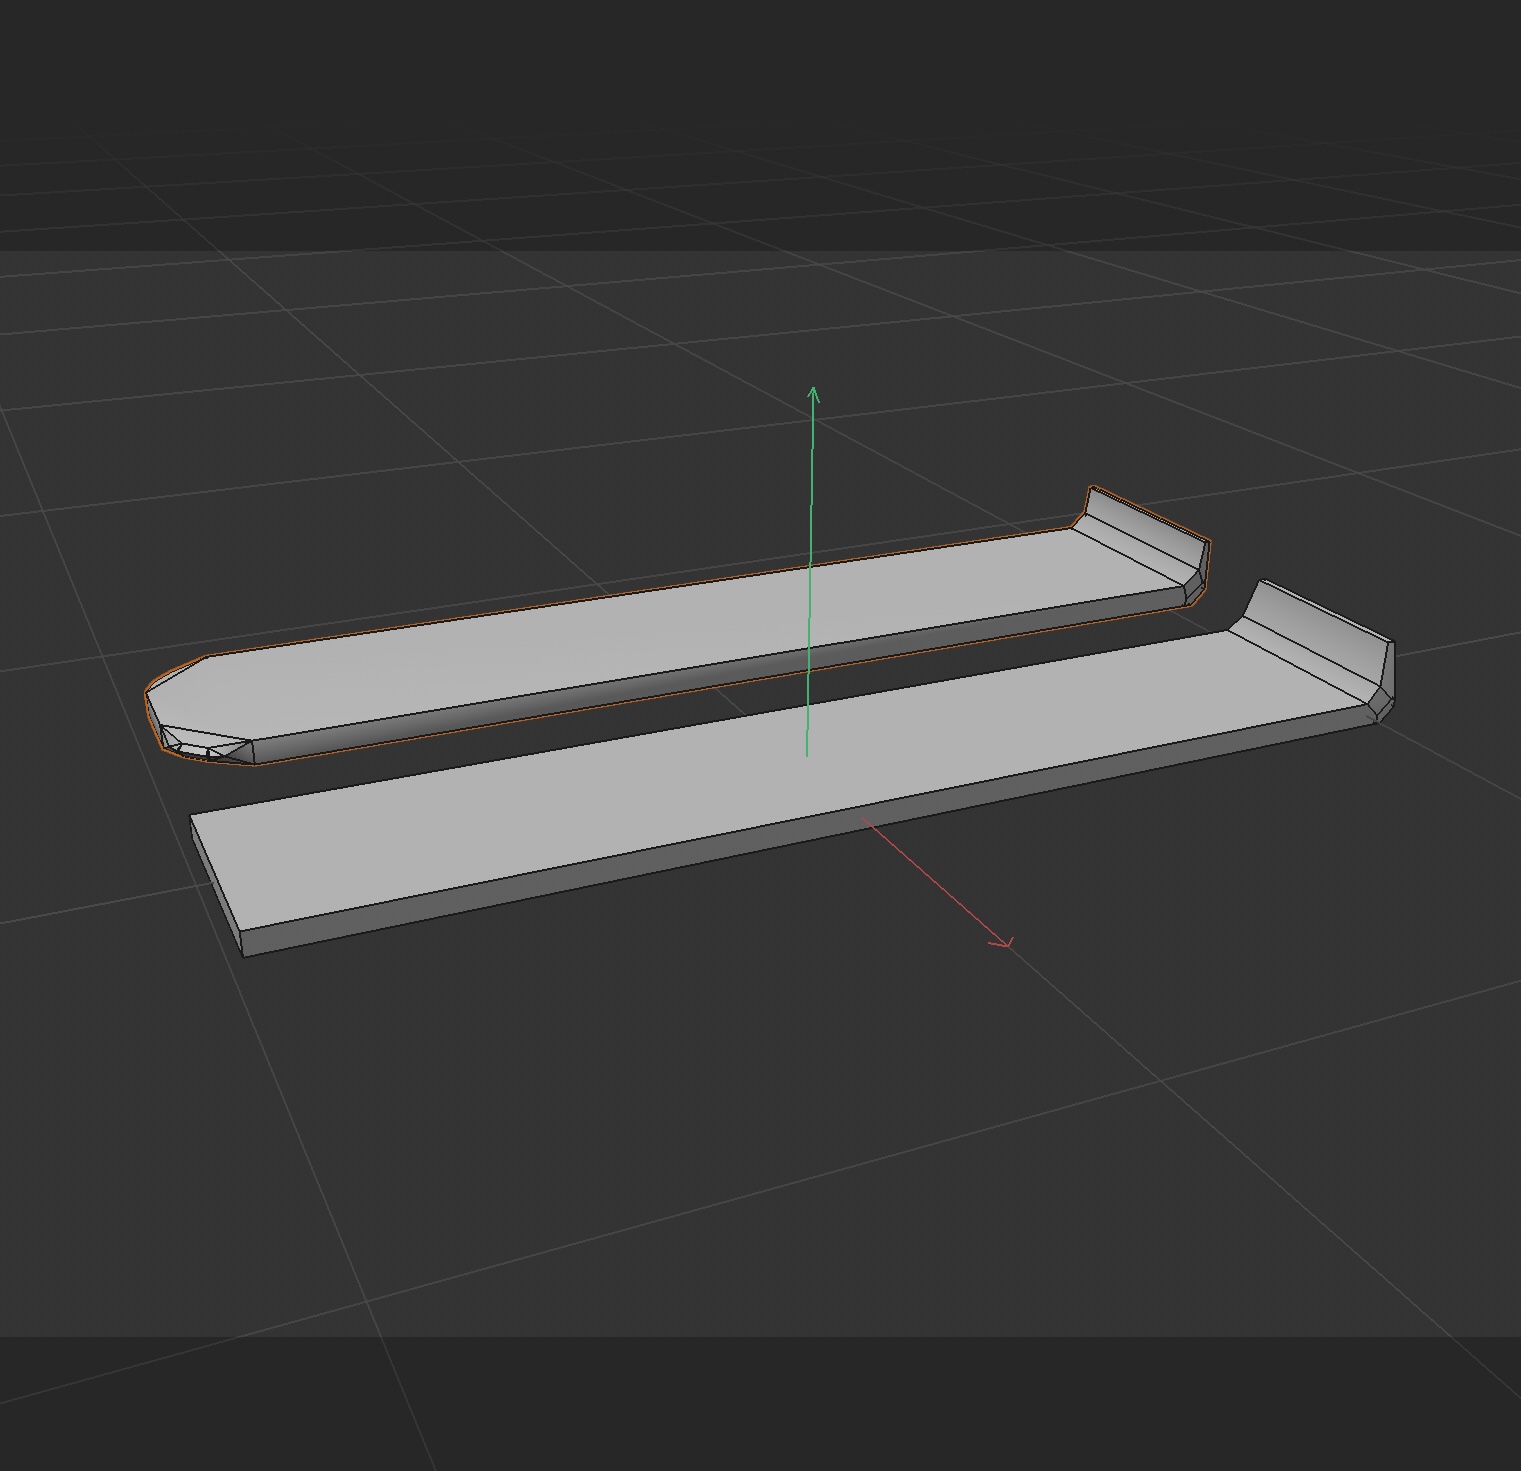
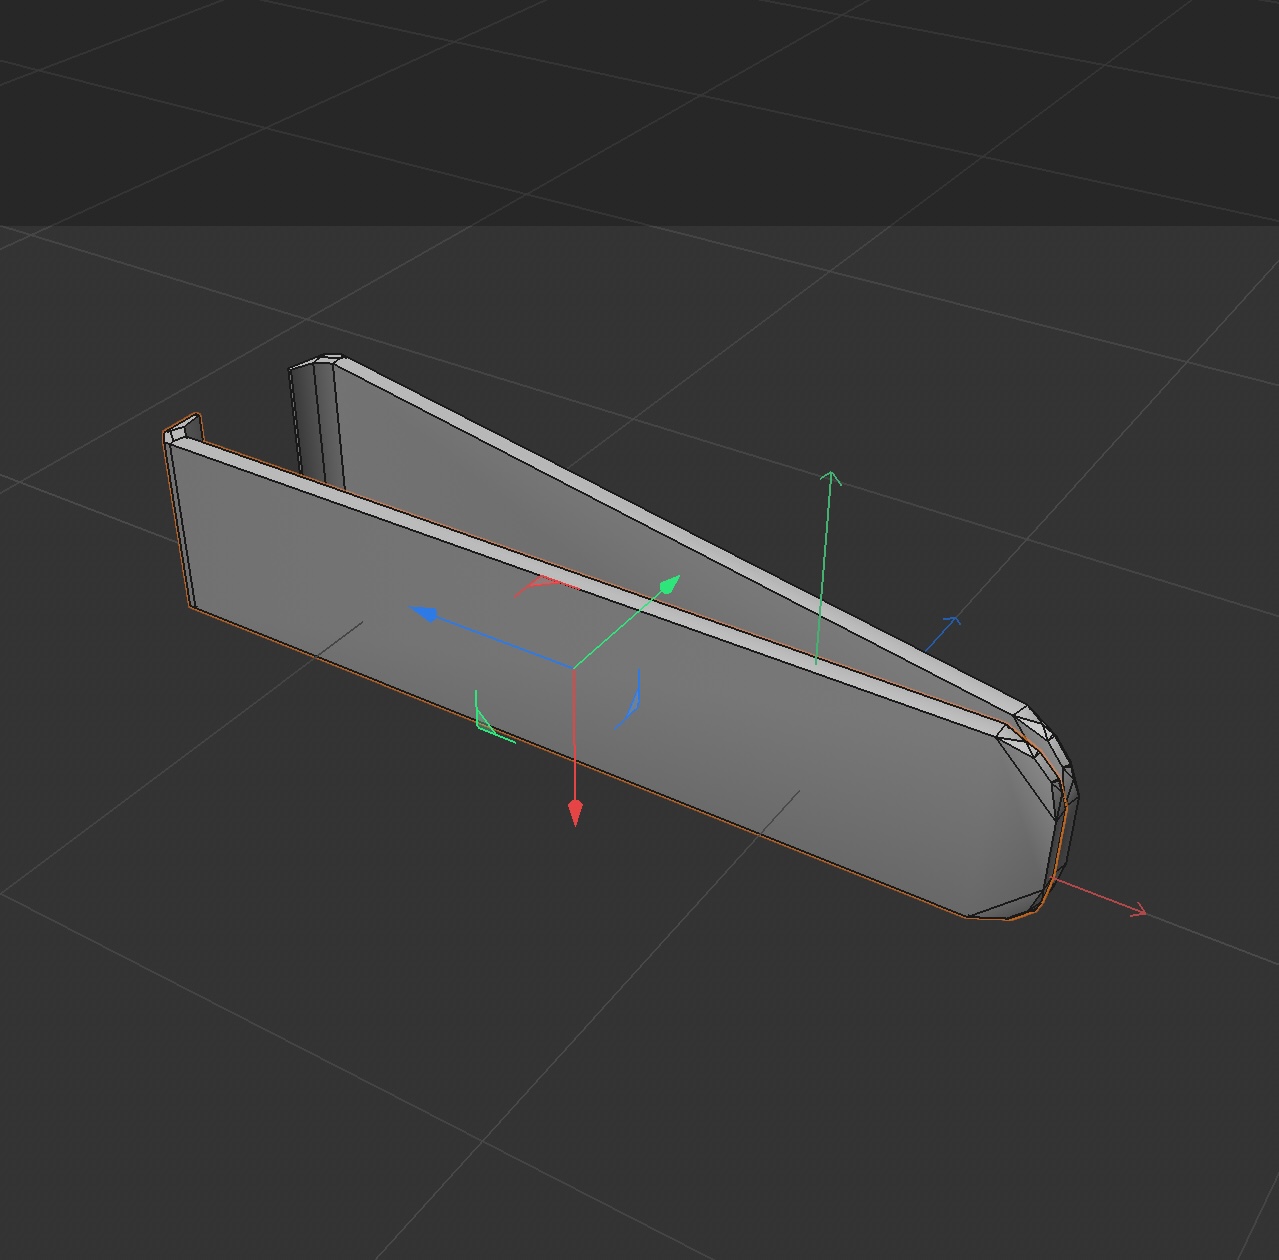
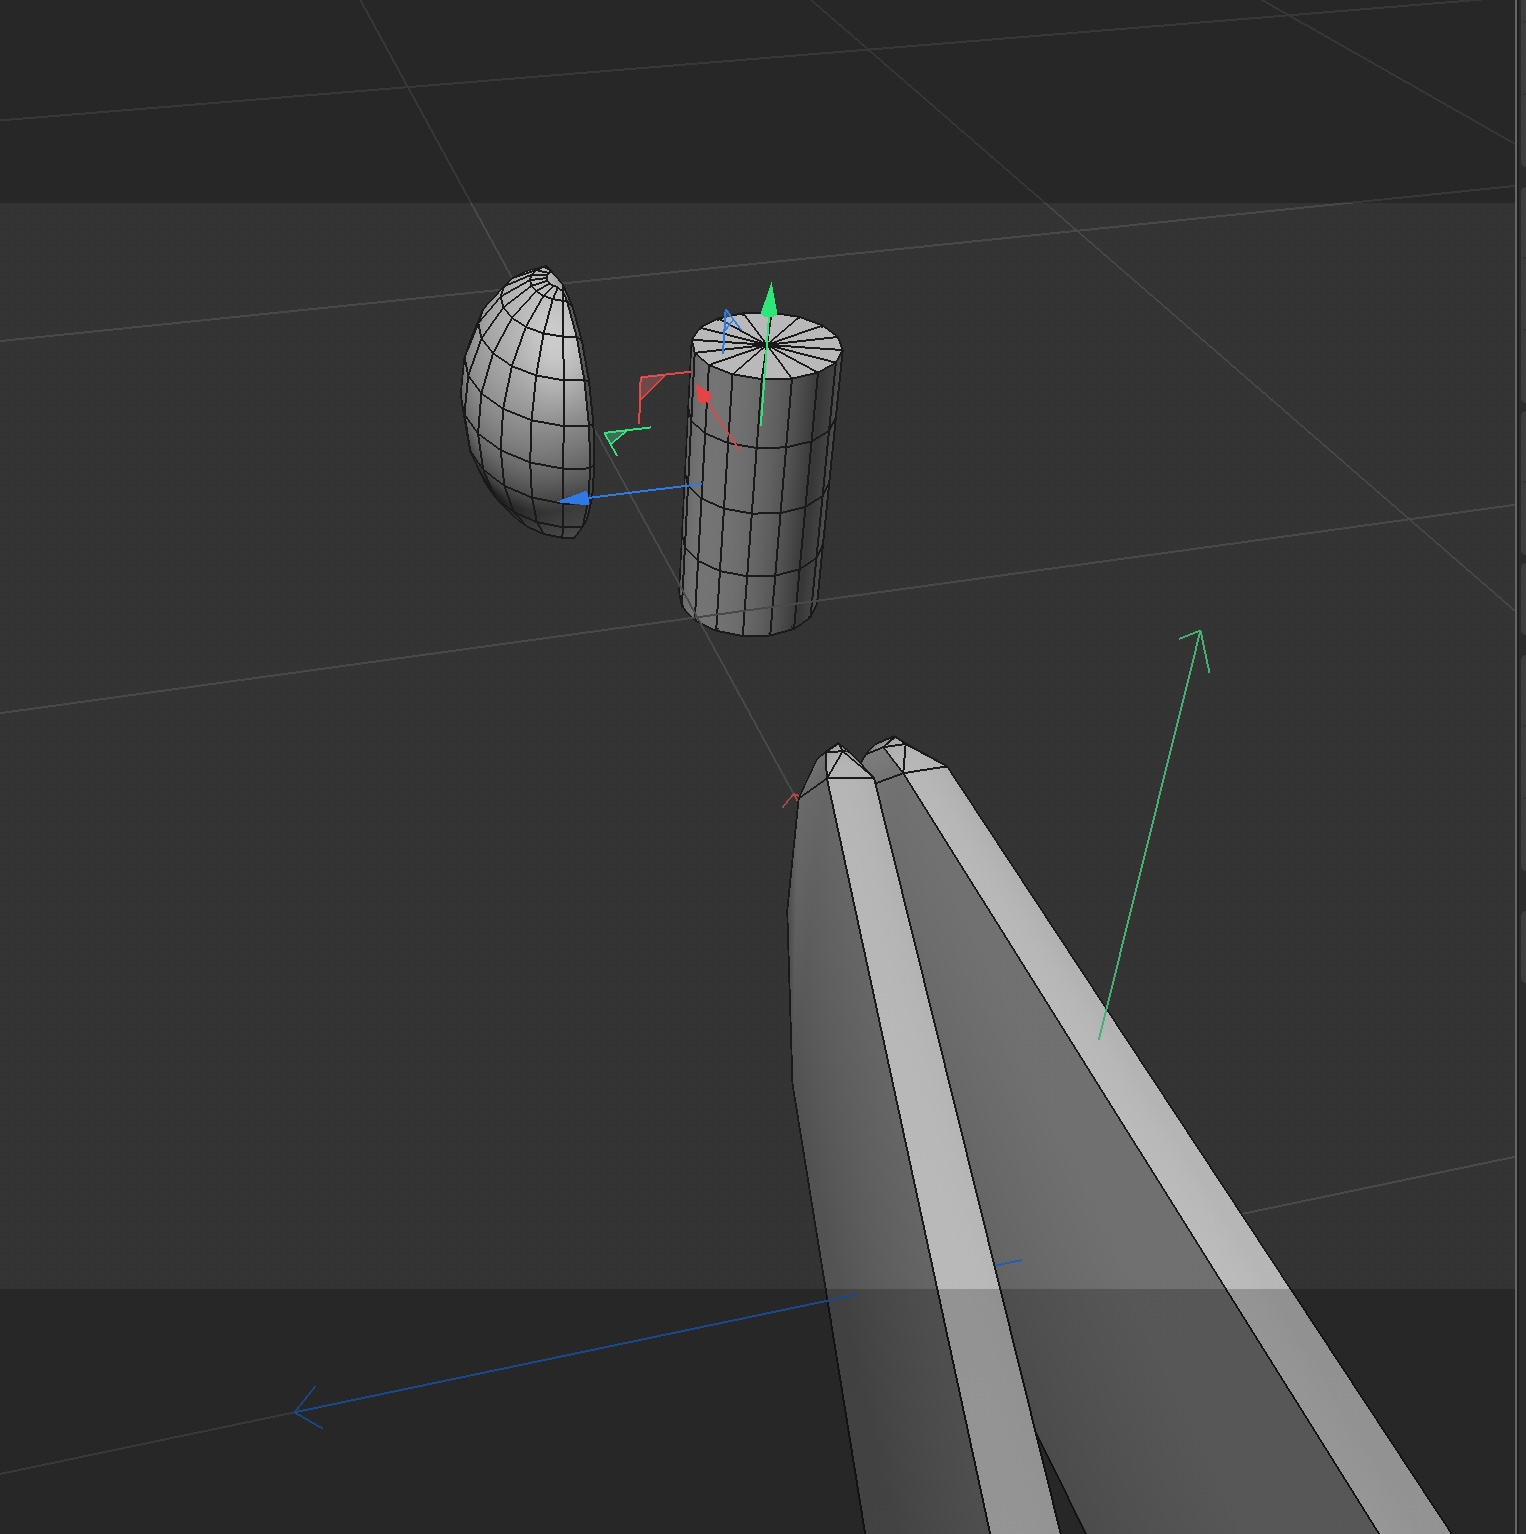
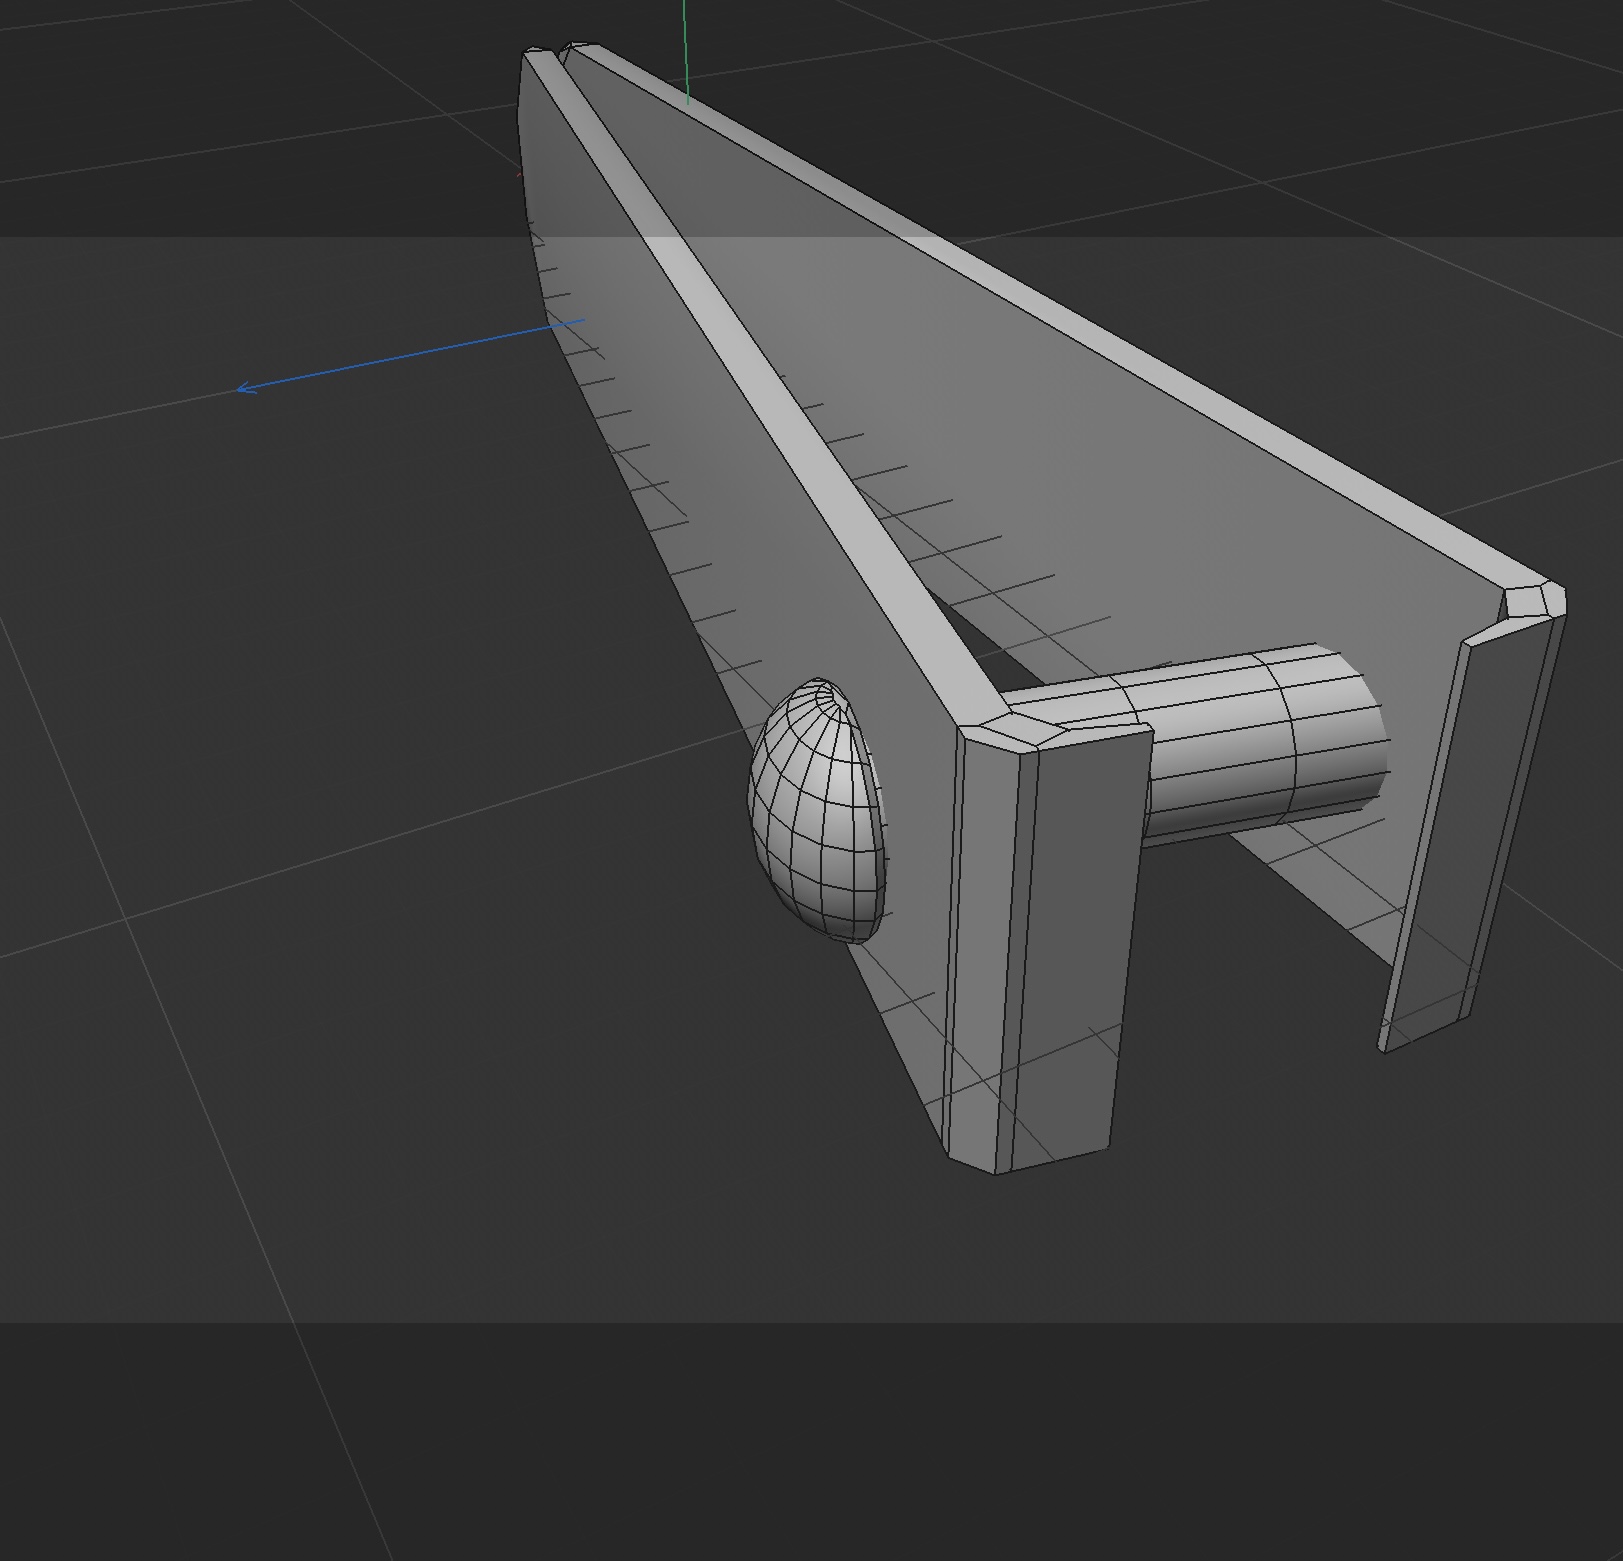
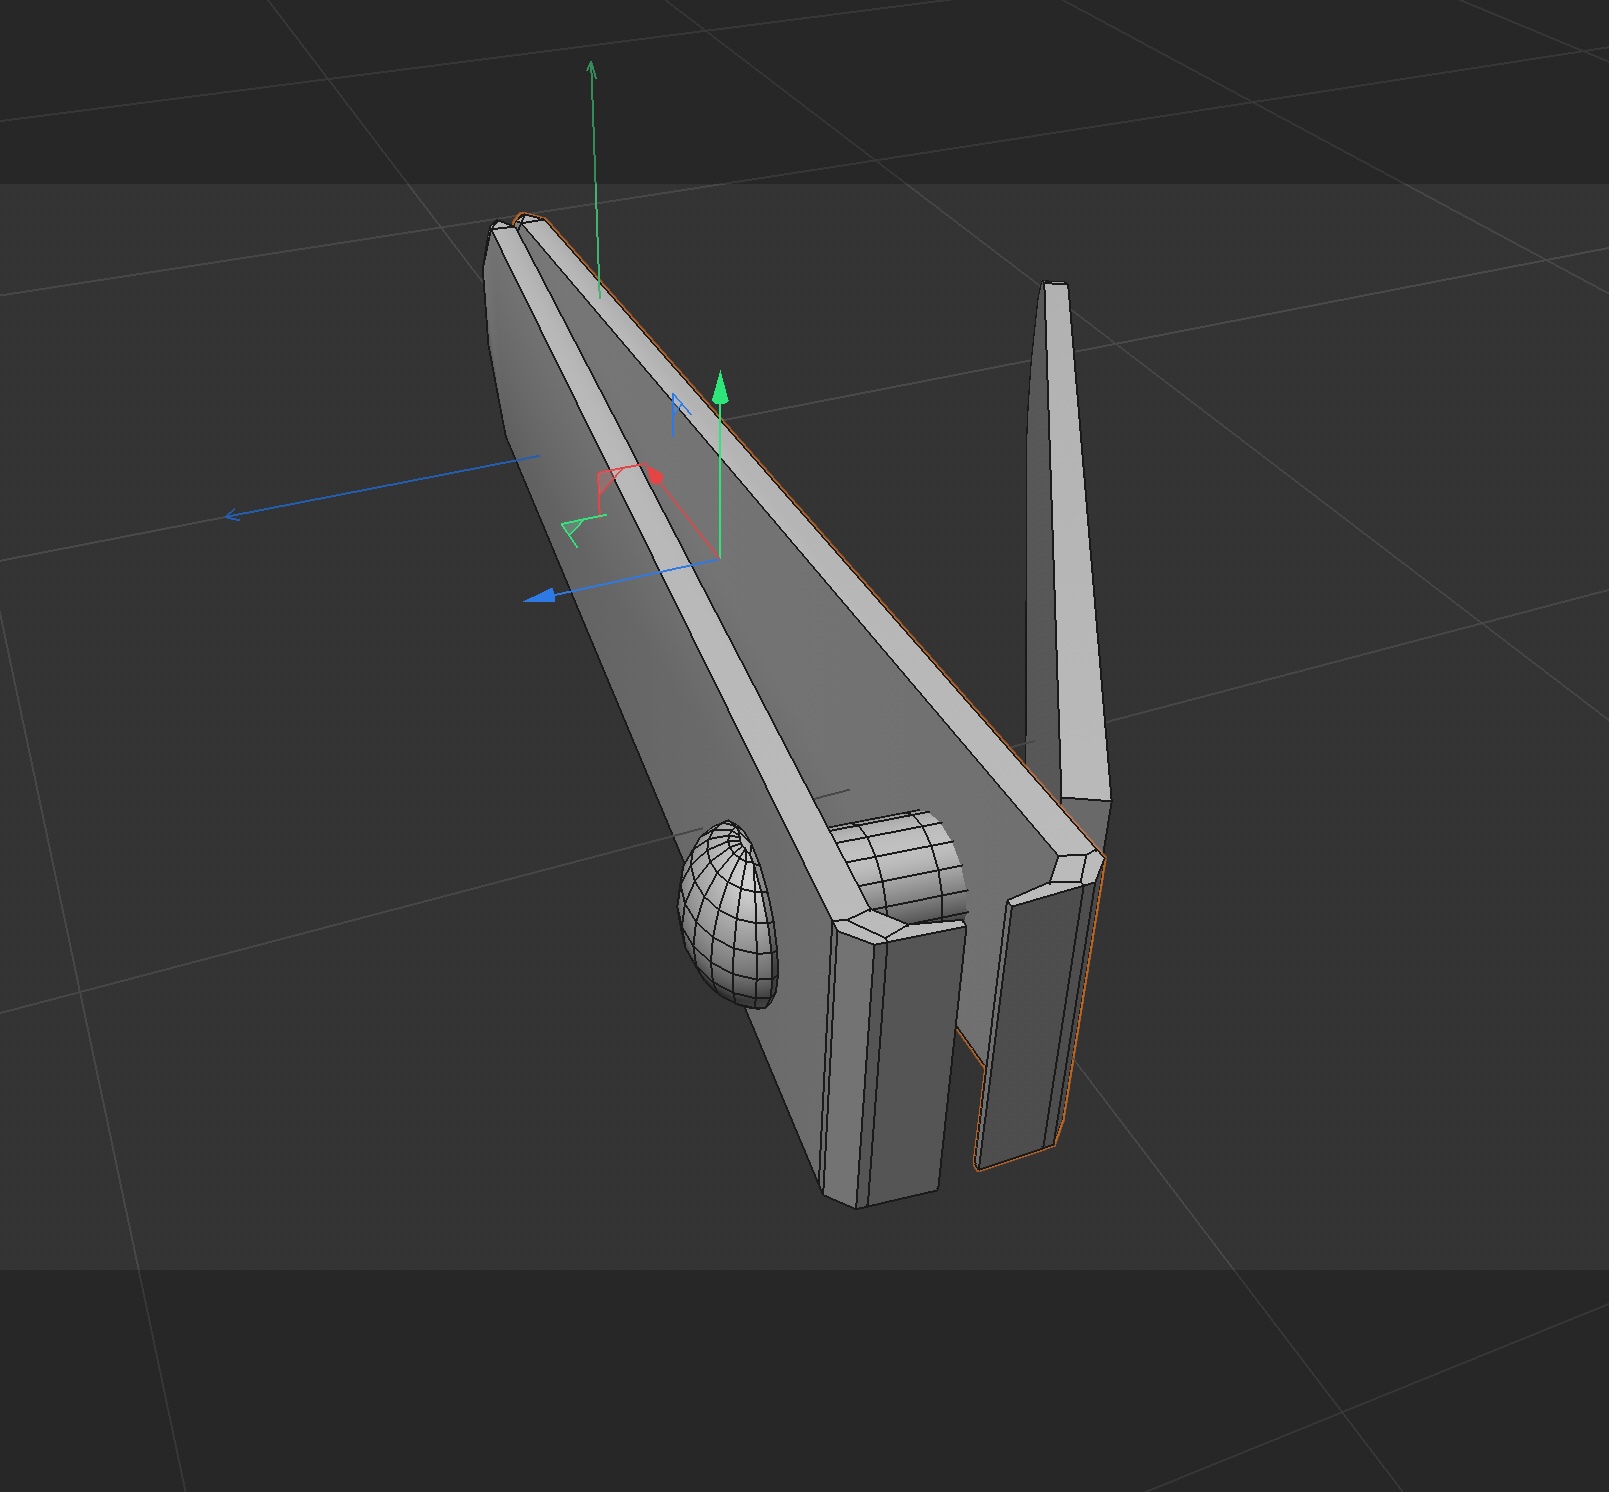
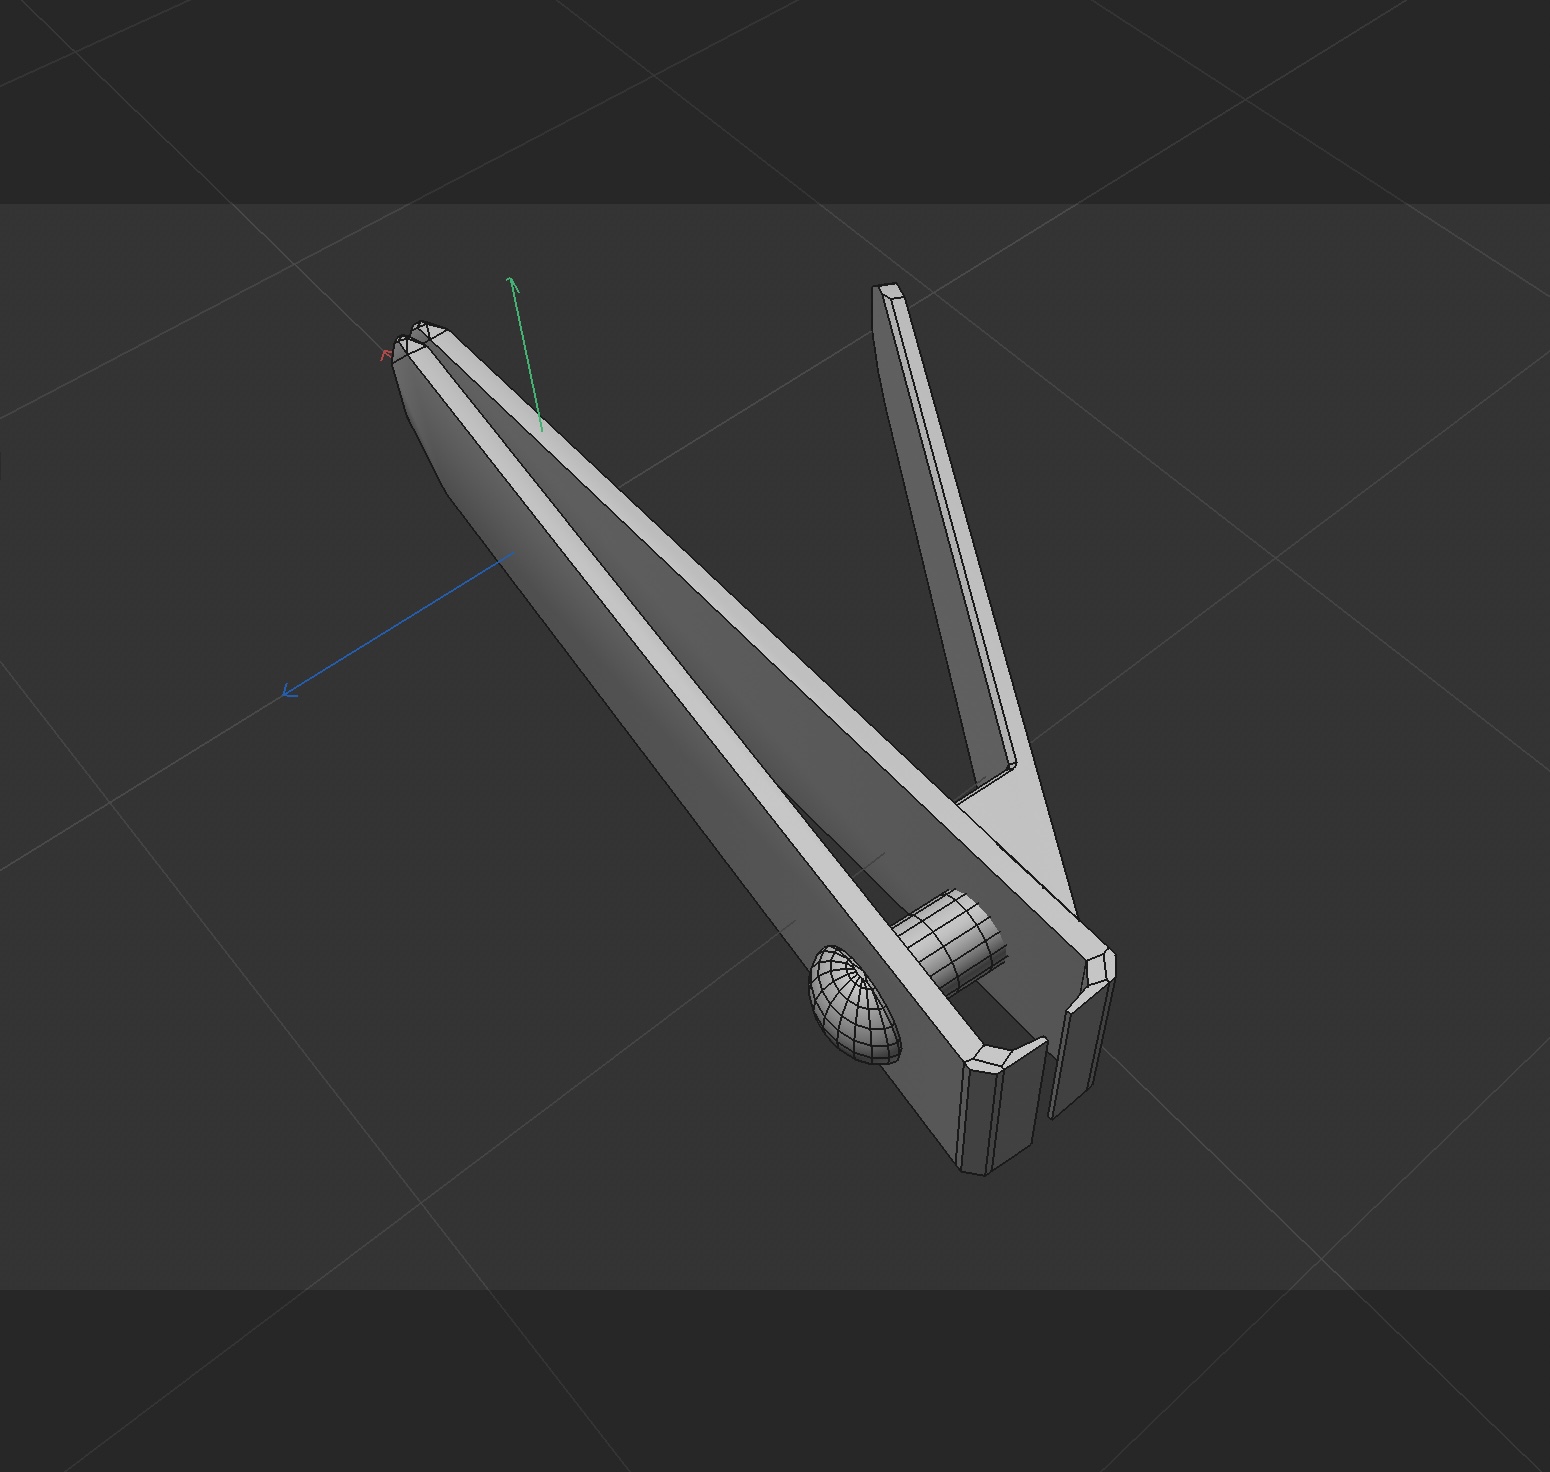
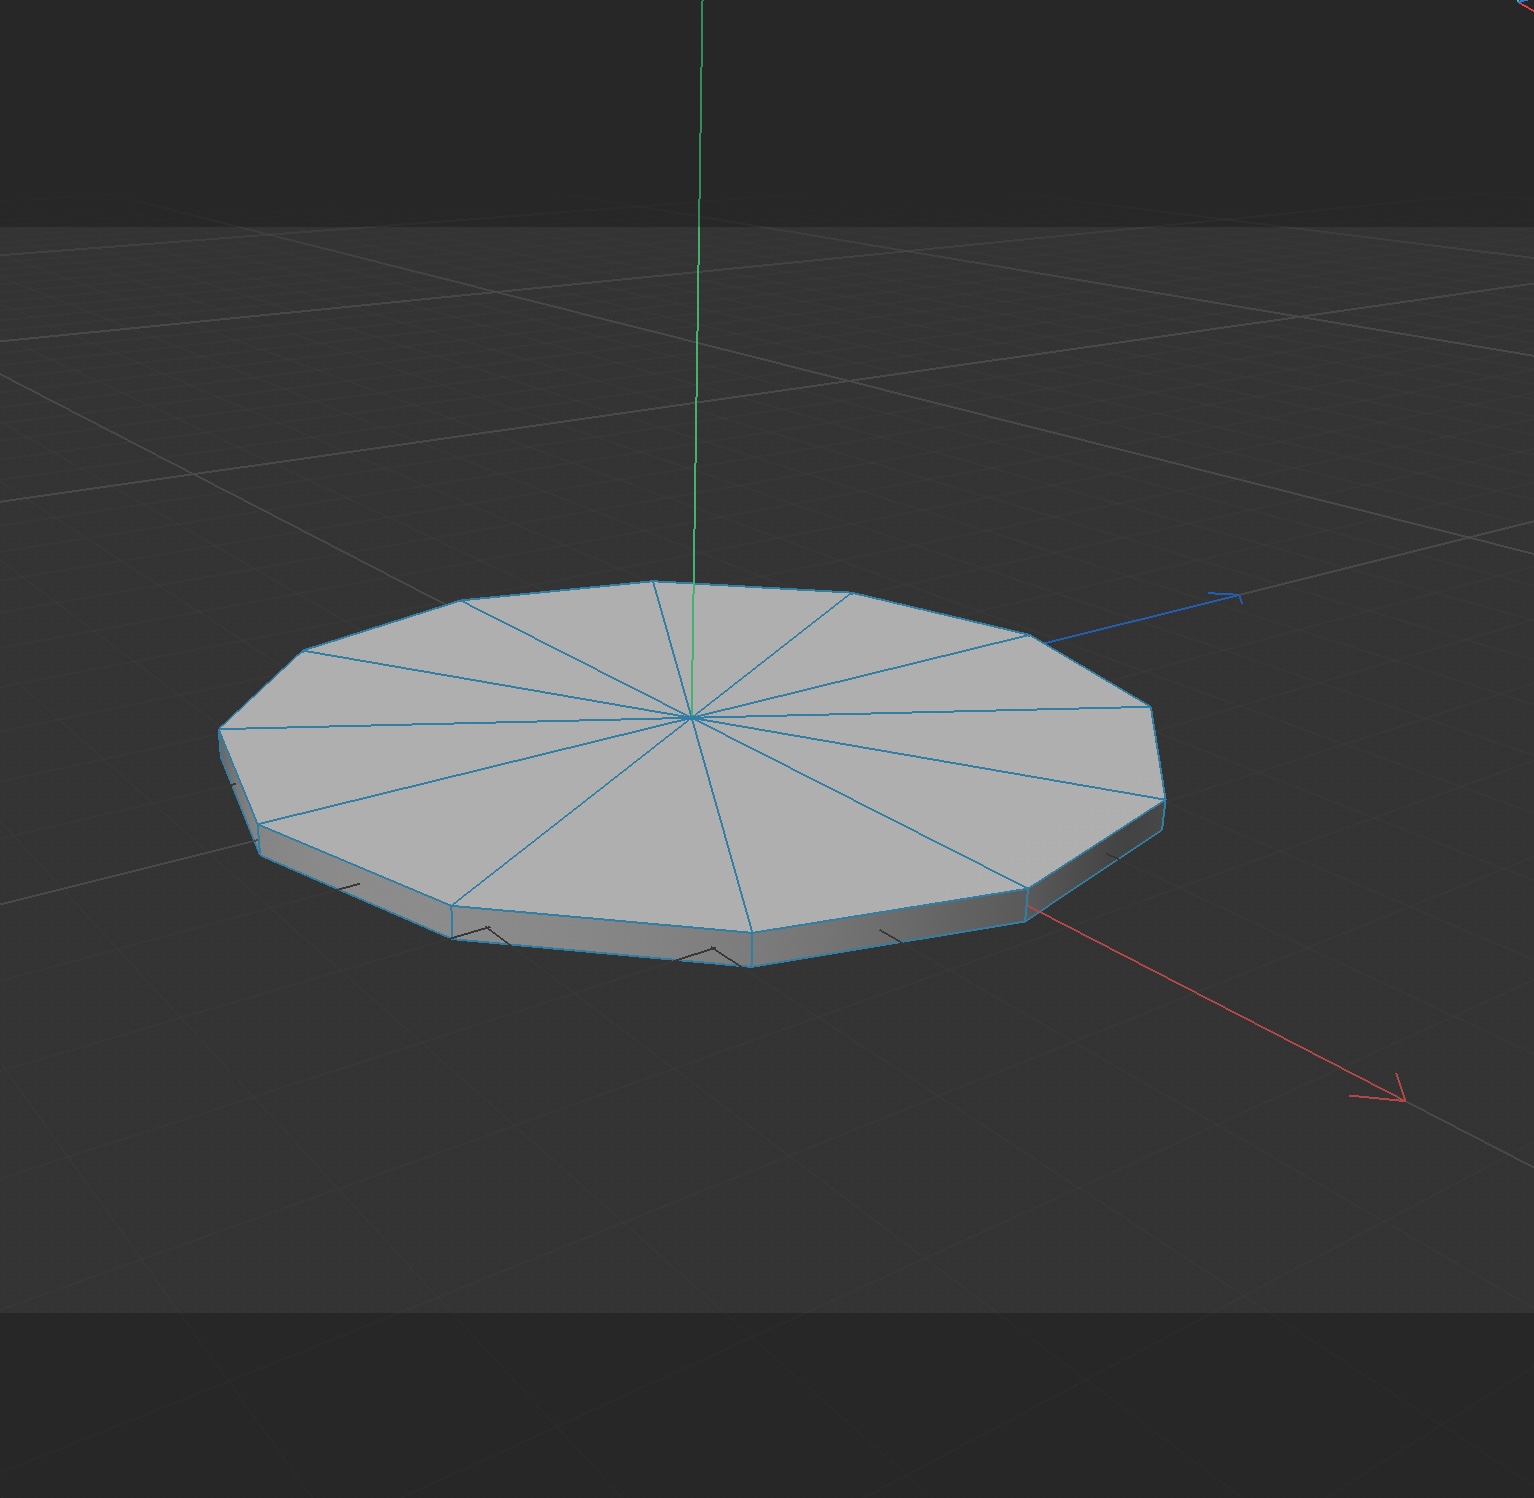
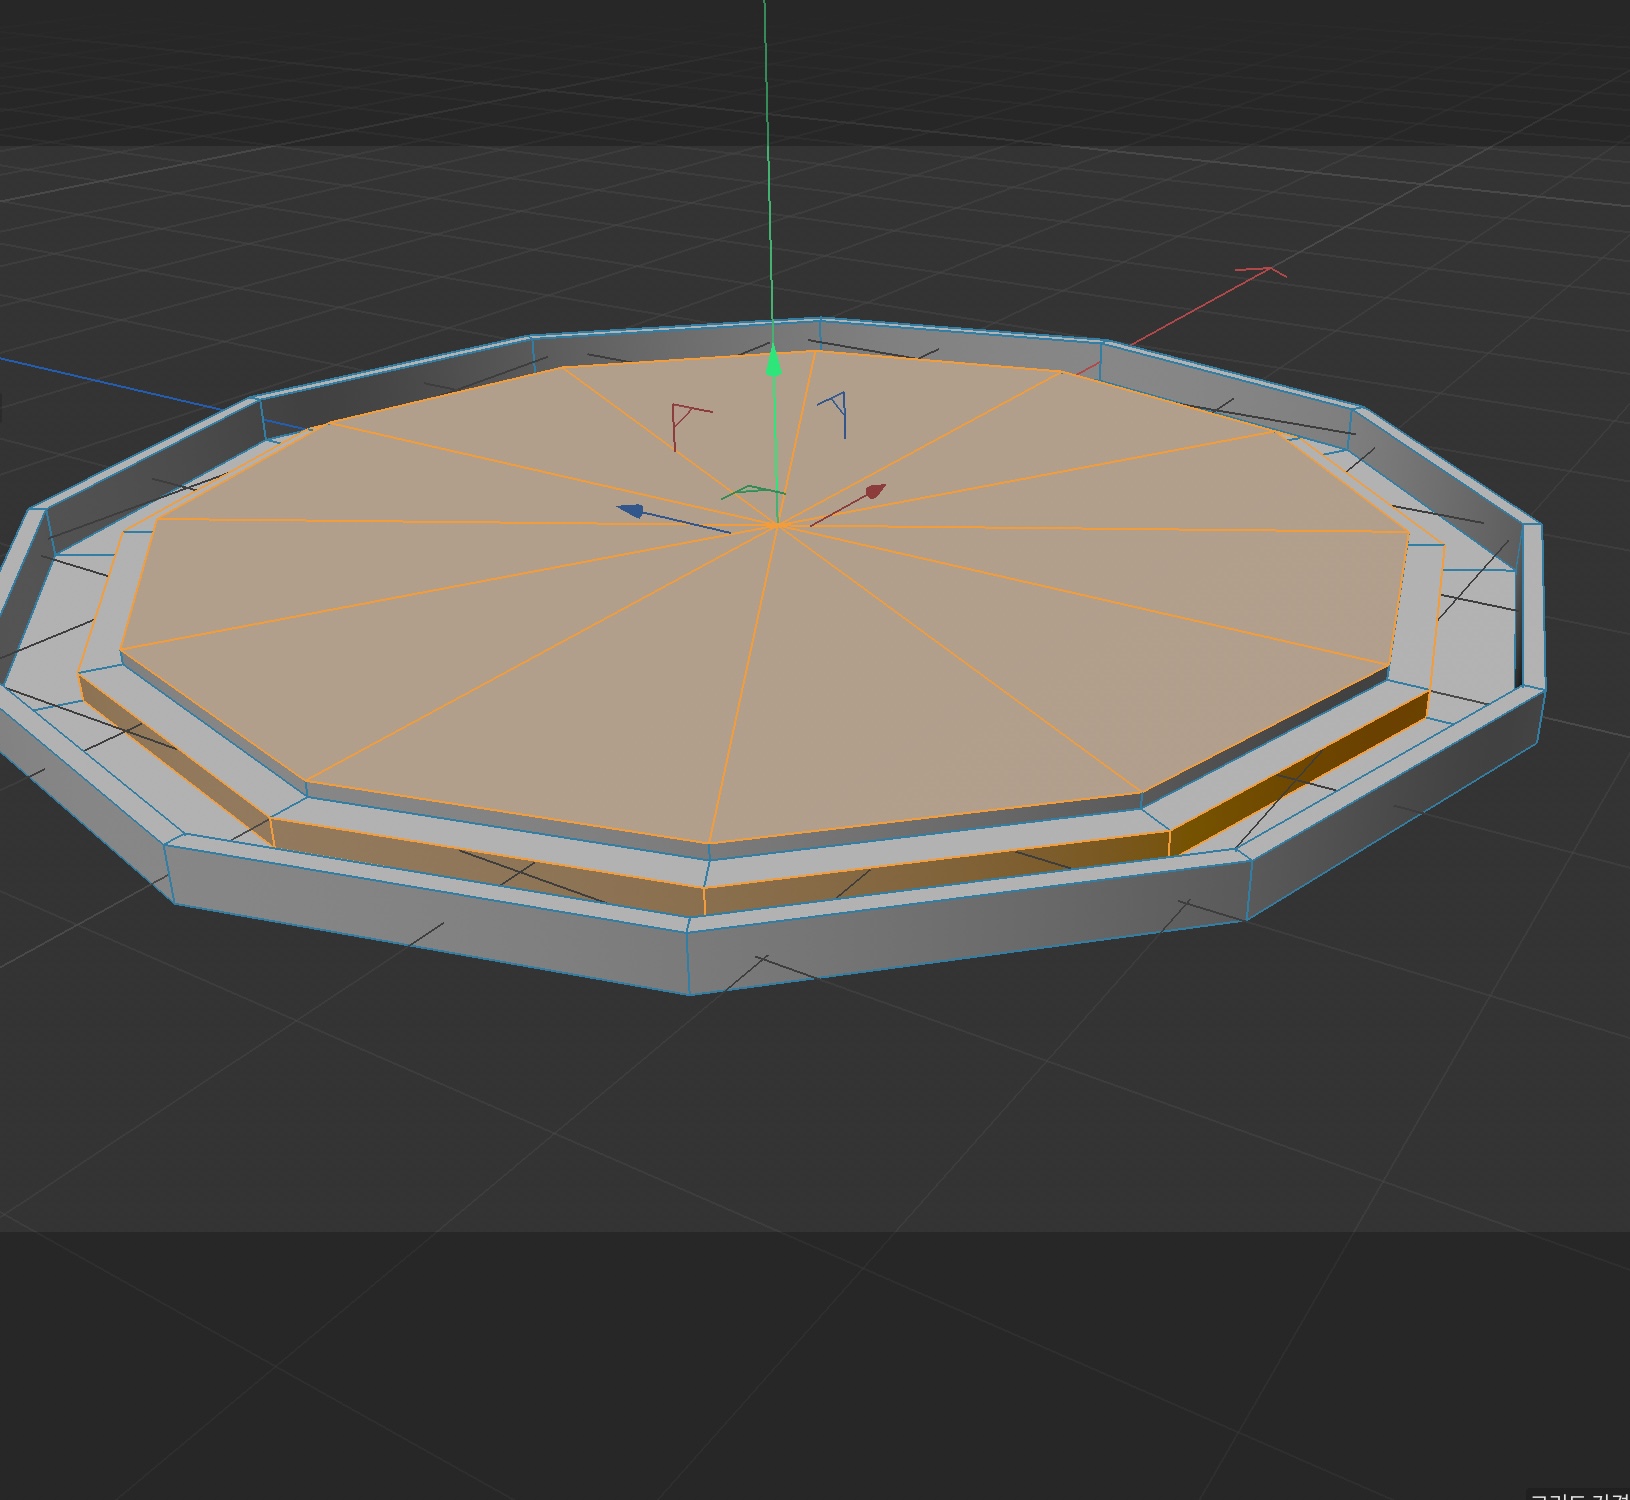
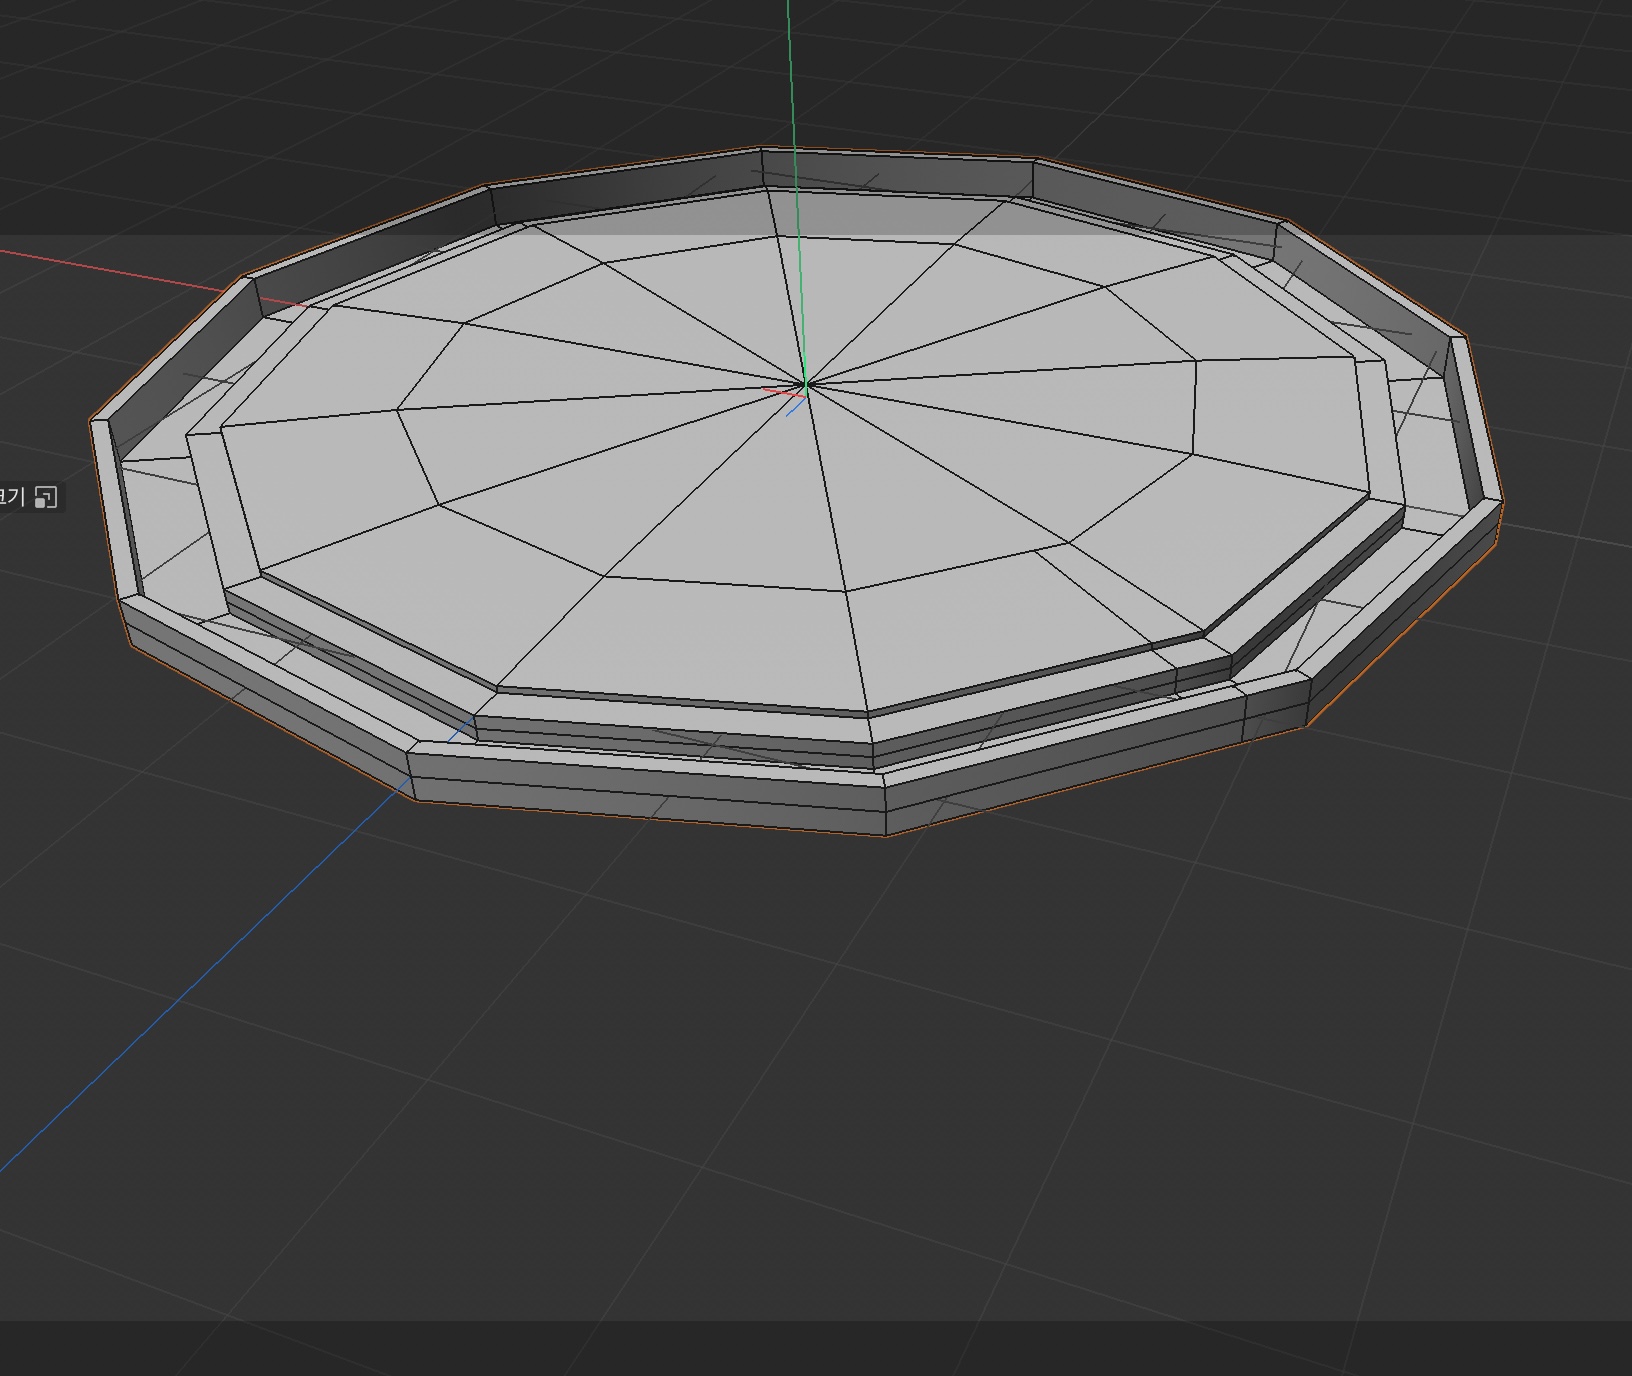
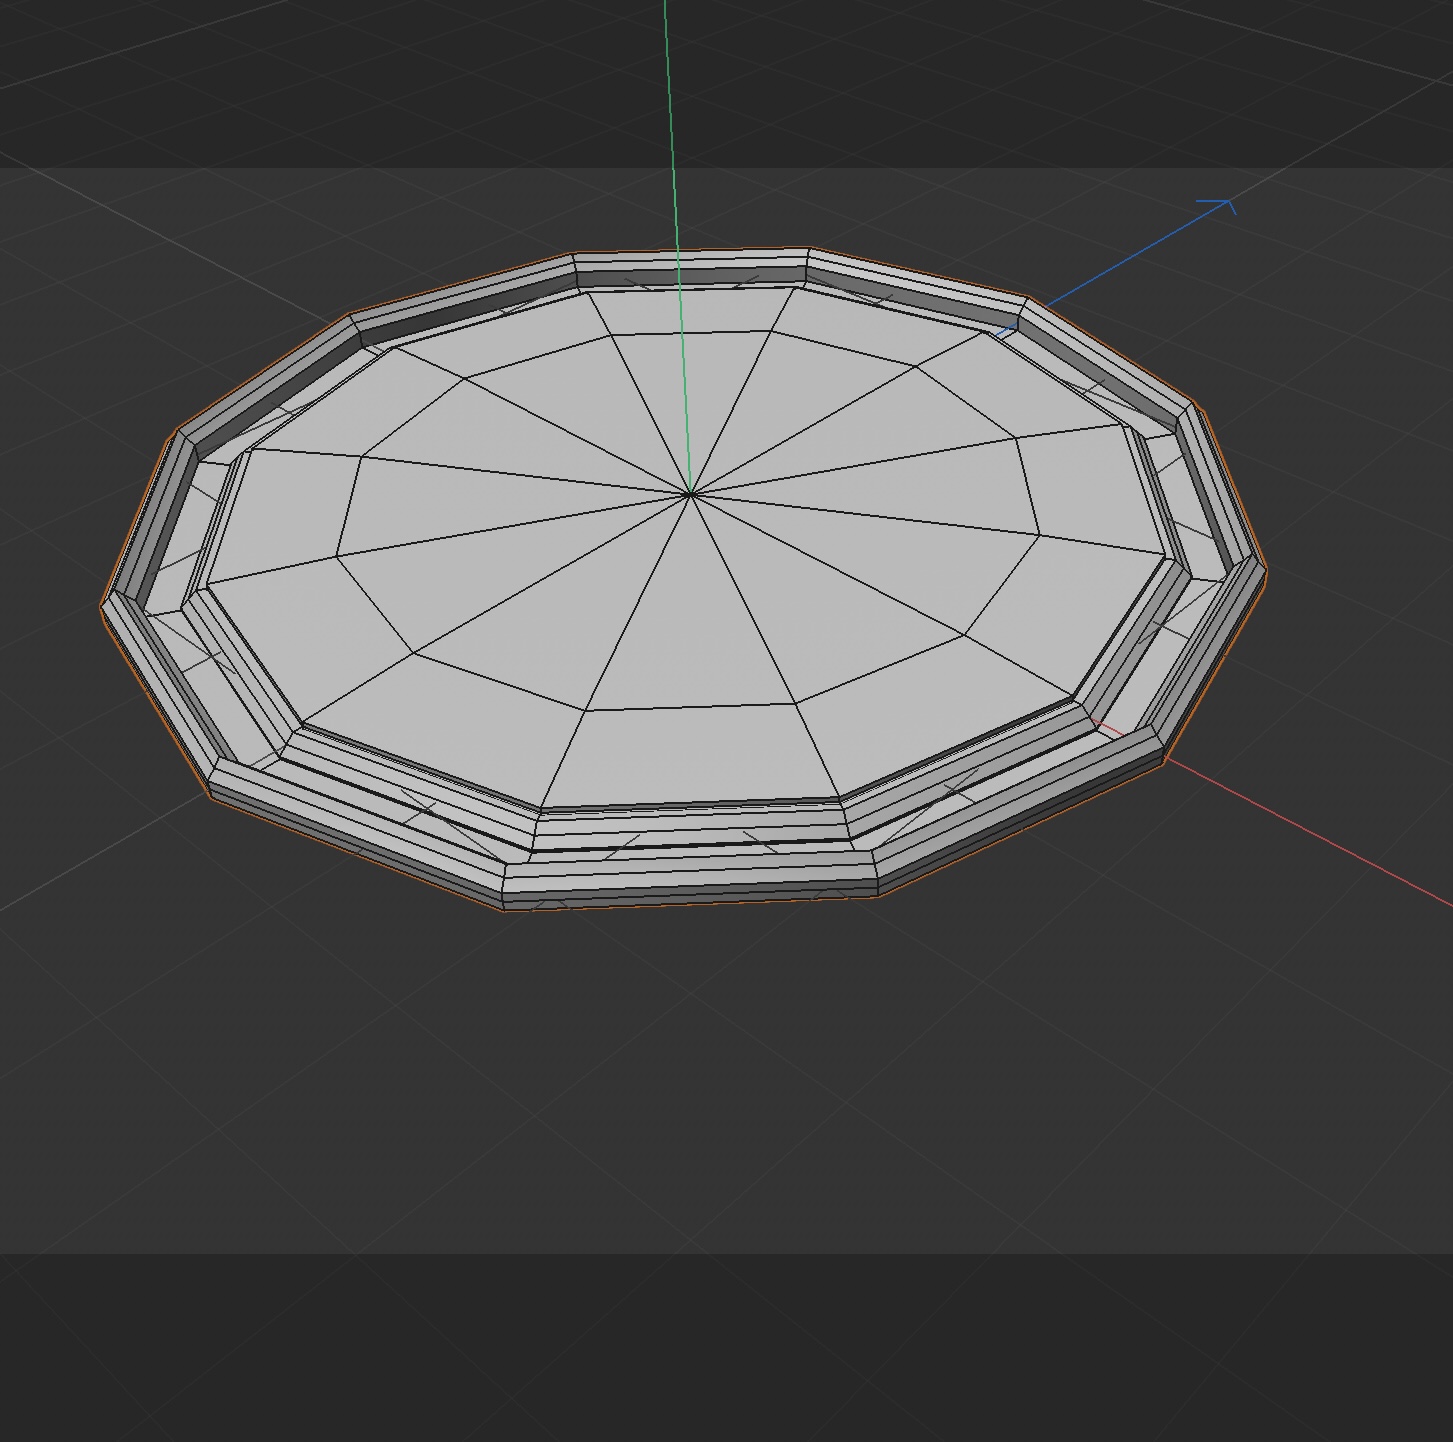
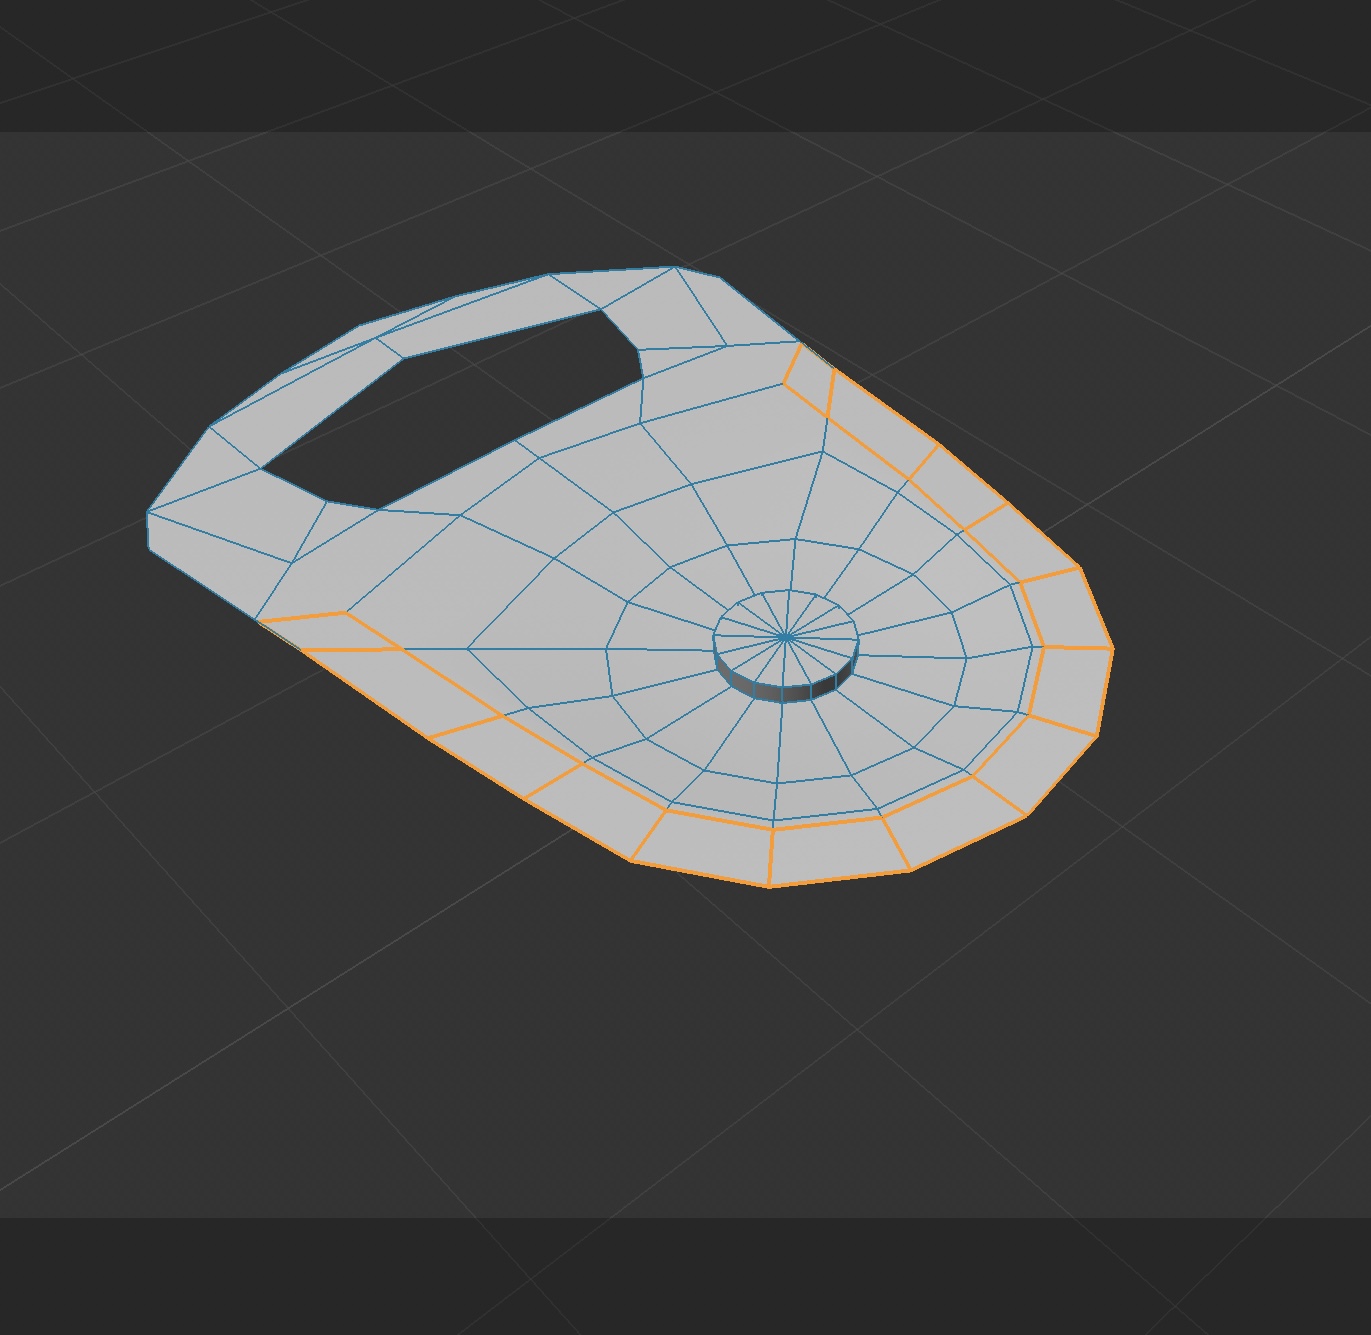
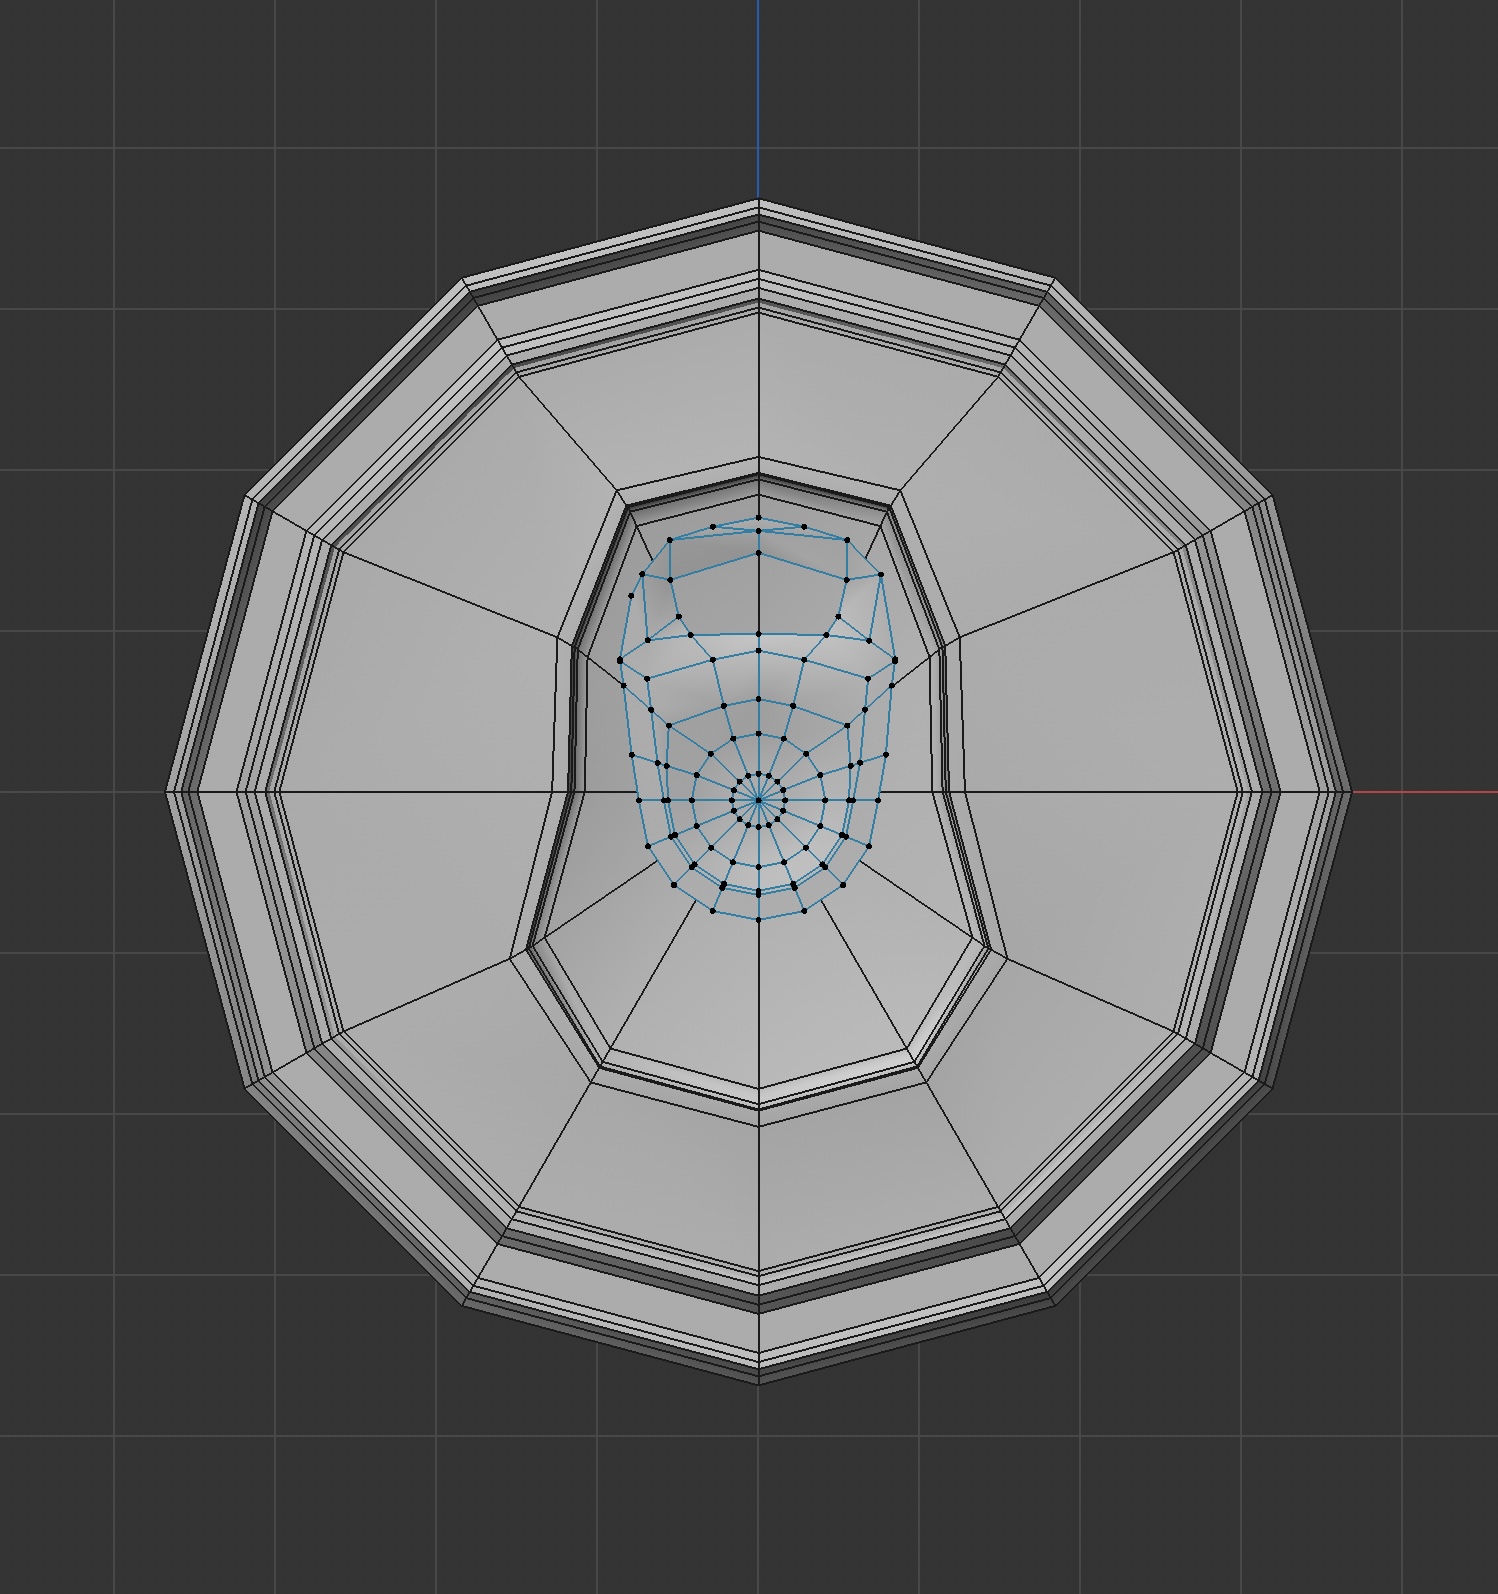
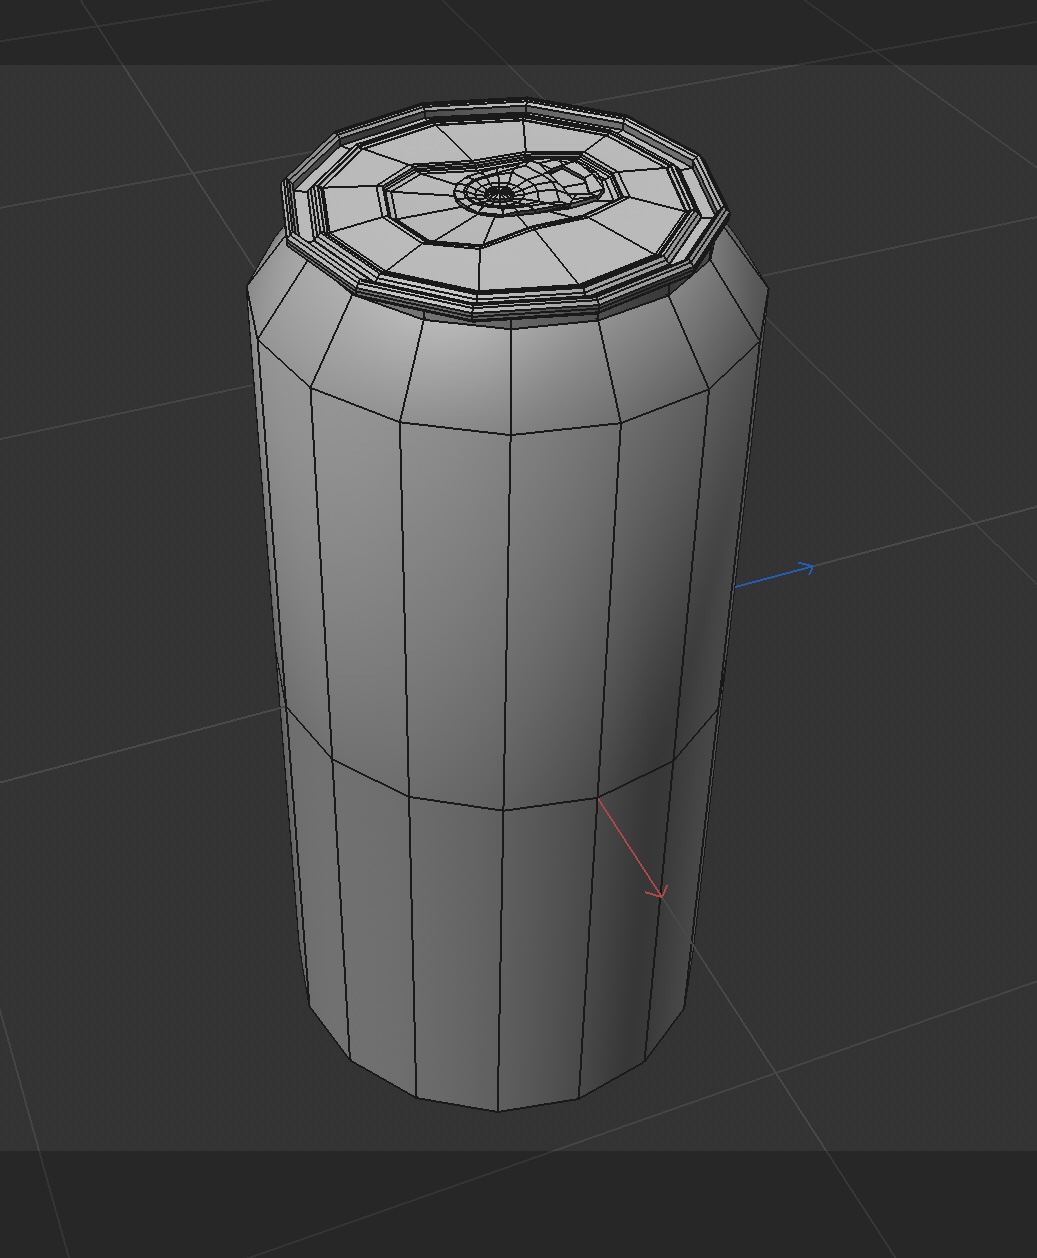
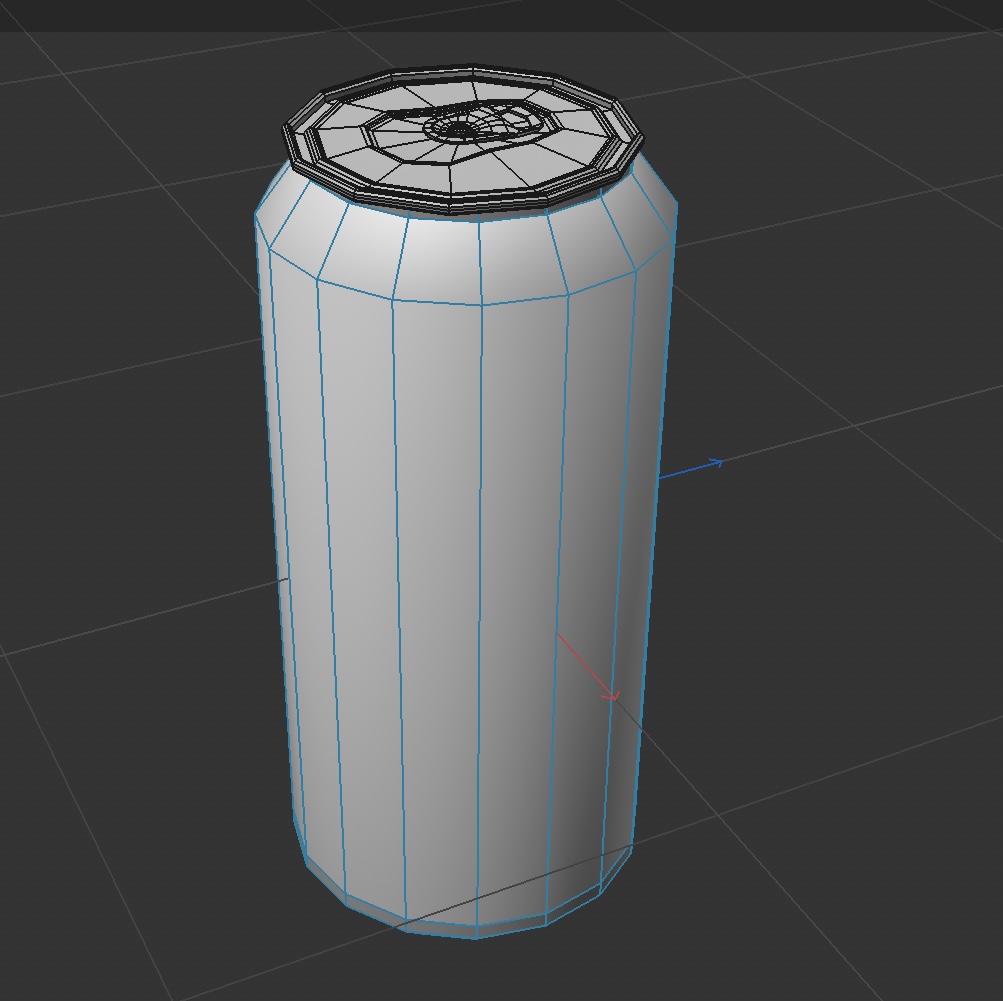
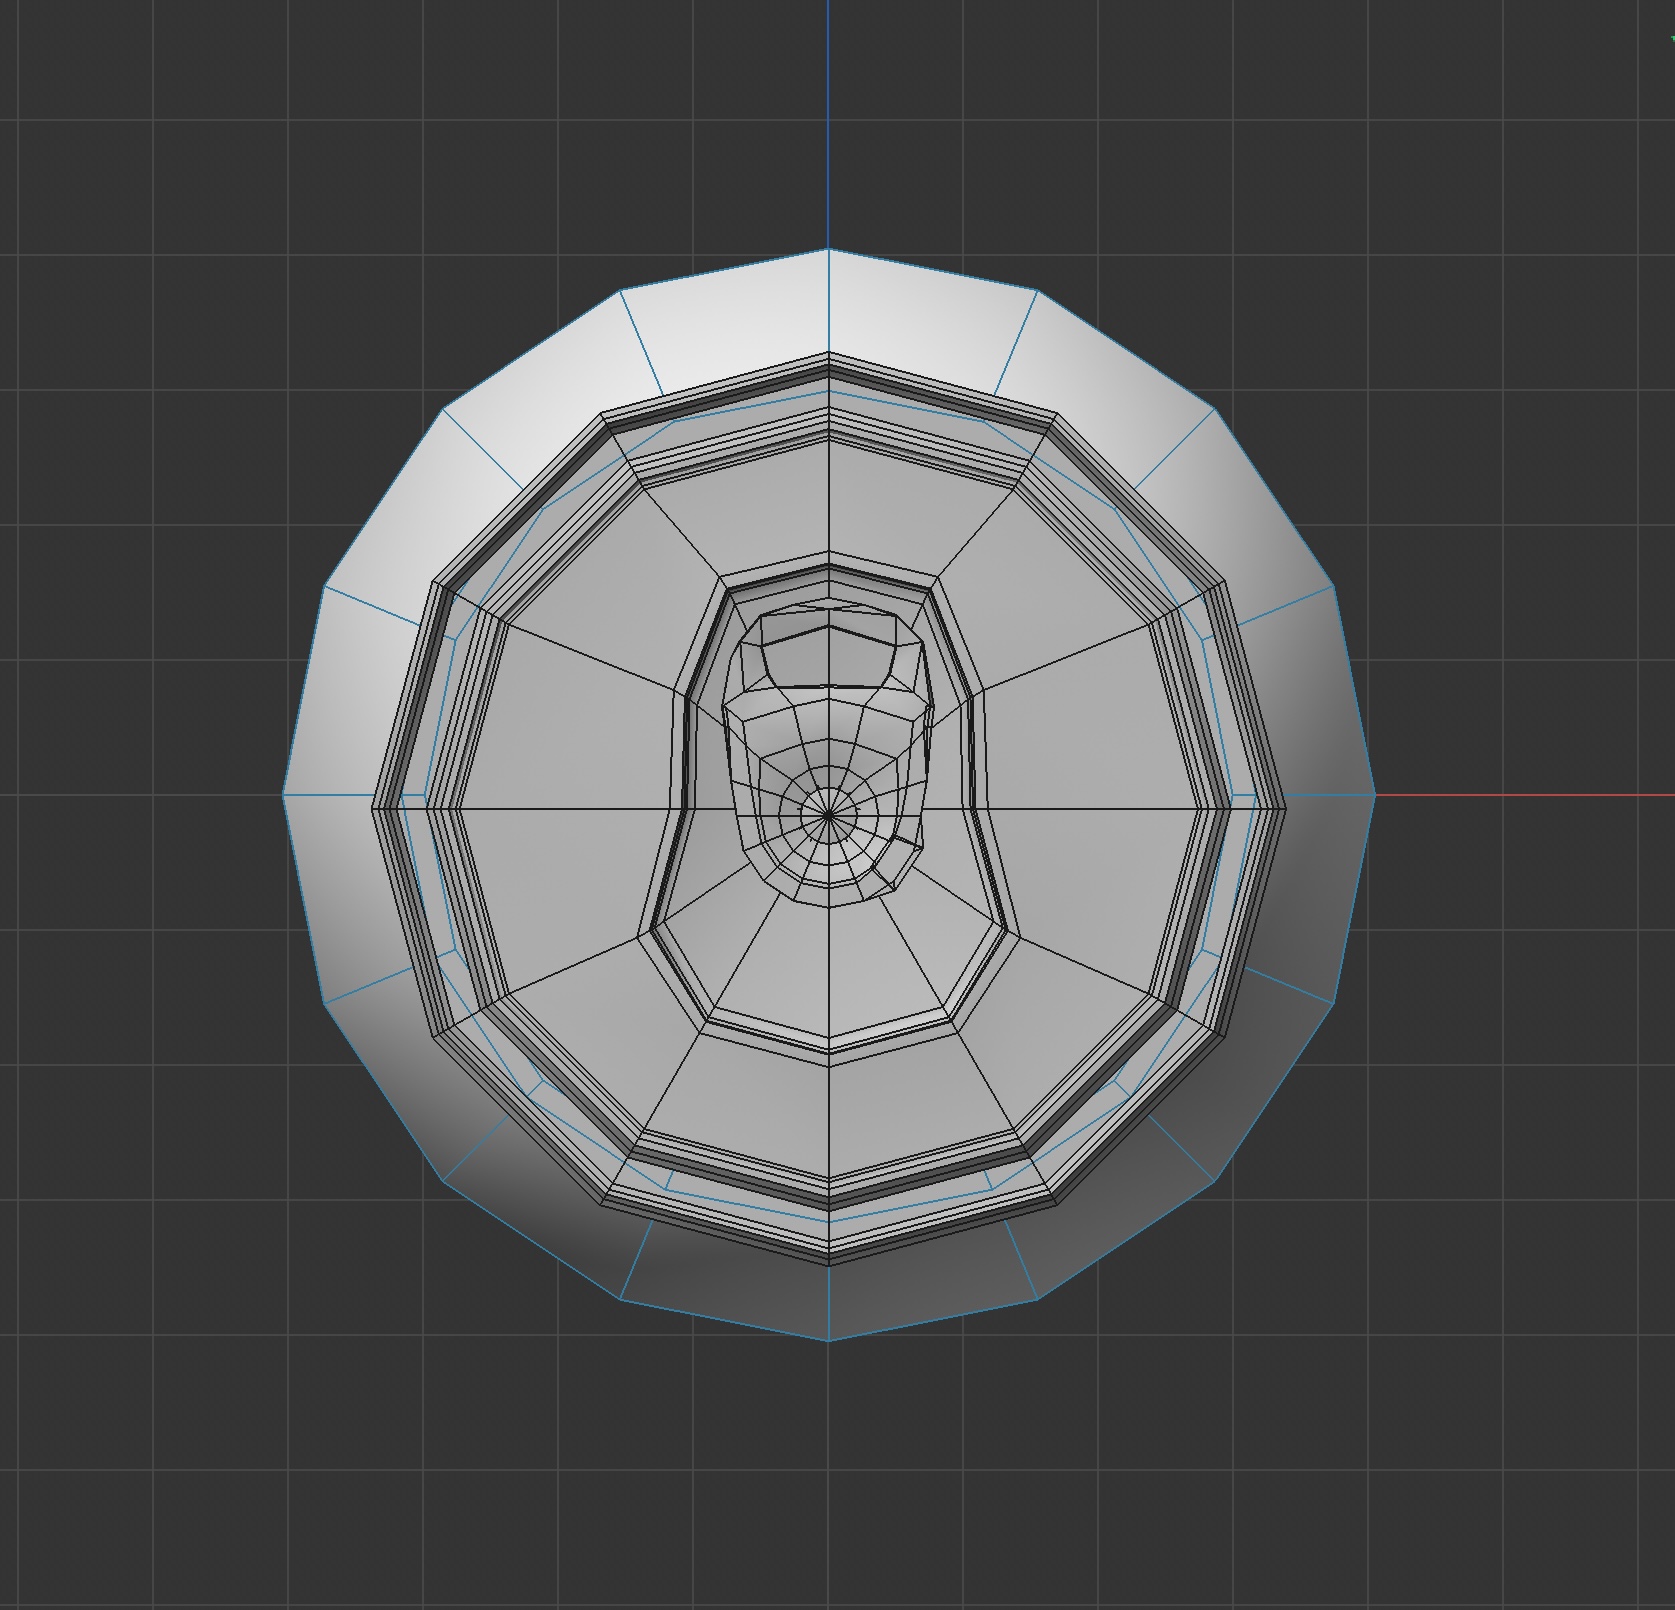
First attempt at the egg tart cup using fewer segments, which made the shape more angular. First attempt at the egg tart filling using fewer segments. First attempt to add more detail to the pastry crust. Second attempt to improve the pastry crust details. First attempt at creating the egg tart filling. I create the egg tart cup again with more segments to make it smoother and rounder. I recreated the egg tart filling again using more segments for a smoother shape. I added colors to separate the different parts of the egg tart. I used a photo of the egg tart filling to add texture. I adjusted the crust color and refined the overall shape to finish the model. I tested different way to make a shape for the main body of the nail clipper. I combined the two main body parts of the nail clipper. I created the connector that joins the main body parts. I assembled the different parts of the nail clipper. I created the lever and attached it to the main body. I refined the overall shape and smoothed the connection areas. I created the top part of the can with the cylinder. First attempt for the top of the can. Second attempt for the top of the can. Third attempt for the top of the can. Attempts for the pull tab for the can. I combined the pull tab with the top of the can. I created the main body of the can. I added color to the can model. Final top view of the completed can model.

Material Workshop 1

put a description here or you will lose grades<a href='https://www.youtube.com/embed/tgbNymZ7vqY' target='_blank'><p>Project Video Link</p></a> put a description here or you will lose grades <div class='container'><iframe class='responsive-iframe' src='https://www.youtube.com/embed/tgbNymZ7vqY'></iframe></div> put a description here or you will lose grades

Material Workshop 2

put a description here or you will lose grades <a href='https://www.youtube.com/embed/tgbNymZ7vqY' target='_blank'><p>Project Video Link</p></a> put a description here or you will lose grades <div class='container'><iframe class='responsive-iframe' src='https://www.youtube.com/embed/tgbNymZ7vqY'></iframe></div> put a description here or you will lose grades

Project 1


Project 1 Models

Published 3D Model 1

PLACEHOLDER TEXT, put a description here or you will lose grades

put a description here or you will lose grades <div class='container'><iframe class='responsive-iframe' src='https://hudak.phoenix.sheridanc.on.ca/P1Stuff/Index.html'></iframe></div>

Published 3D Model 2

PLACEHOLDER TEXT, put a description here or you will lose grades

put a description here or you will lose grades <div class='container'><iframe class='responsive-iframe' src='https://hudak.phoenix.sheridanc.on.ca/P1Stuff/Index.html'></iframe></div>

Published 3D Model 3

PLACEHOLDER TEXT, put a description here or you will lose grades

put a description here or you will lose grades <div class='container'><iframe class='responsive-iframe' src='https://hudak.phoenix.sheridanc.on.ca/P1Stuff/Index.html'></iframe></div>
×

Powered by w3.css